Happy Holidays!
Is that time of the year again, and a new Christmas Card is born.
As earlier years we have made a PCB card and programmed it to assist with the holiday spirit creation 🙂
Appearance
Each year they have a different look.
This year we created a Gingerbread-woman. As you can see the body is made of pure FR4.


Electronics
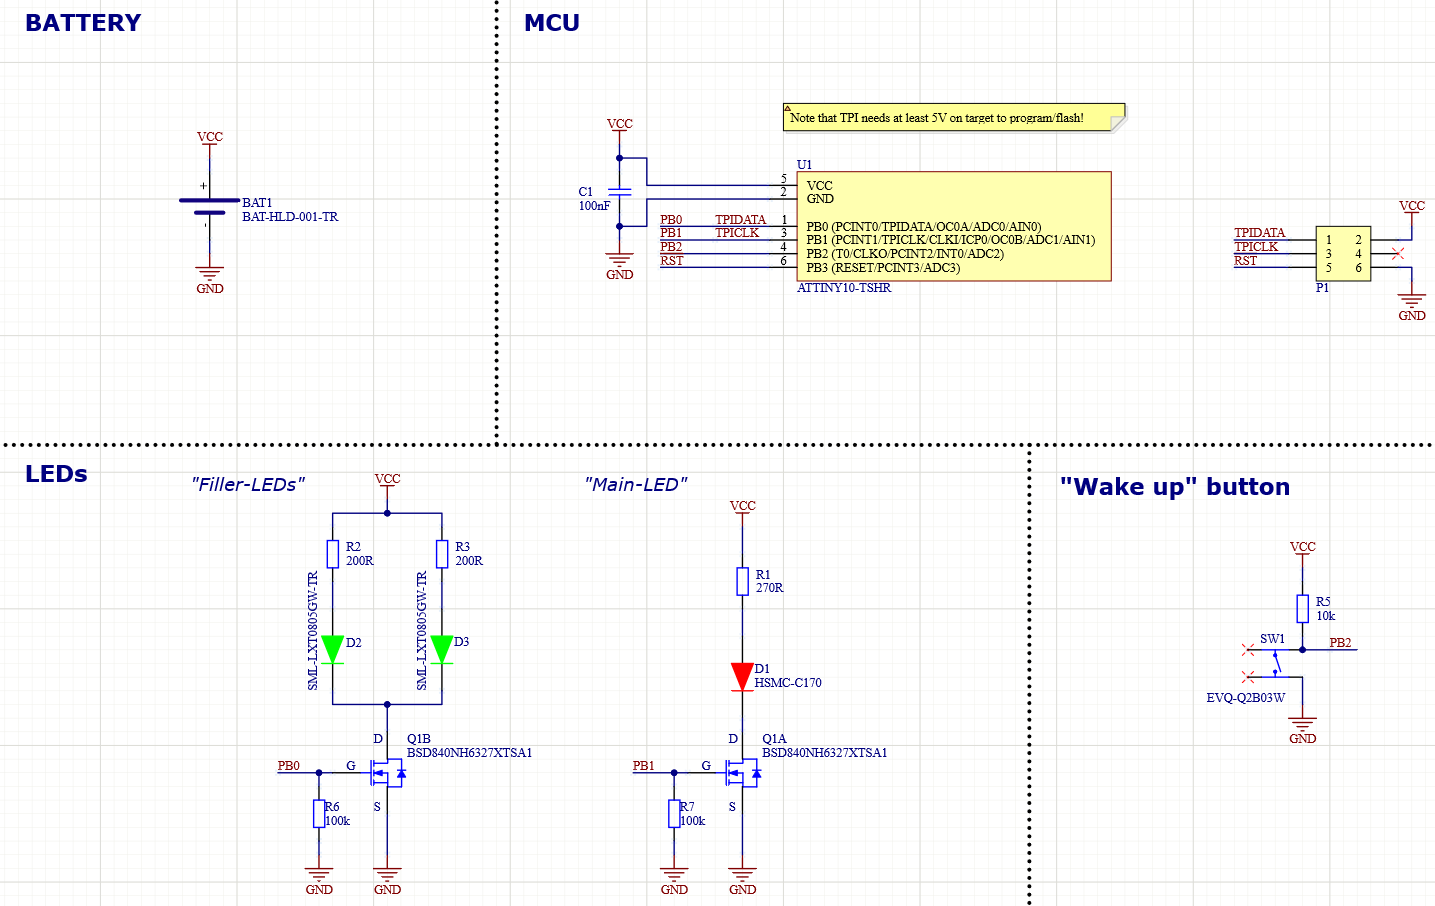
The schematic for the circuit is rather simple, and looks like this:
Firmware
The Christmas card is compatible with the previous used firmware used on the other side of this URL.
And remember that this work is licensed under a Creative Commons Attribution-NonCommercial-ShareAlike 4.0 International License.
How to program it?
The main “brain” is an ATtiny10, which can be programmed through TPI.
Remember that the programming voltage has to be around 5 volts.
The Christmas Card can handle this, but the battery cannot.
So an external power source has to be present (and the battery cannot).
The programming happens through a tag-connect-header designated P1 in the schematics.

The “mini squid” cable from the ATMEL ICE can be used to connected the different signals according to the pinout given here.
Signal – Mini-squid pin
TPICLK – 1
GND – 2
TPIDATA – 3
VCC – 4 // Note that this does not supply the card!
!RST – 6
The Stand
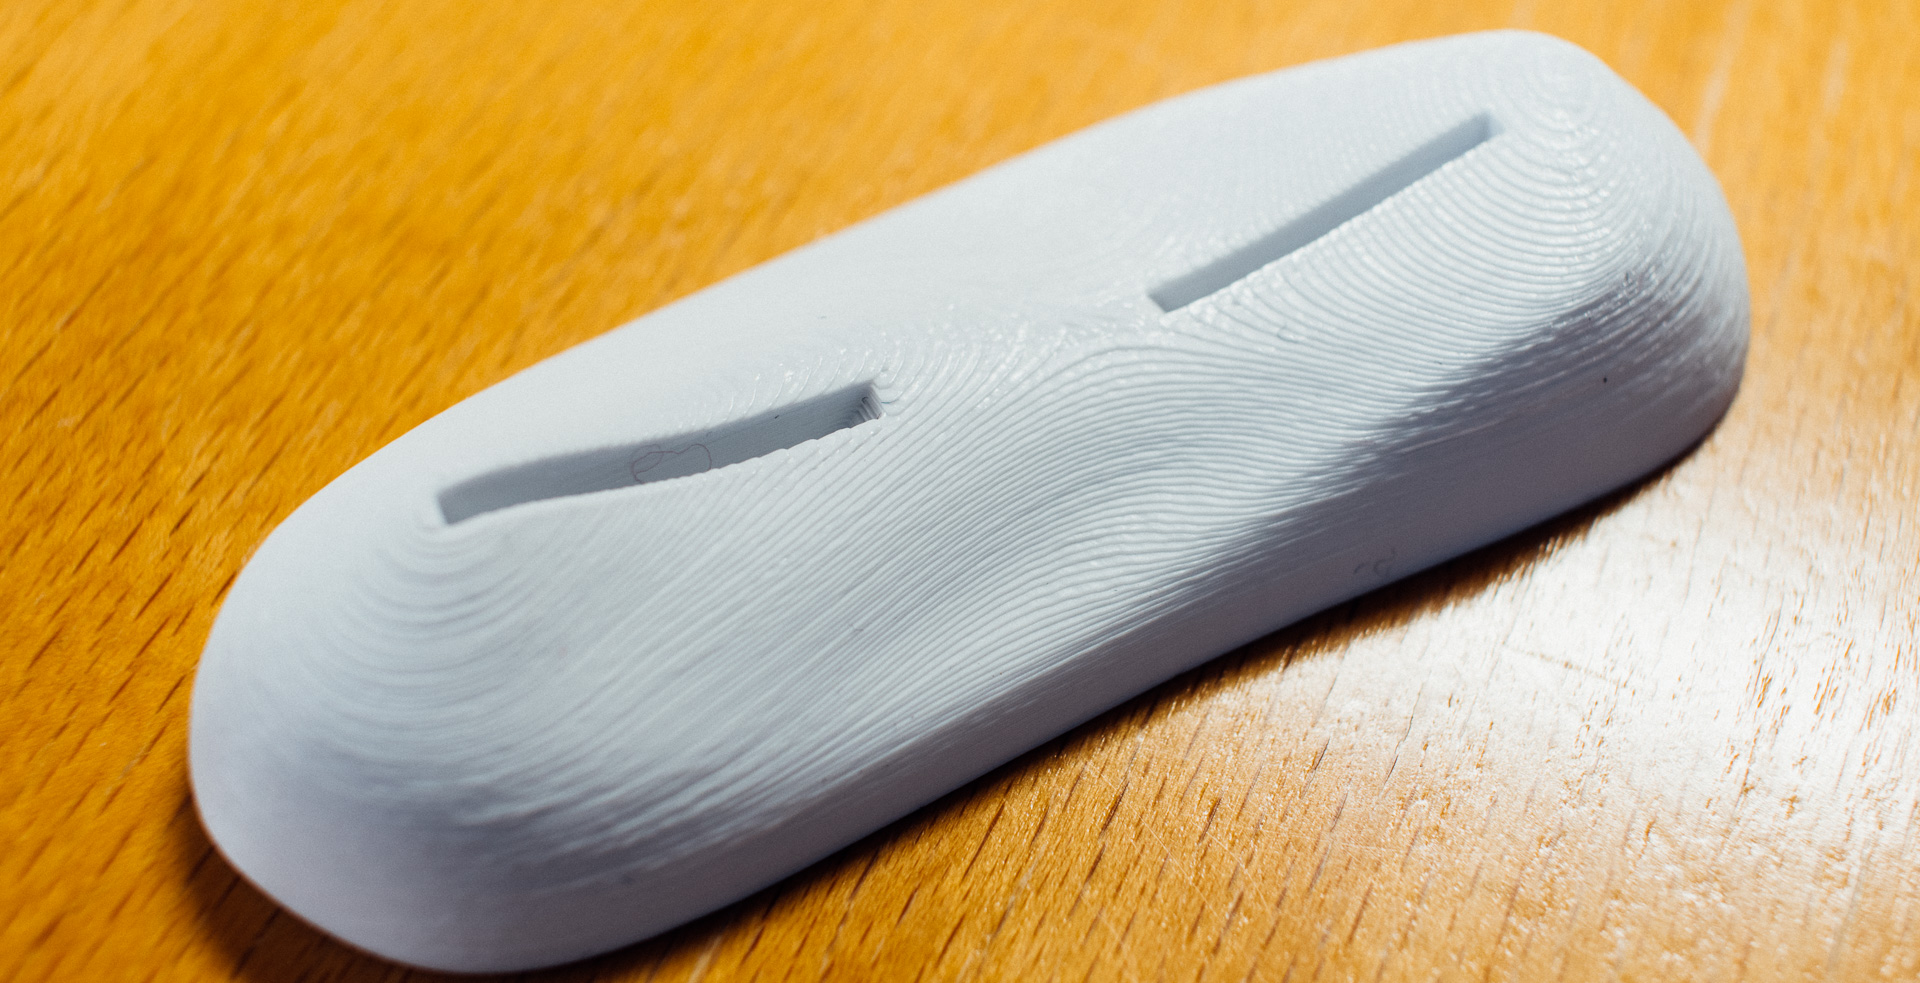
As last year does the card stand in a “snow mound” that looks like the image below. It was in in house designed and 3D-printed.


