Happy Holidays!
Is that time of the year again, and a new Christmas Card is born.
As previous years we have utilized our day-to-day skills, and made a PCB card. You can see more what we do and deliver on our services page.
Appearance
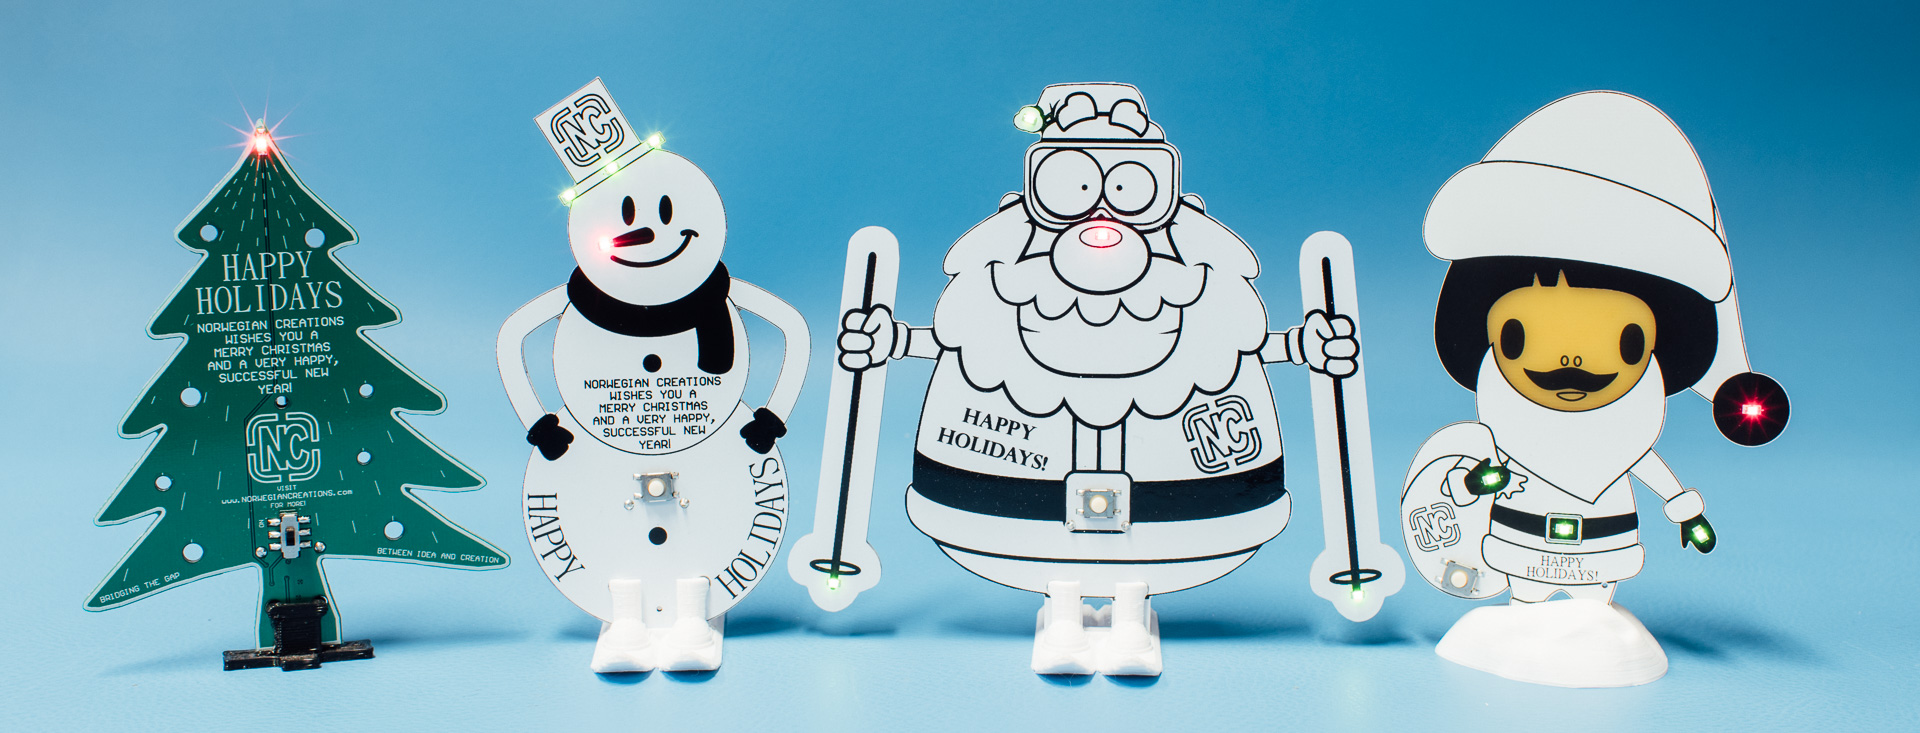
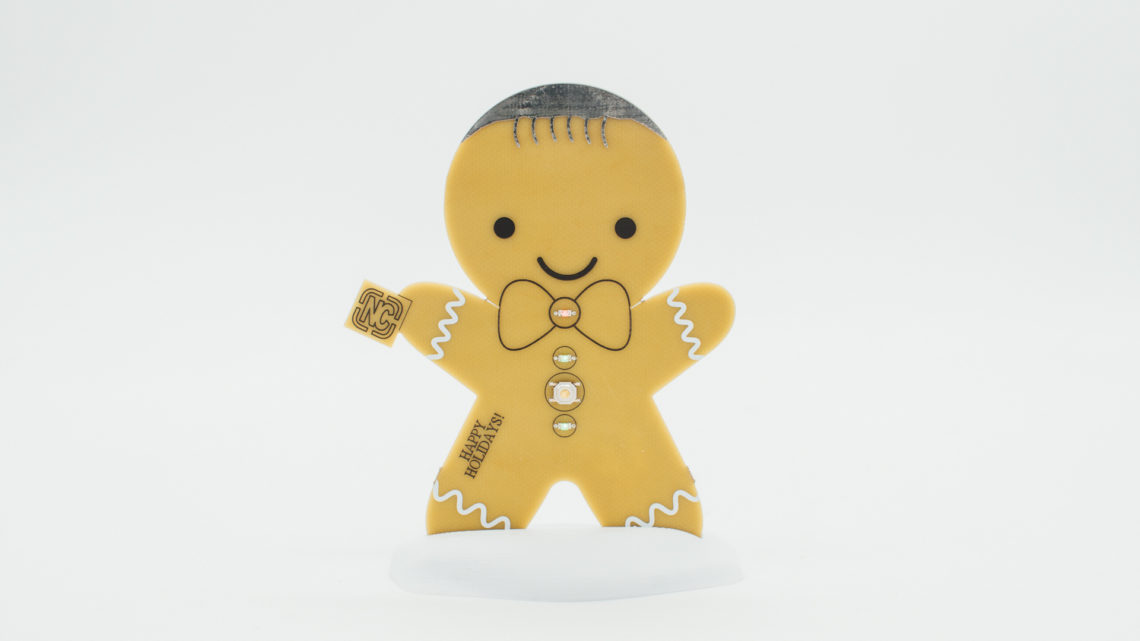
Each year they have a different look. This year we created a Christmas-girl and here is some of the PCB-details:


Previous looks

Electronics
The schematic for the circuit is as simple as possible and looks like this:
The only change from last years circuit is the battery holder: This cards uses a CR2032 battery. But some of the cards was modified to use a 2*AAA battery holder instead =)
Firmware
The Christmas card is compatible with the (old) firmware used on the other side of this URL.
And remember that this work is licensed under a Creative Commons Attribution-NonCommercial-ShareAlike 4.0 International License.
How to program it?
The “brain” on the Christmas Card is an ATtiny10. And that can be programmed through TPI.
And remember that the programming voltage has to be around 5 volts.
The Christmas Card can handle this, but the batteries cannot.
So an external power source has to be present (and the batteries cannot).
The programming happens through a tag-connect-header called P1 in the schematics.
The “mini squid” cable from the ATMEL ICE was used to connected the different signals according to the pinout given here.
Signal – Mini-squid pin
TPICLK – 1
GND – 2
TPIDATA – 3
VCC – 4 // Note that this does not supply the card!
!RST – 6
The Stand
The Christmas Card this year is standing in a “snow mound”.
They are modeled in Fusion 360 and printed in-house.


