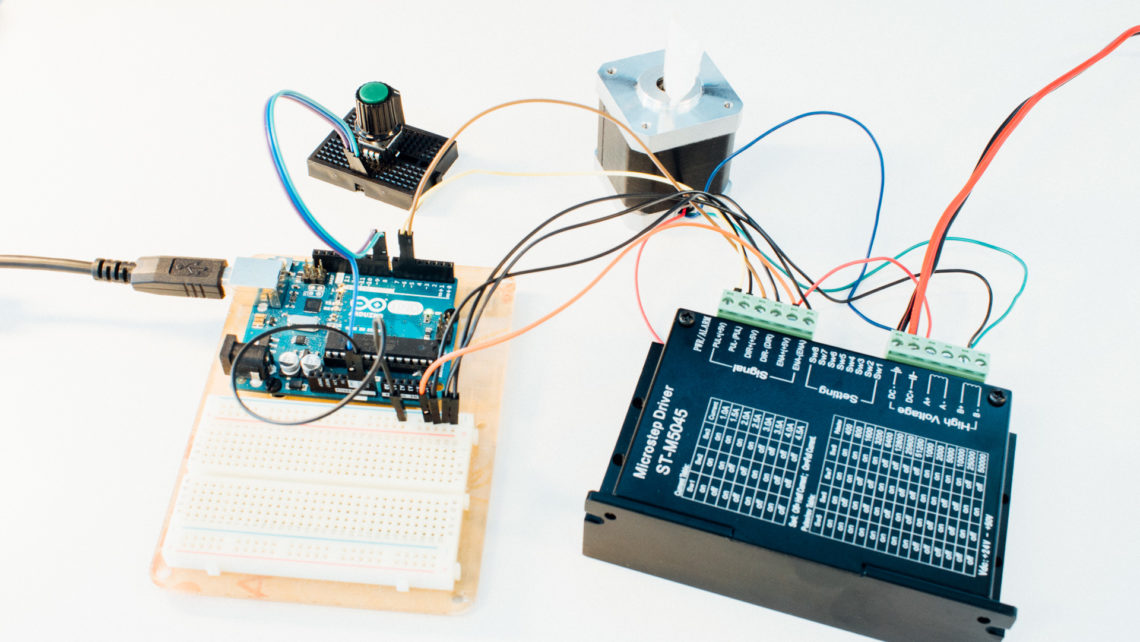
In almost every Arduino tutorial we’ve written we’ve used serial output for either printing text to terminal or plotting values. It is also invaluable as a debugging tool. We have rarely written about serial input, however, which is what this post is about.
What Can Serial Input Be Used for?
The possibilites with serial inputs are endless. Maybe you want to display text on an LCD display, punch in numbers to controll LEDs, control motor movement with arrow keys or send commands to decide which functions to call. No matter what you decide to use it for, your system reaches a higher level of interactivity.
How?
Using serial inputs is not much more complex than serial output. To send characters over serial from your computer to the Arduino just open the serial monitor and type something in the field next to the Send button. Press the Send button or the Enter key on your keyboard to send.
Coding wise, let’s dive into an example.
char input;

void setup() {
	Serial.begin(9600);
	delay(2000);

	Serial.println("Type something!");
}

void loop() {
	if(Serial.available()){
		input = Serial.read();
		Serial.print("You typed: " );
		Serial.println(input);
	}
}
There are two important functions related to the serial input in the code above, and that is Serial.available() and Serial.read().
Serial.available() returns the number of characters (i.e. bytes of data) which have arrived in the serial buffer and that are ready to be read.
Serial.read() returns the first (oldest) character in the buffer and removes that byte of data from the buffer. So when all the bytes of data are read and no new serial data have arrived, the buffer is empty and Serial.available() will return 0.
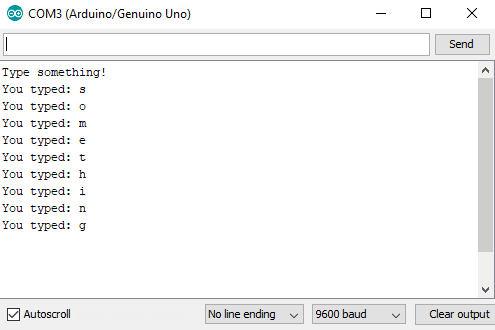
If we send more than one character over serial with this code, the output will look like this:
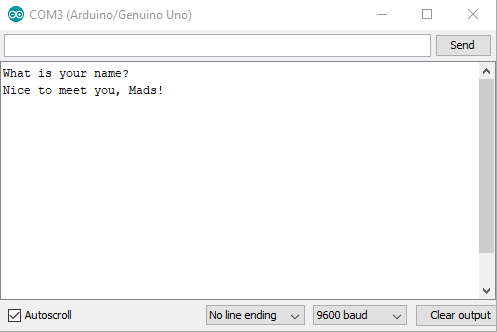
But what if you want to send more than one character in handle it in a sensible way? No problemo!
String my_name;

void setup() {
	Serial.begin(9600);

	delay(2000);

	Serial.println("What is your name?");
}


void loop() {
	if(Serial.available()){
		my_name = Serial.readStringUntil('\n');

		Serial.println("Nice to meet you, " + my_name + "!");
	}
}
Here we’ve introduced the readStringUntil() function, which makes it possible to combine all the characters in the sent message into a single Arduino string. In this case we’re waiting for the \n character, which is the newline character that comes at the end of a string sent in the Arduino serial monitor.
Sending Commands
A more usable scenario could be to send commands to the Arduino. Depending on what you send, the Arduino will perform different task. Here’s a somewhat abstract example on how to do this:
String command;

void setup() {
	Serial.begin(9600);
}

void loop() {
	if(Serial.available()){
		command = Serial.readStringUntil('\n');

		if(command.equals("init")){
			initialize();
		}
		else if(command.equals("send")){
			send_message();
		}
		else if(command.equals("data")){
			get_data();
		}
		else if(command.equals("reboot")){
			reboot();
		}
		else{
			Serial.println("Invalid command");
		}
	}
}
Notice the use of the equals() function. This is a function in the Arduino String class which returns true if the string in question is equal to the parameter string.
Summary
Serial inputs can be very useful in your Arduino project. It’s a bit more complex than serial output, but not by much! The key functions are Serial.available() and Serial.read().

