Sculptris is a sculpting 3D modelling software developed by Pixelogic who also have developed the more famous ZBrush. Unlike ZBrush however, Sculptris is completely free!
We haven’t looked at Sculptris before, so let’s give you our first impressions before going into the 3D printing aspects.
First Impressions
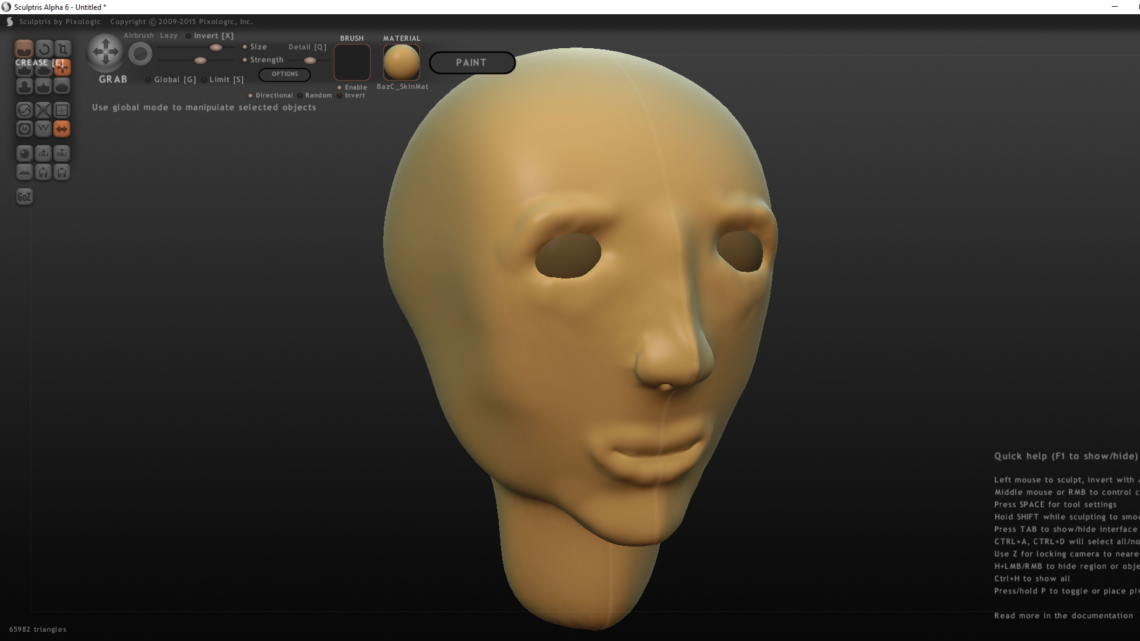
Sculptris has some similarities to Meshmixer (which we’ve talked about several times before on our blog) when it comes to sculpting. The sculpting in Sculptris however, is in our opinion much more smooth and easy to use when jumping straight in without any prior knowledge.
This is partly due to the so called dynamic tessellation, which raises the triangle resolution on the fly when needed to preserve details. Even its big brother ZBrush doesn’t have this feature.
The UI is also very clear and easy to get into. A set of hotkeys and combinations with mouse buttons and wheel increases the work speed drastically.
There are nine different sculpting tools where “grab” and “smooth” are two tools you’ll manage to do a lot with.
In addition to these, you have a masking tool which lets you protect certain areas of your model from being altered as well as reduction tools that reduces the amount of triangles in different ways. You also have a symmetry mode which is ideal when modelling heads and characters. All the brush tools has size and strength parameters, as well as several individual settings.
Sculptris also has pretty powerful texturing tools, but these are a bit less relevant to us compared to the core sculpting features.
One thing that Sculptris doesn’t do too well is to handle several objects at a time. However, it isn’t really made for that. The best way to think about this software is that you have a single lump of clay and use your fingers to sculpt what you want from that.
Compared to Meshmixer it lacks quite a few tools, but it does what it does better than Meshmixer in our opinion.
Sculptris + Meshmixer = 3D Printing Dynamite (sometimes…)
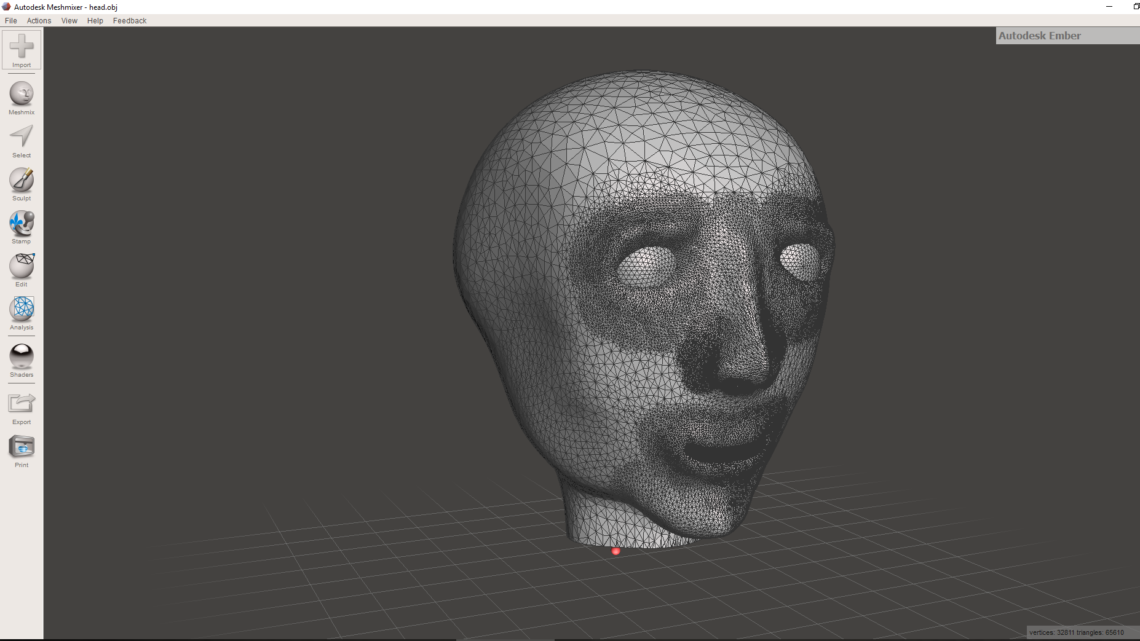
If we were to add two features in Sculptris it would’ve been full STL support (both import and export) as well as plane cut. Luckily, Meshmixer have both of these features! Meshmixer and Sculptris can luckily “communicate” through the OBJ file format, which results in a powerful Sculptris/Meshmixer combo.
Let’s say you want to sculpt something from scratch and 3D print it. Here’s a workflow that works pretty well:
- Sculpt in Sculptris.
- Export to OBJ file.
- Import in Meshmixer.
- Scale the object (usually also possible in slicer software).
- Do a plane cut such that you have a flat surface on one side of the model (for 3D printing).
- Export to STL and print!
Bumping into Trouble
If you want to CAD something, sculpt parts of that CAD part and 3D print it, you might run into a couple of difficulties.
Sculptris only supports max 24 edges entering a vertex. Most CAD software export STL files with pie-cut circles and spheres where many edges meet at a center point. Sculptris doesn’t like this. A work-around is to avoid such shapes entirely and export STLs with low resolution.
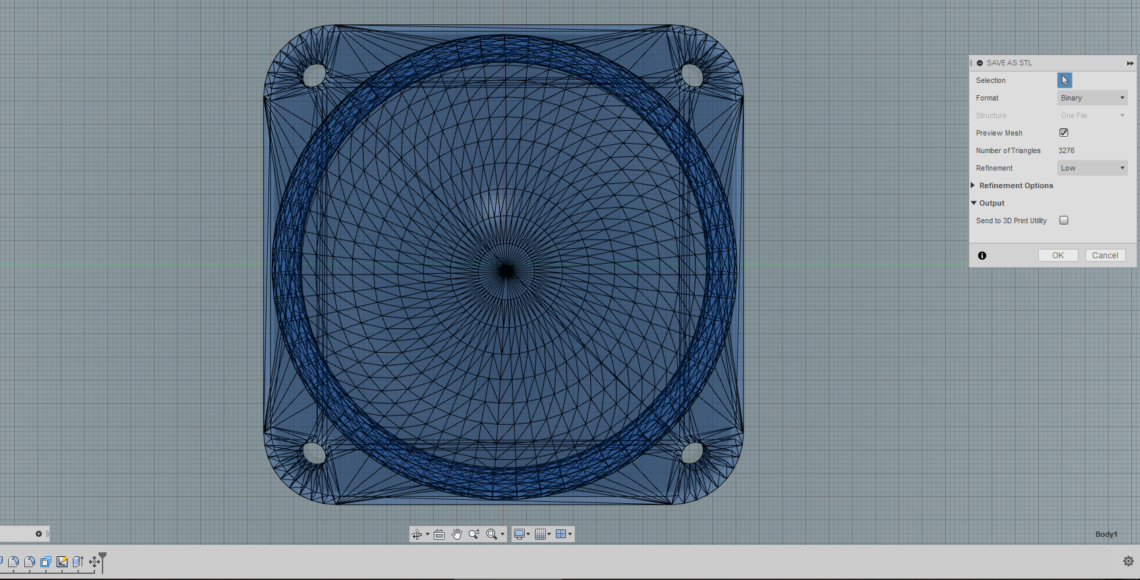
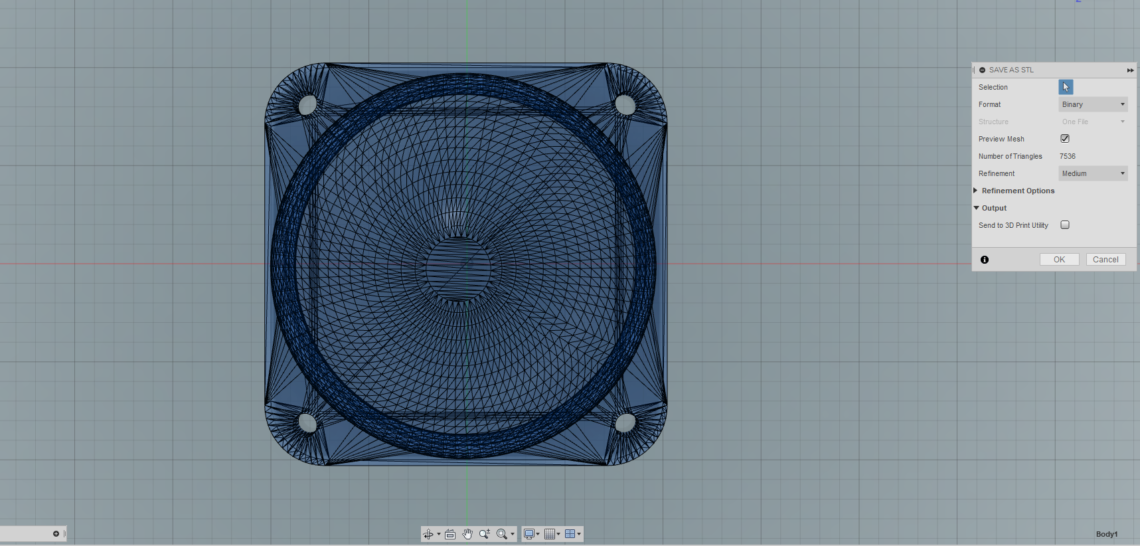
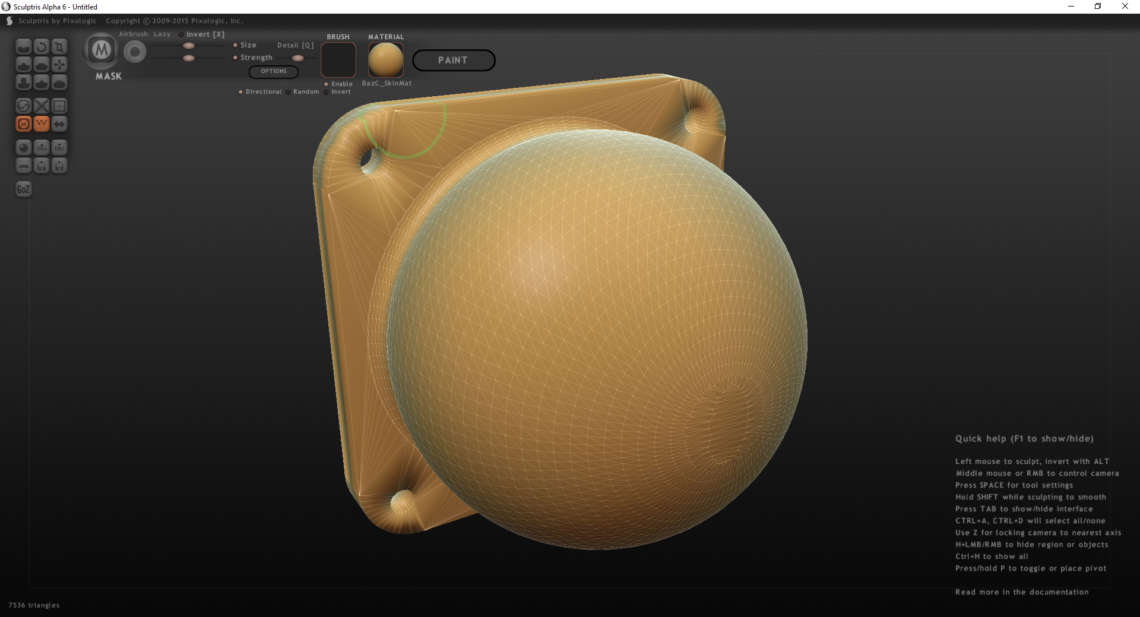
Sculptris also has a hard time preserving the exact shape of an imported model if it has a lot of straight edges and corners, and even the mask tool won’t help you with this problem. Once you start fiddling with the model, parts of it gets distorted immediately as seen below. This is a larger problem than the pie-cut problem, and might be a total deal-breaker for imported CAD models. Try for yourself, however. You might not bump into the same problem as we did.
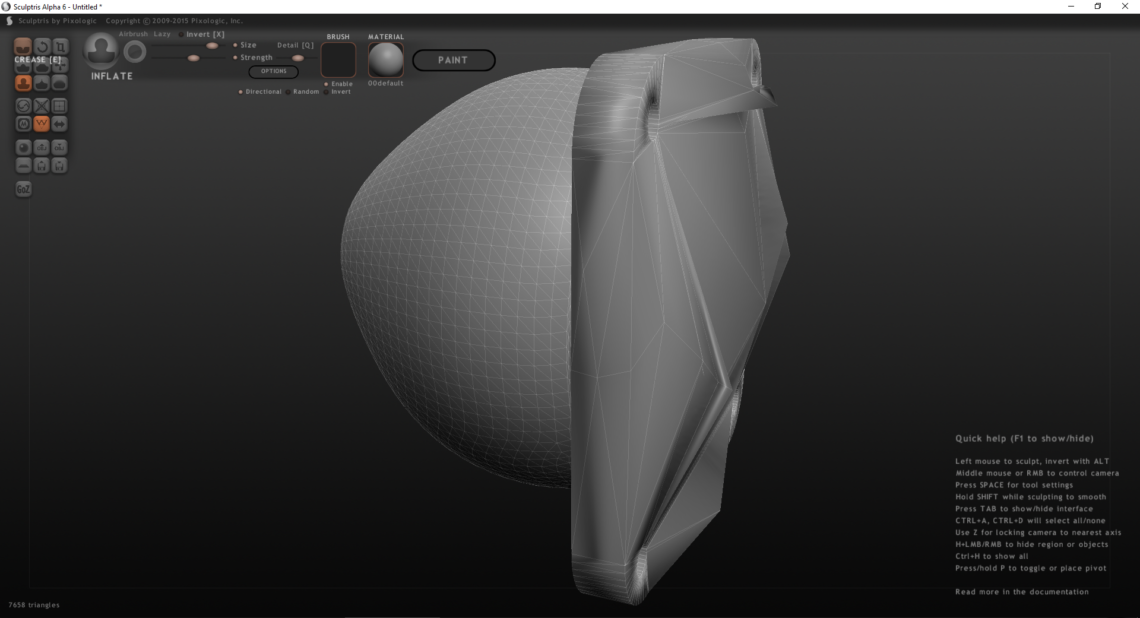
In these cases, sculpting directly in Meshmixer (and skipping Sculptris entirely) is probably a better choice.
Summary
Despite still (and maybe forever) in alpha, Sculptris is an excellent tool for sculpting. It’s both powerful and easy to use, but not particularly suited for 3D printing. Sculptris works best when modelling from scratch, as working with imported models can be a bit of a hassle. Together with Meshmixer you have great 3D printing possibilities.
Here’s an excellent video tutorial series for Sculptris beginners.

