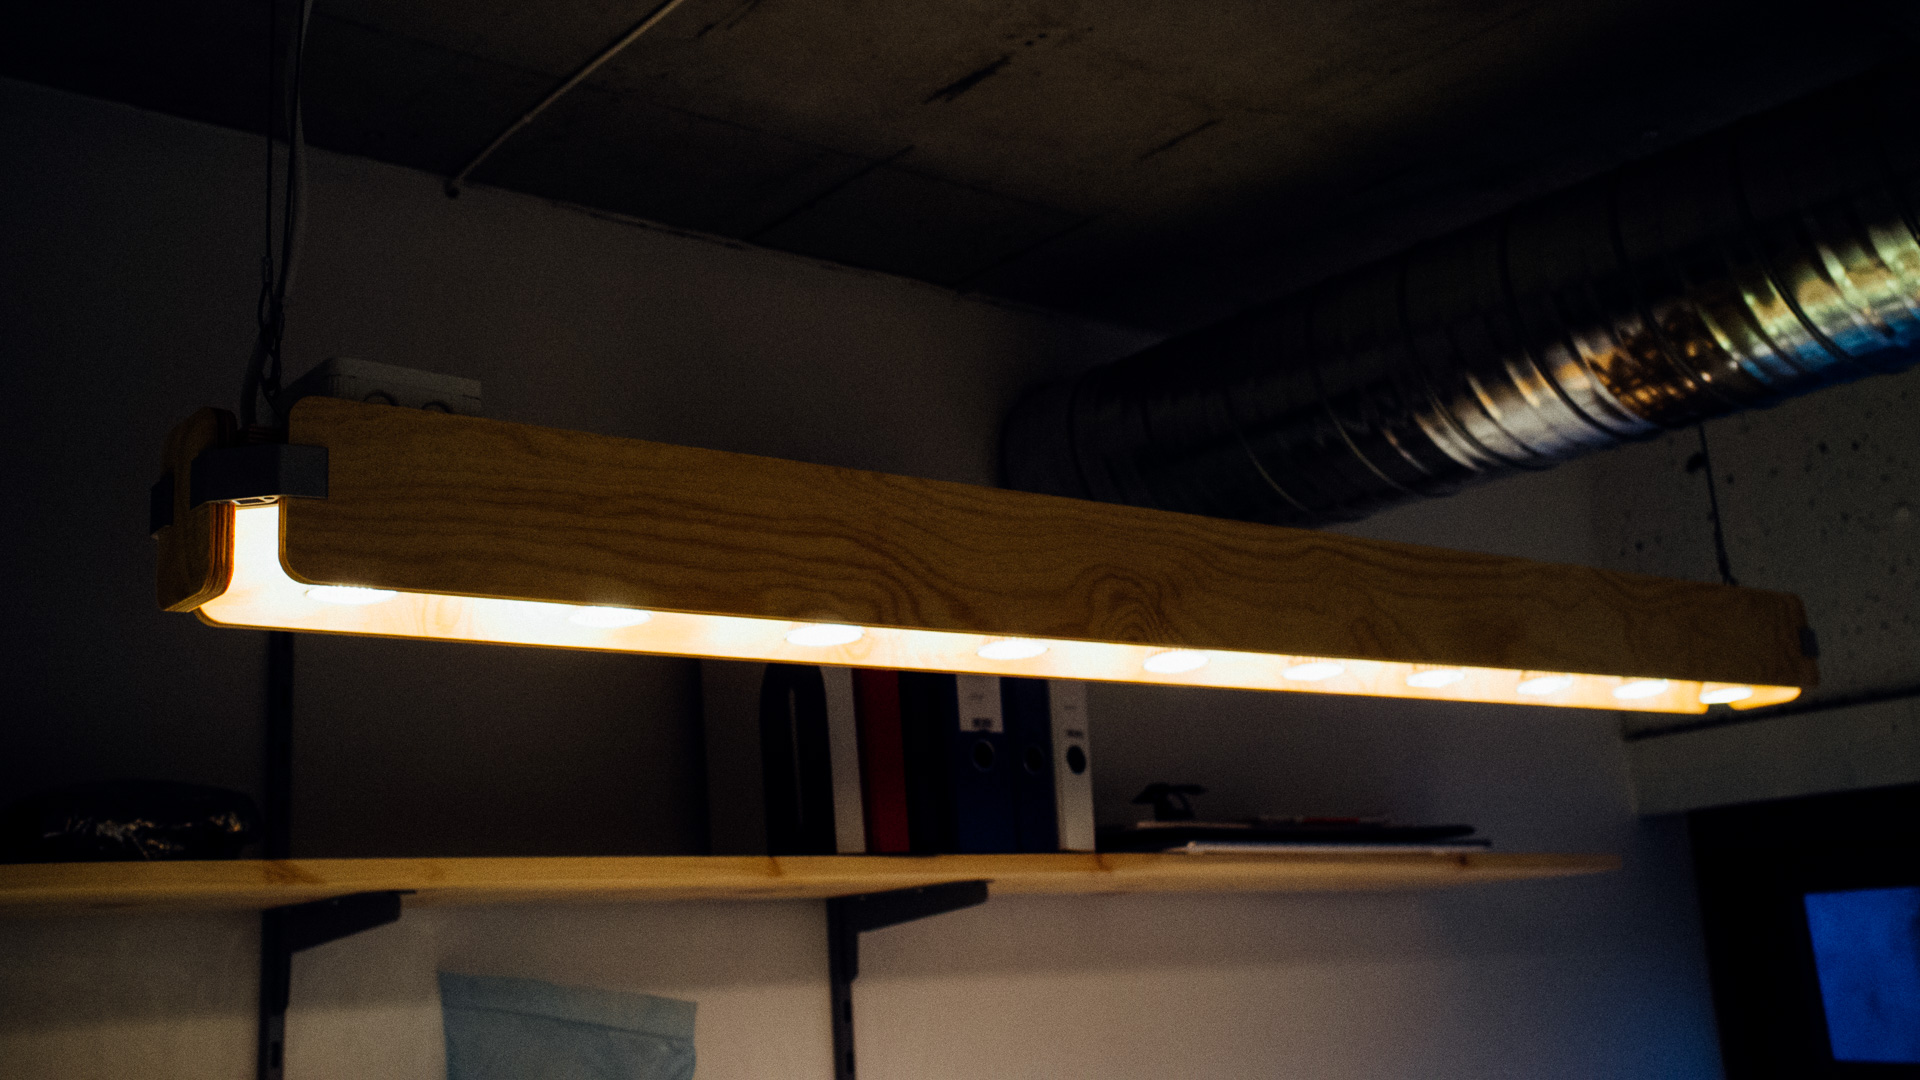
Good lighting is often underestimated (together with a lot of different things). We decided to build a couple of both good looking, powerful and functional office lamps.
Design
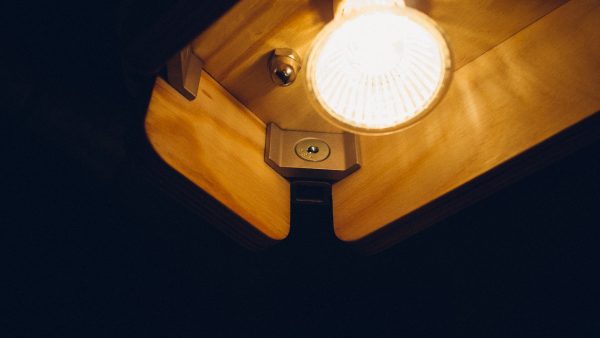
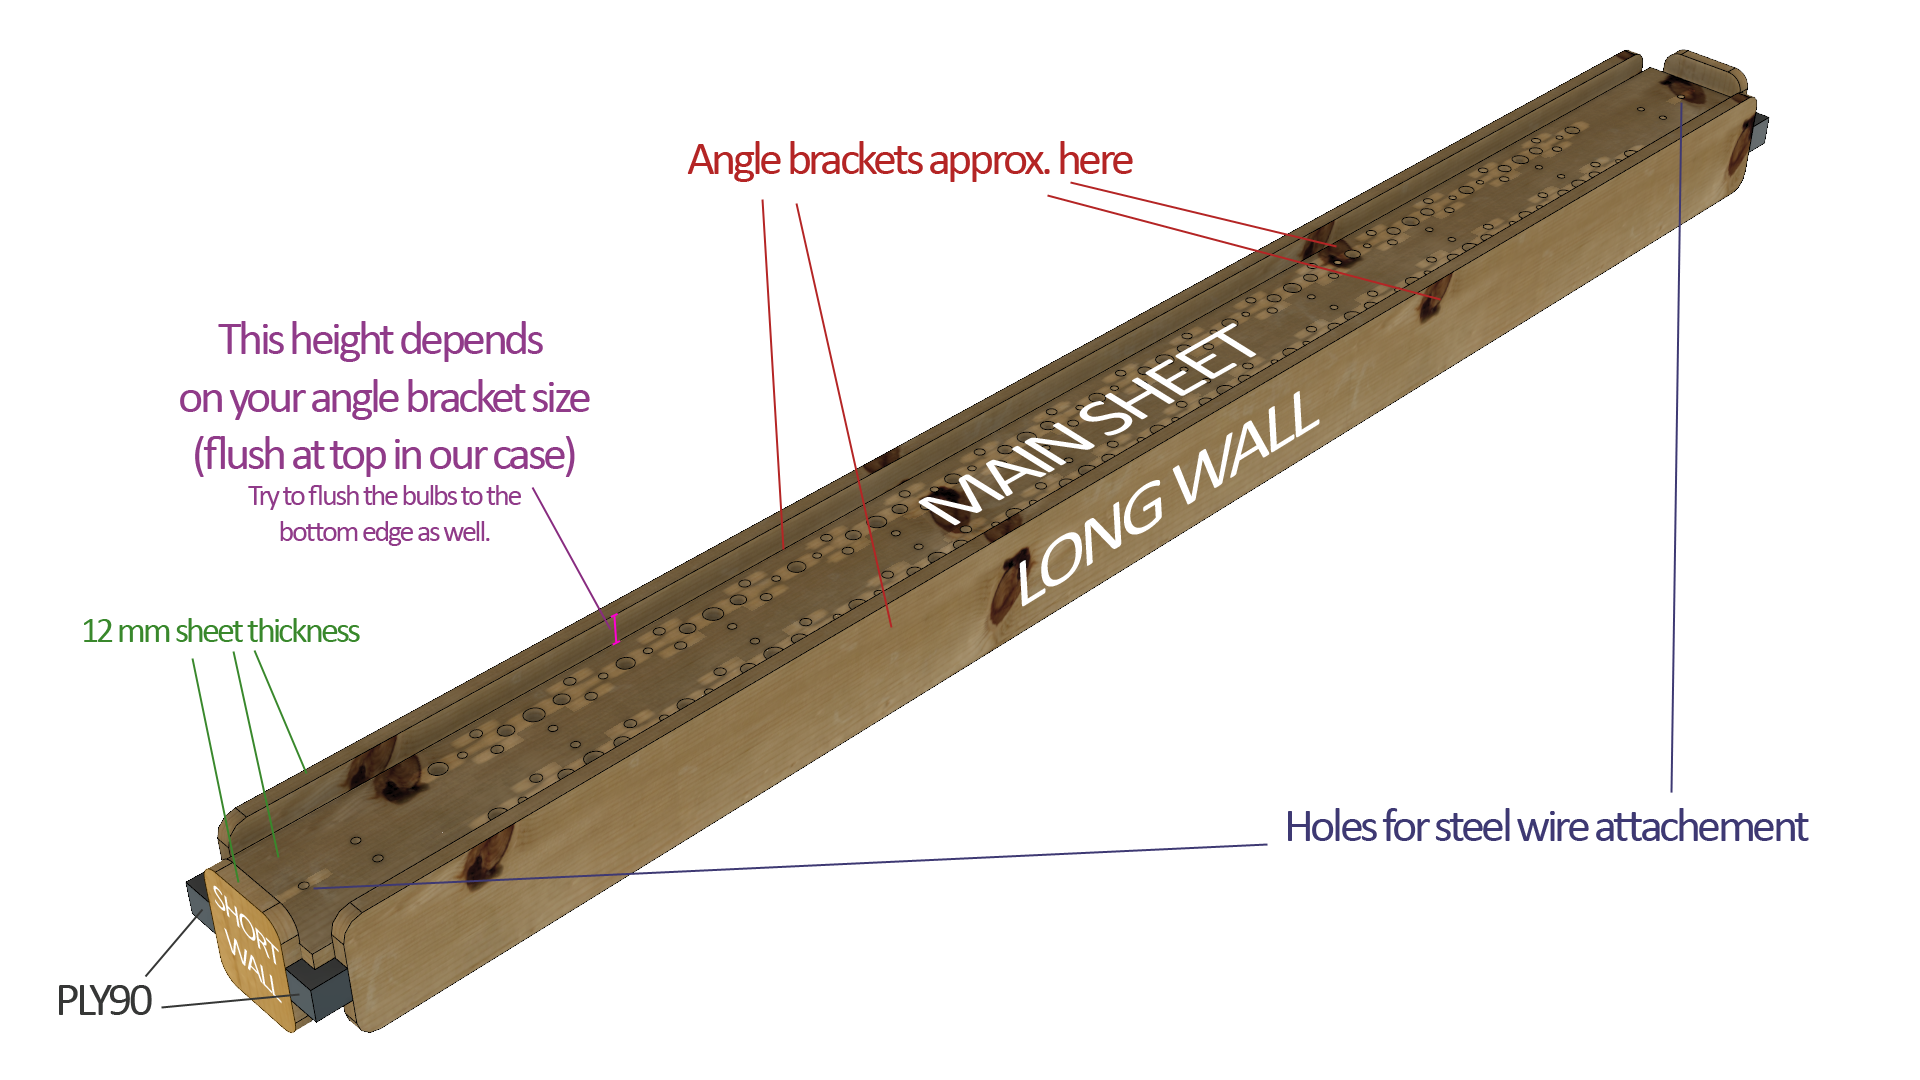
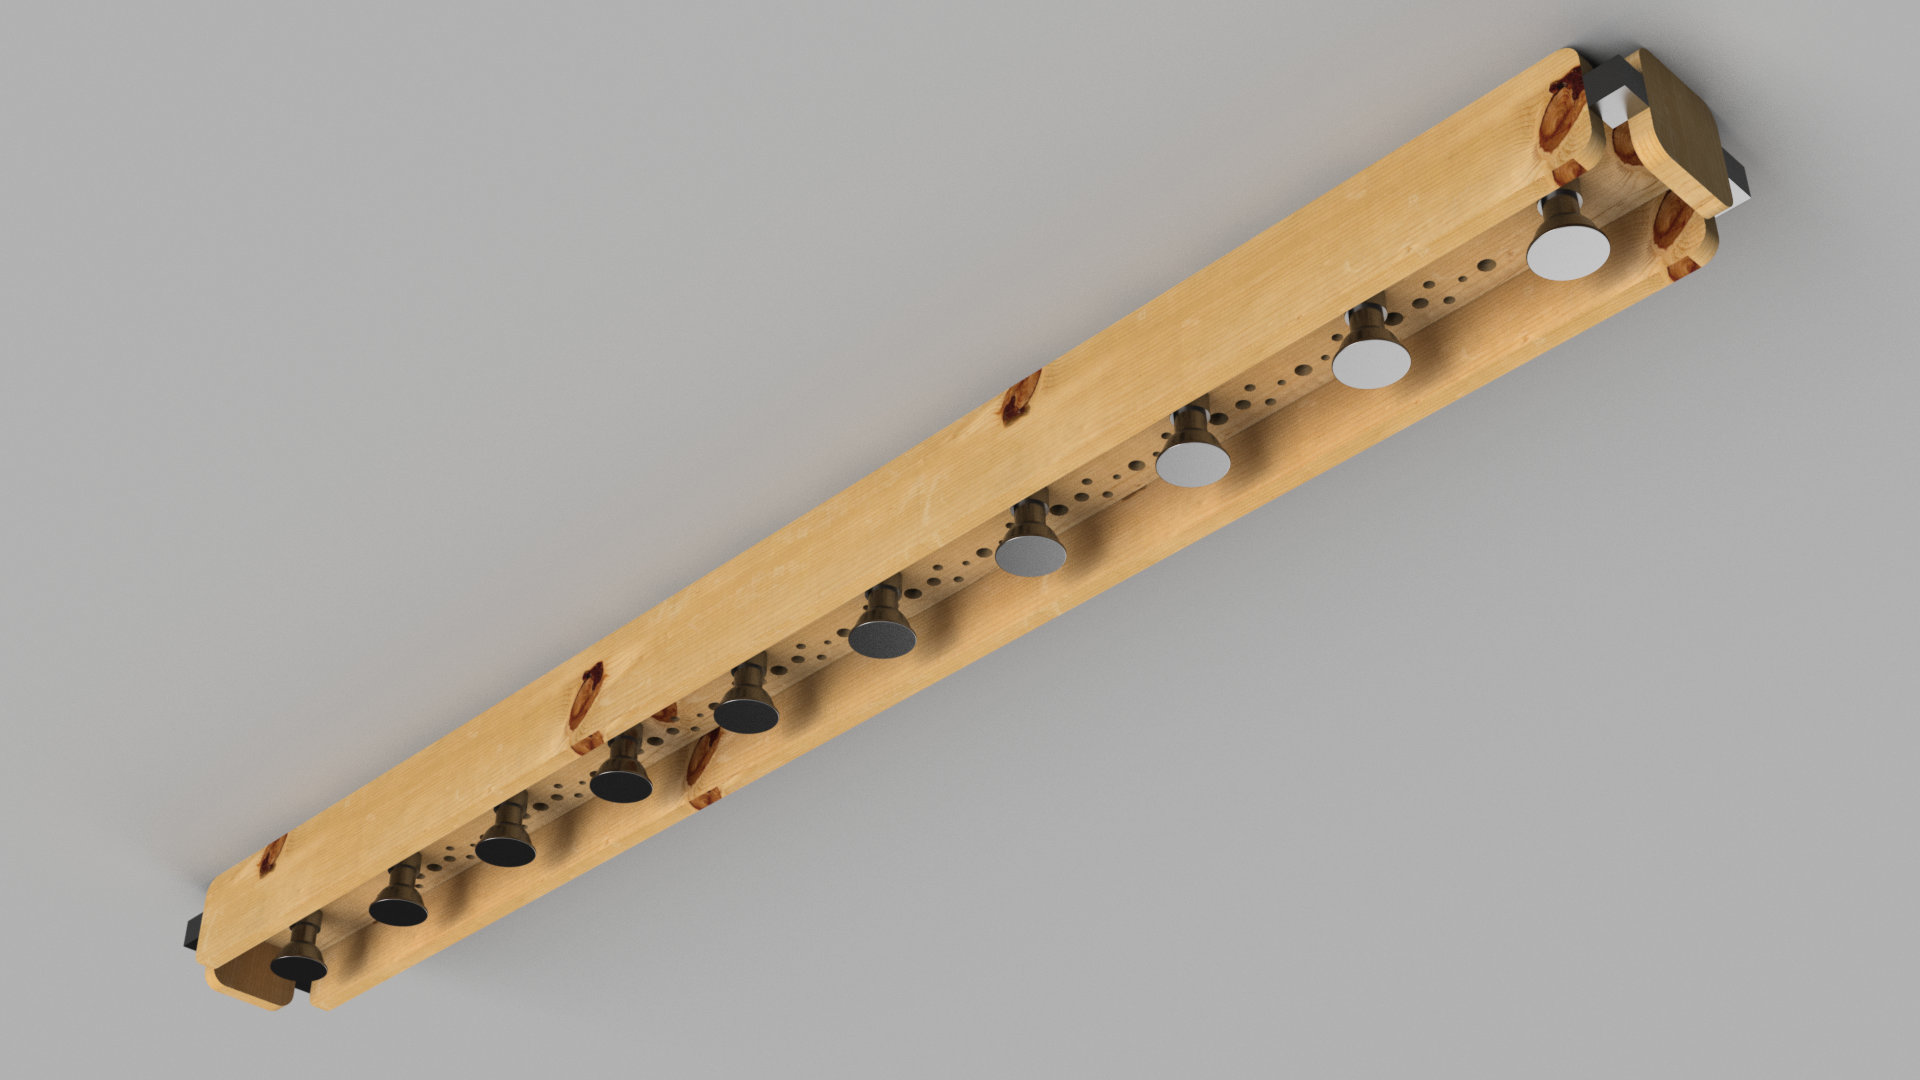
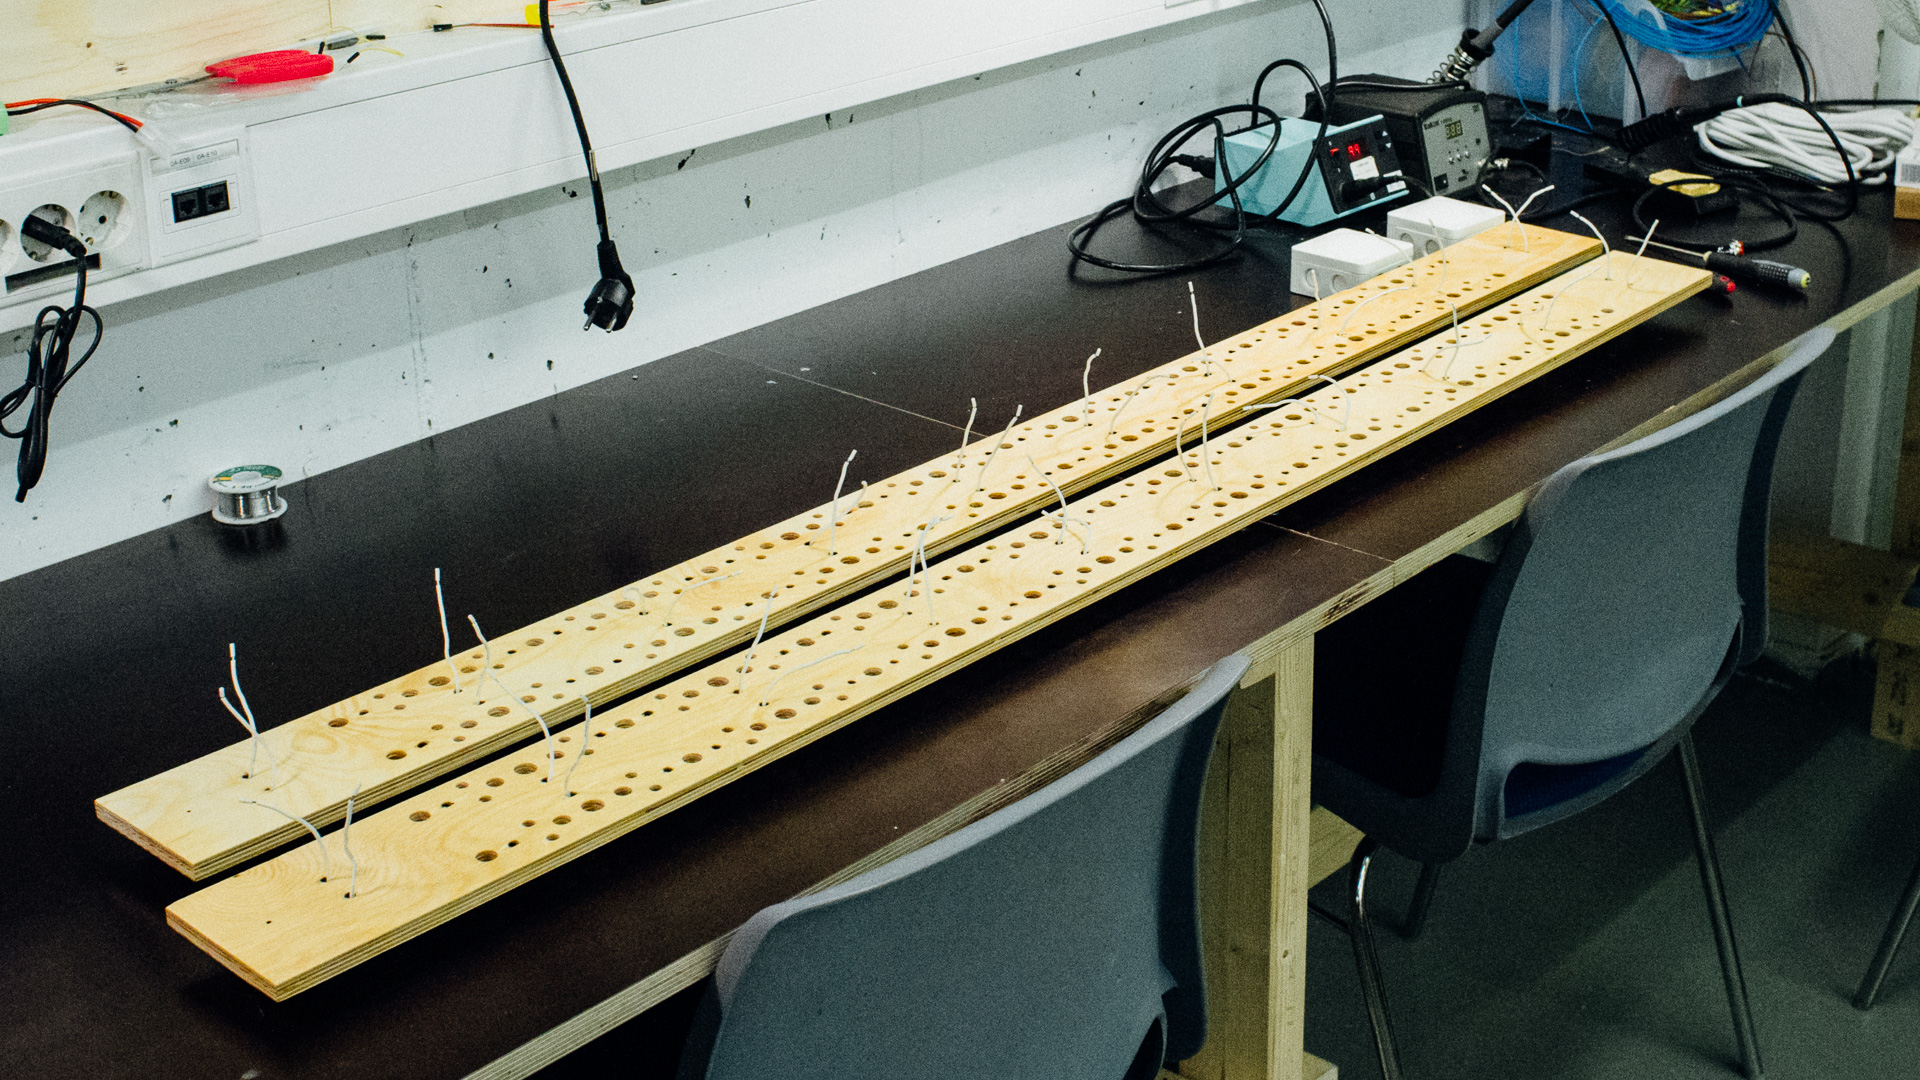
The lamp is designed around the “GU10-socket-standard”. It consists of 10 GU10-sockets, which we have each stuffed with 35 W halogen lamps.
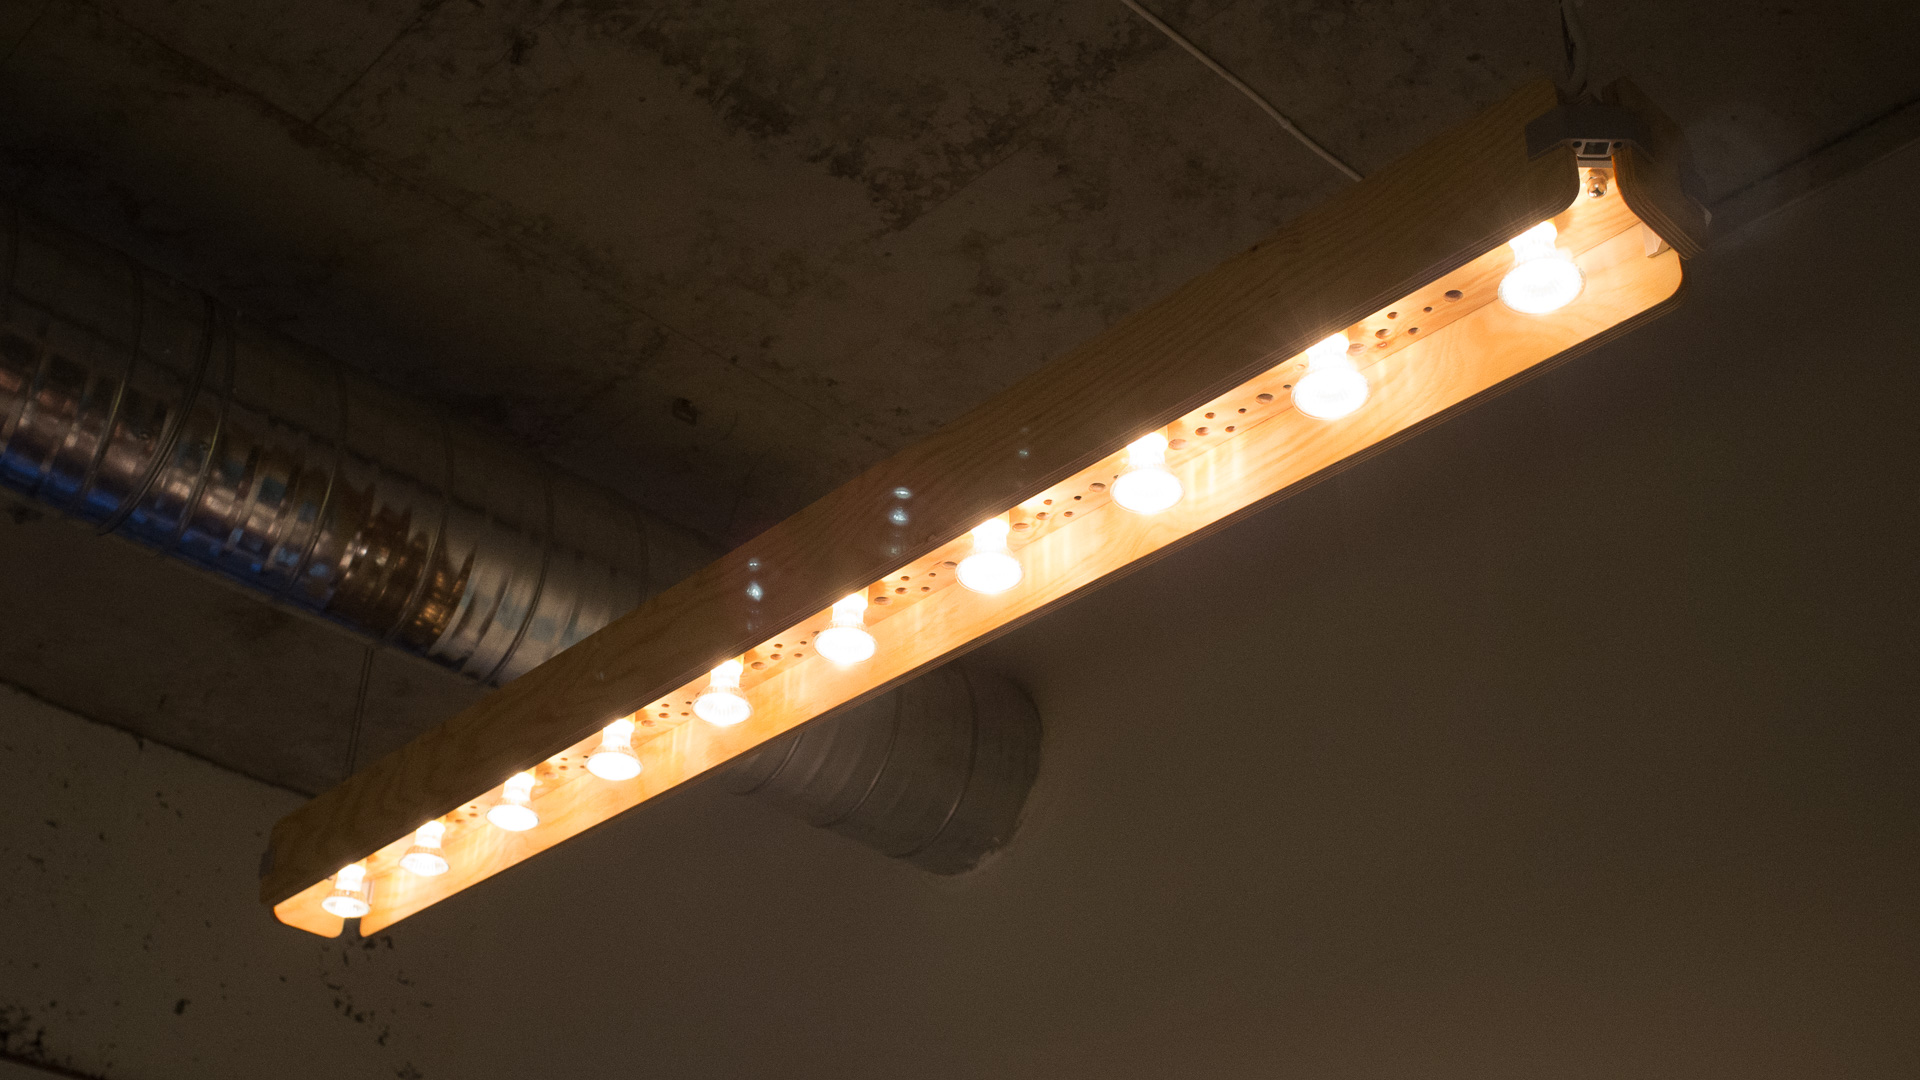
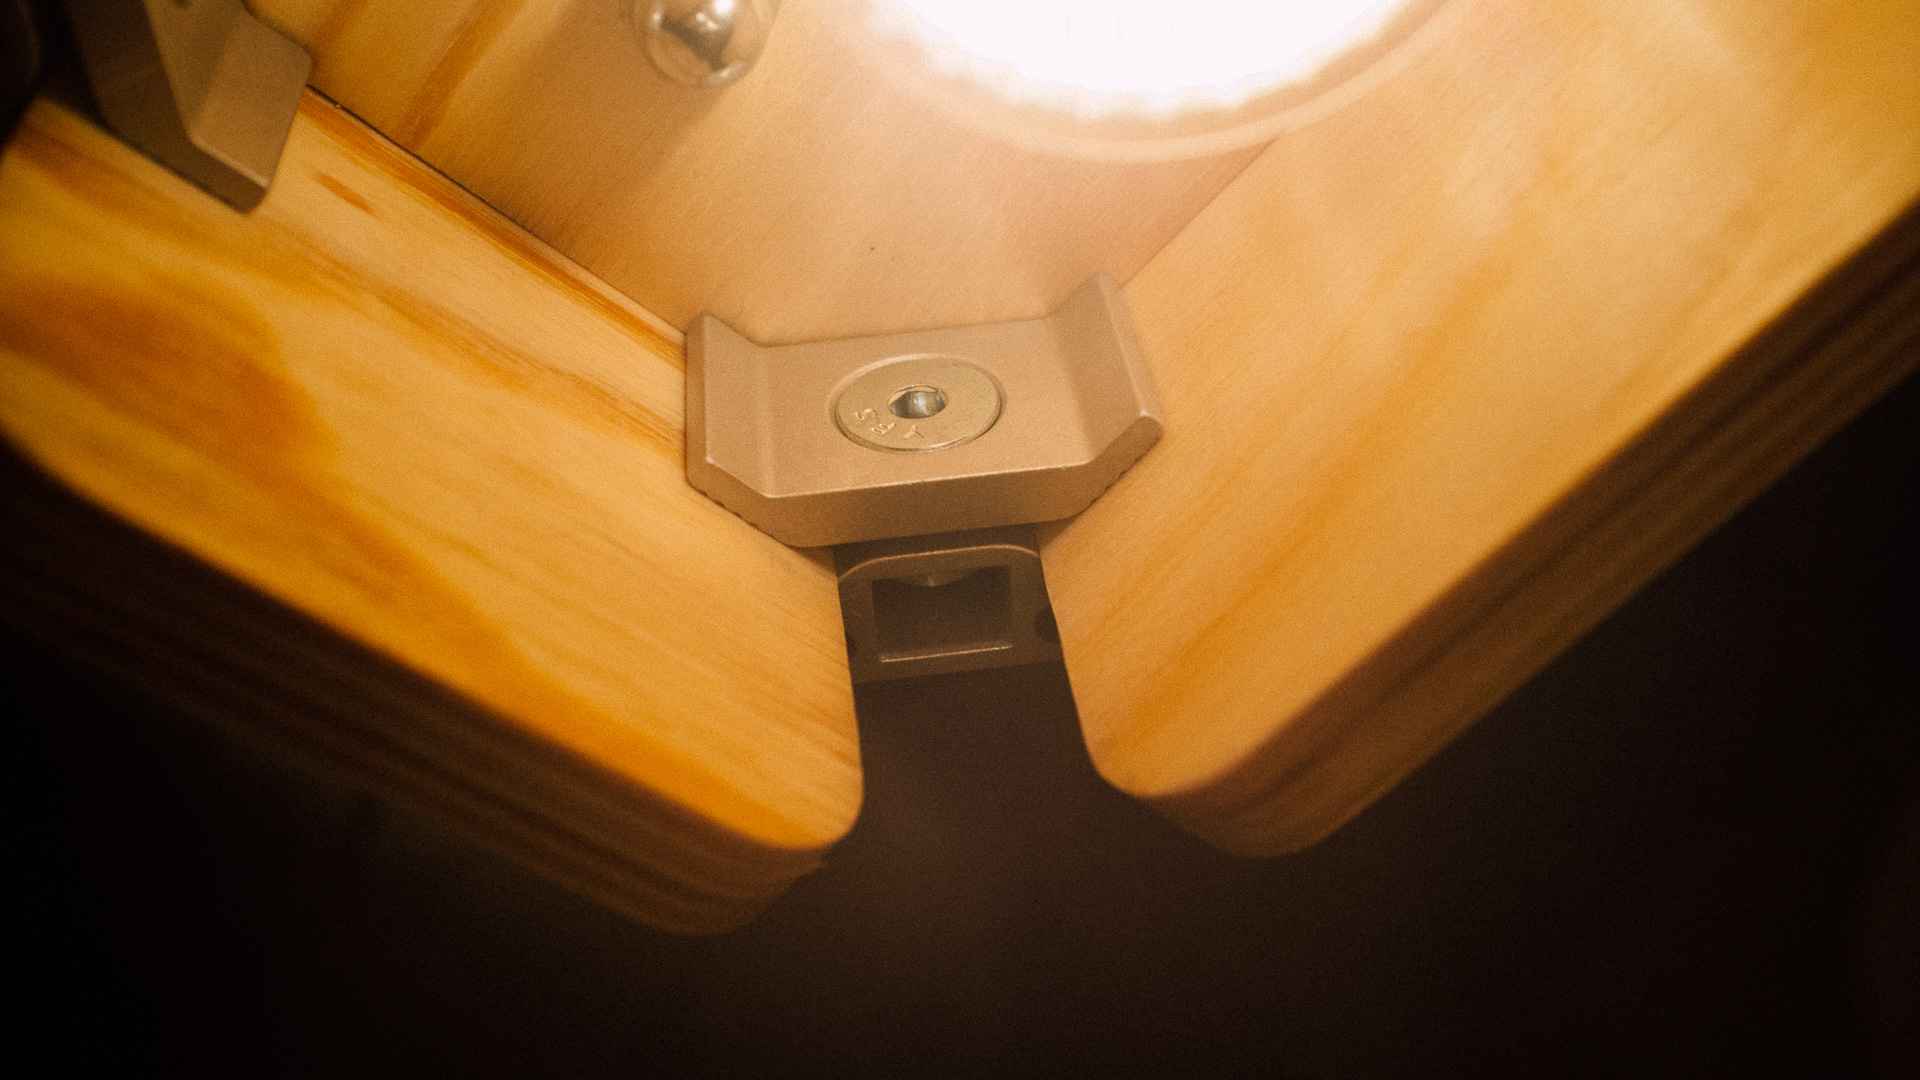
The framework consist mainly of five 12 mm plywood pieces fixed to eachother with angle brackets and PLY90 Corner brackets.


Parts used to build one lamp:
- 10 pcs. GU10 Lamp sockets
- 4 pcs. PLY 90 brackets
- 4 pcs. small angle brackets
- Some 12 mm plywood and Liberon Finishing Oil
- Z-Wave-dimmer: DSC19 – (575W)
- Z-Wave remote control (that can act as a master): CWS-3-1
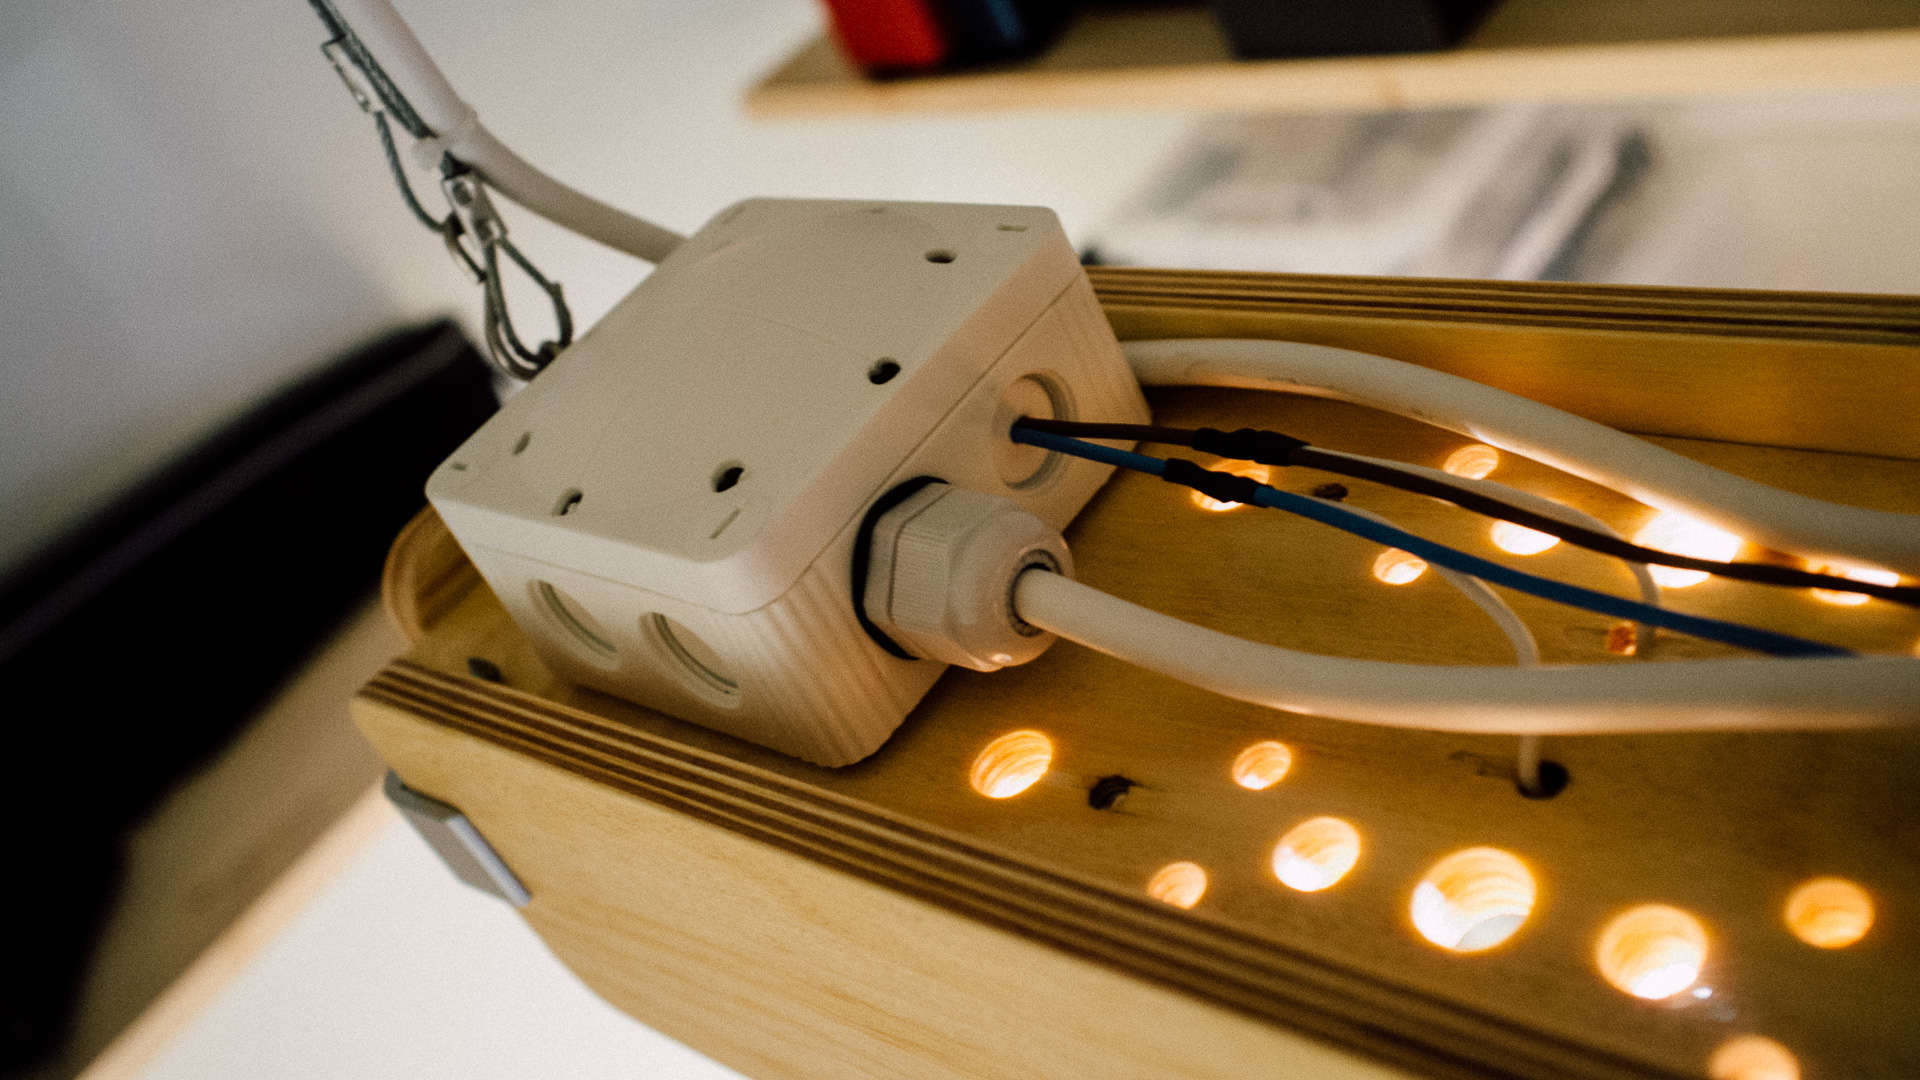
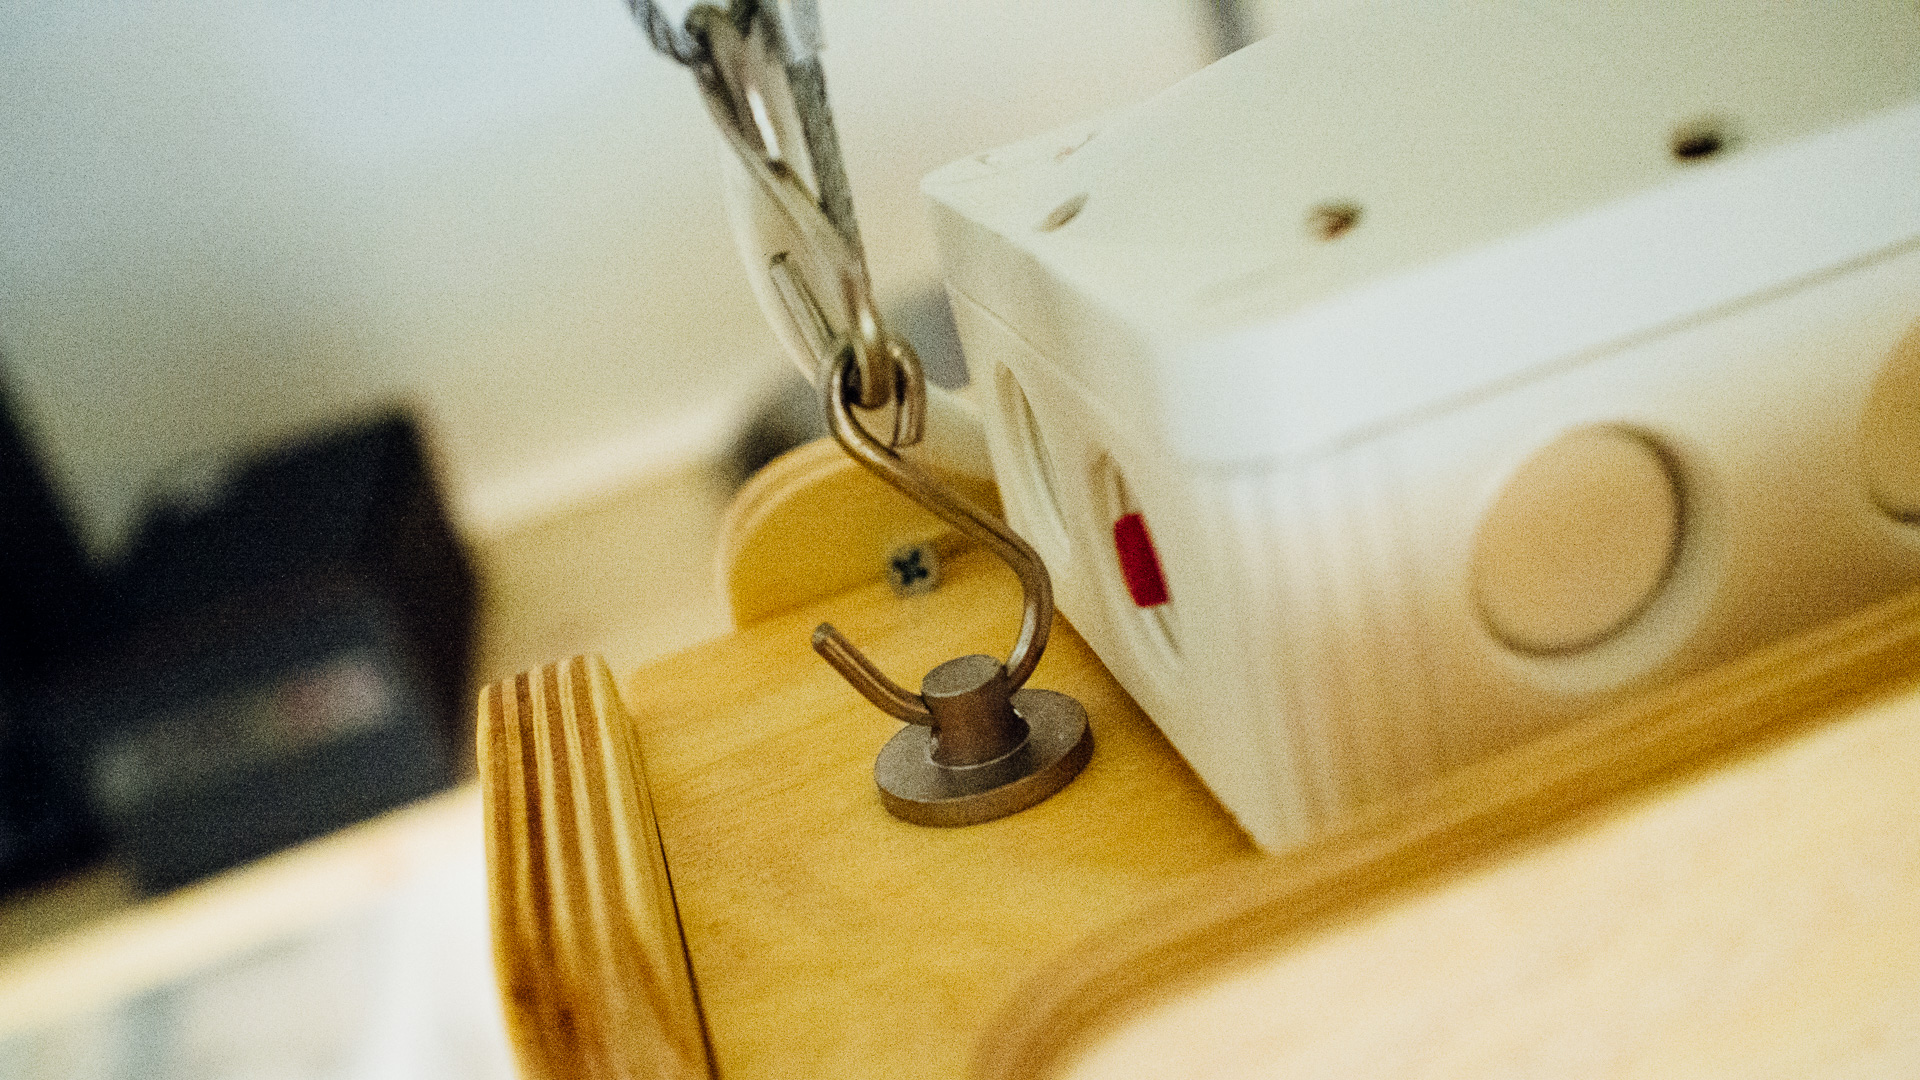
- Steel wires with hooks to attach it to the ceiling
- Enclosure, shrink tube, cabling, terminal blocks etc. (misc. electronics)
- Tools!
DOWNLOAD:

This work is licensed under a Creative Commons Attribution-ShareAlike 4.0 International License.
You can download the model here.
Building
As you can see in the video we CNC-machined all the wooden parts. Thereafter it was just a matter of assembling all the different pieces.
Using
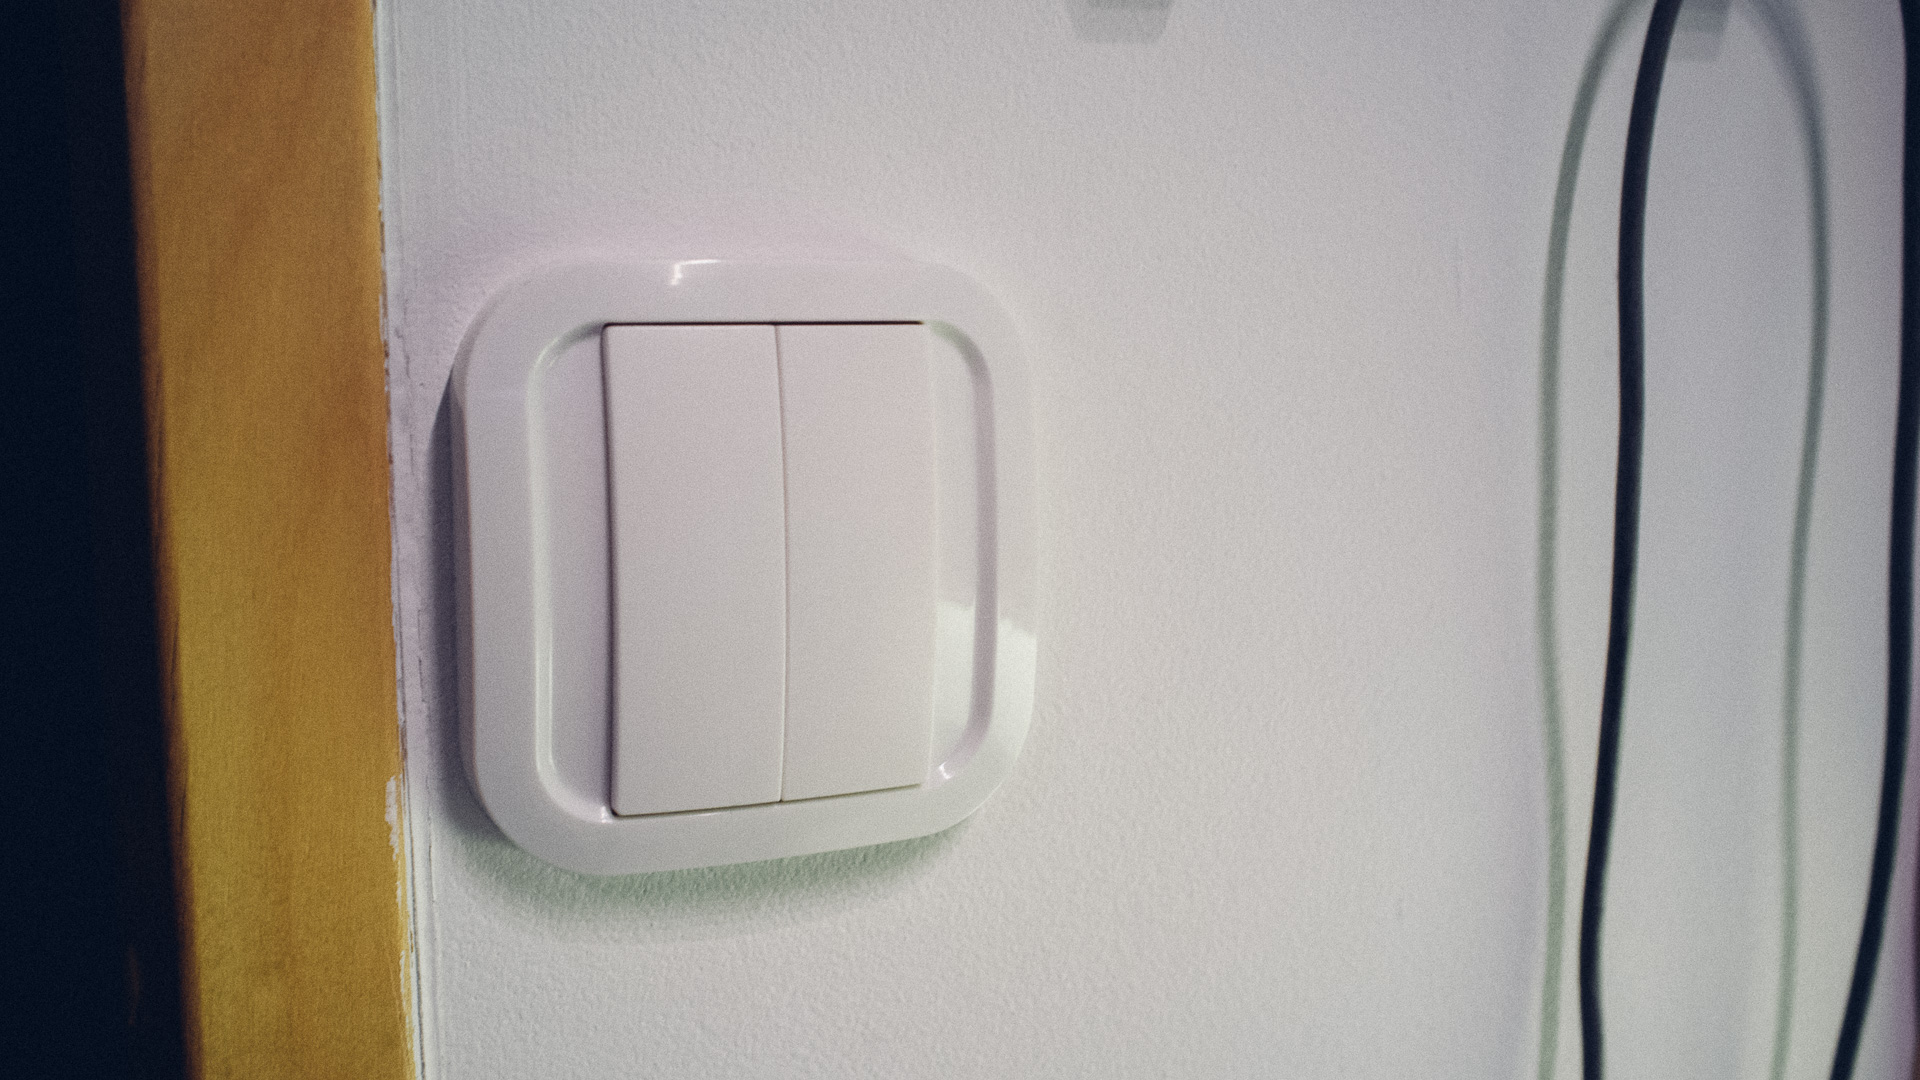
It had to be easy to control, and the control should be possible to do from as many of the different systems we use/test as possible. So in this lamp we are testing out Z-Wave. The parts are easy to get a hold of, but it’s not as open source as we would like. However, there exist modules for easy connection to things like Raspberry Pi (http://razberry.z-wave.me/).
If you make one of these yourself, we’d highly appreciate some images of your process and result!

