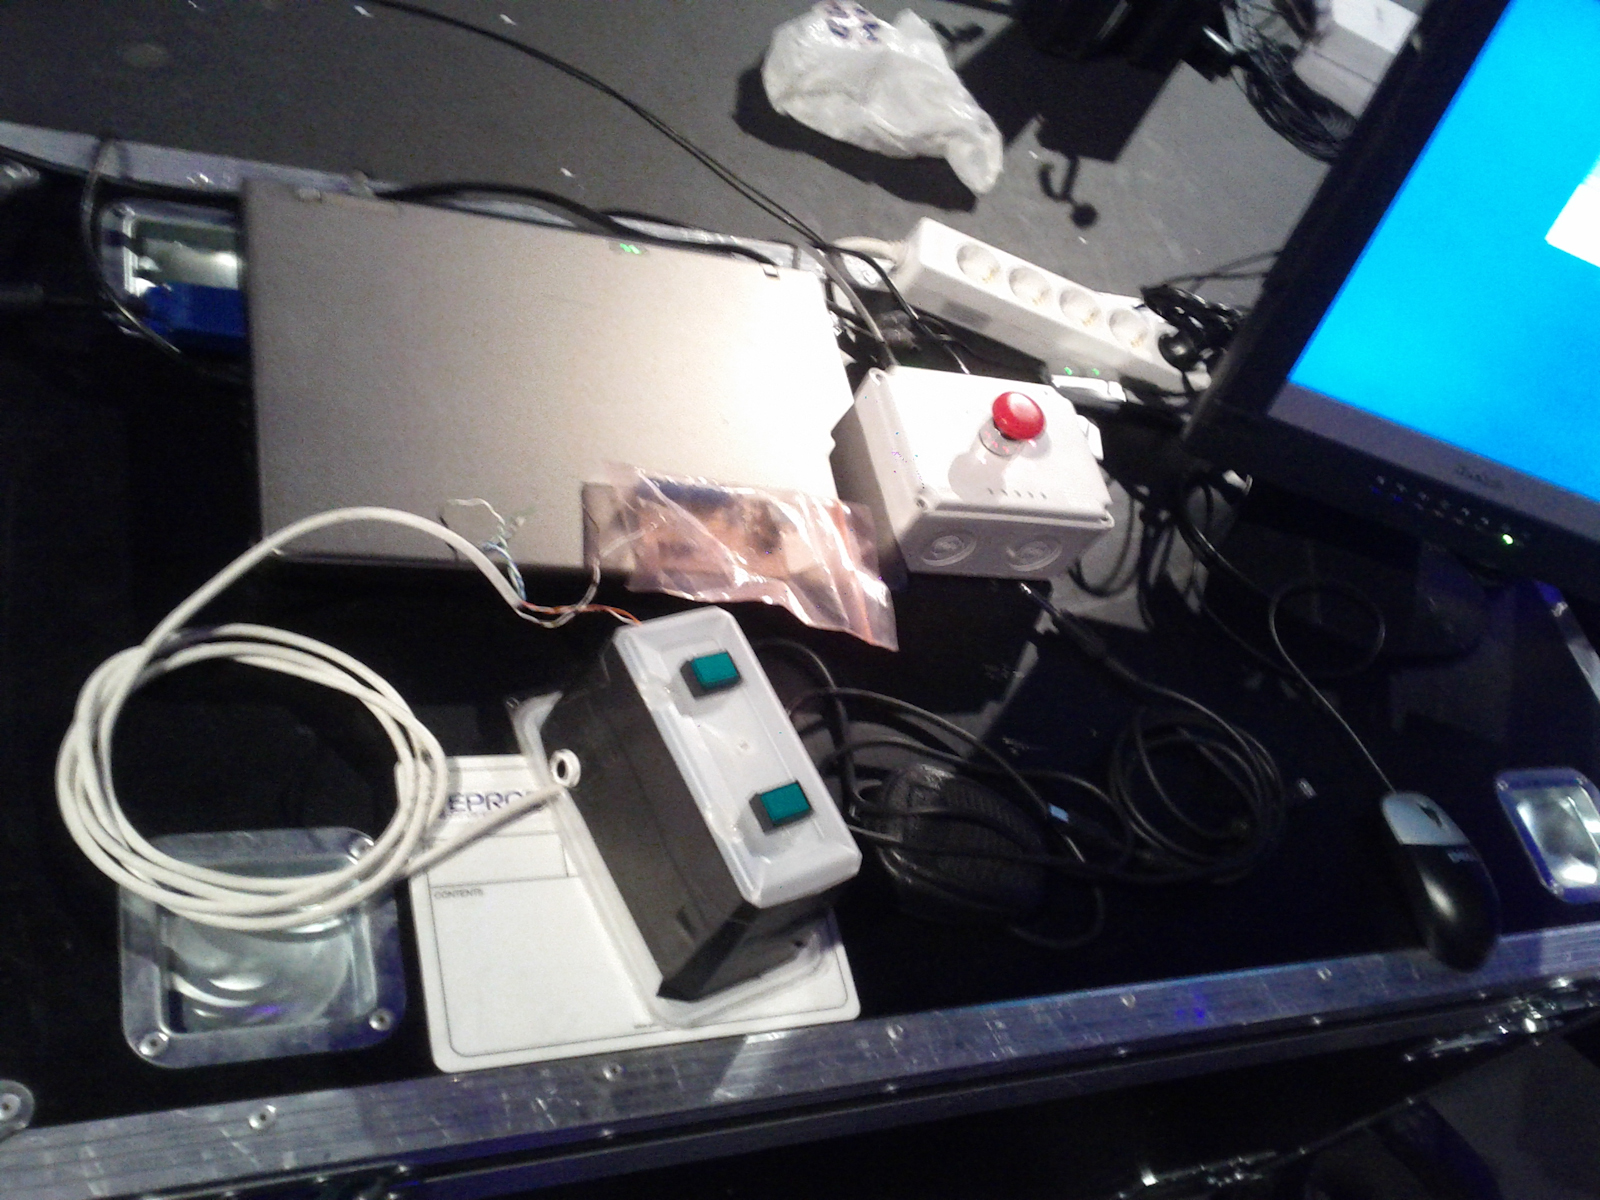
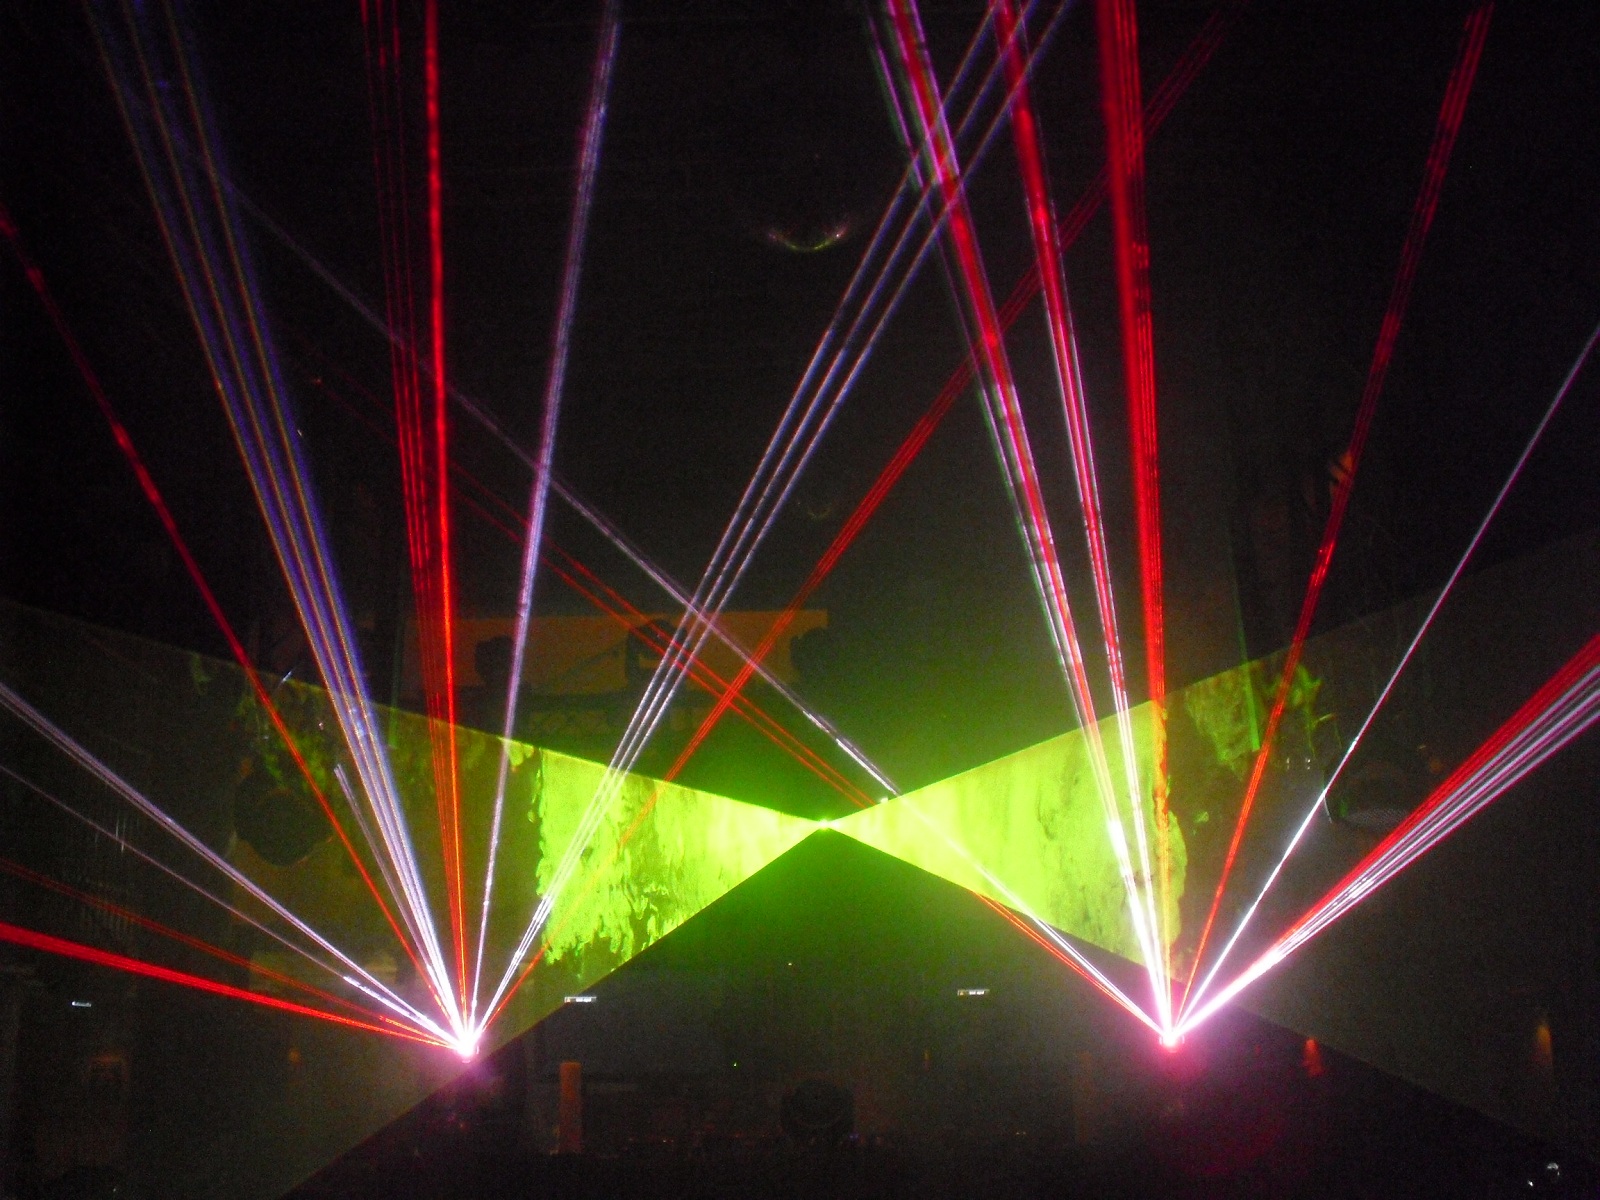
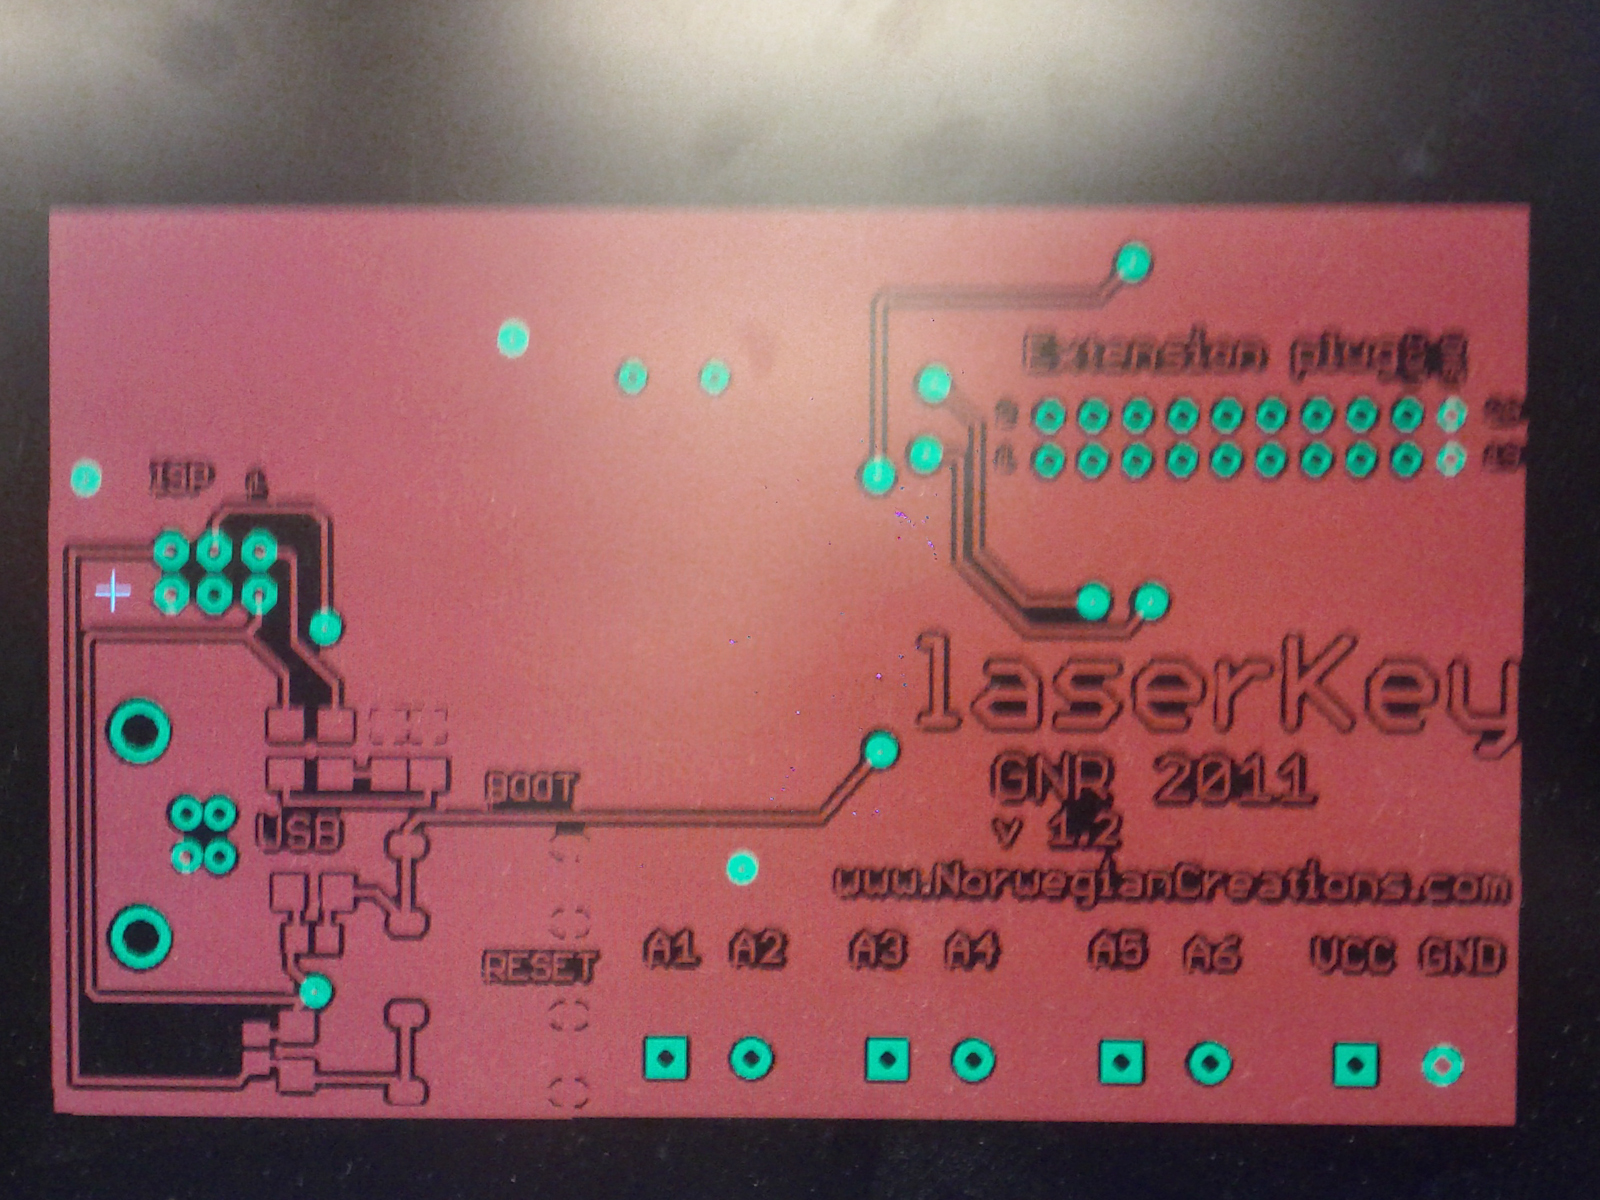
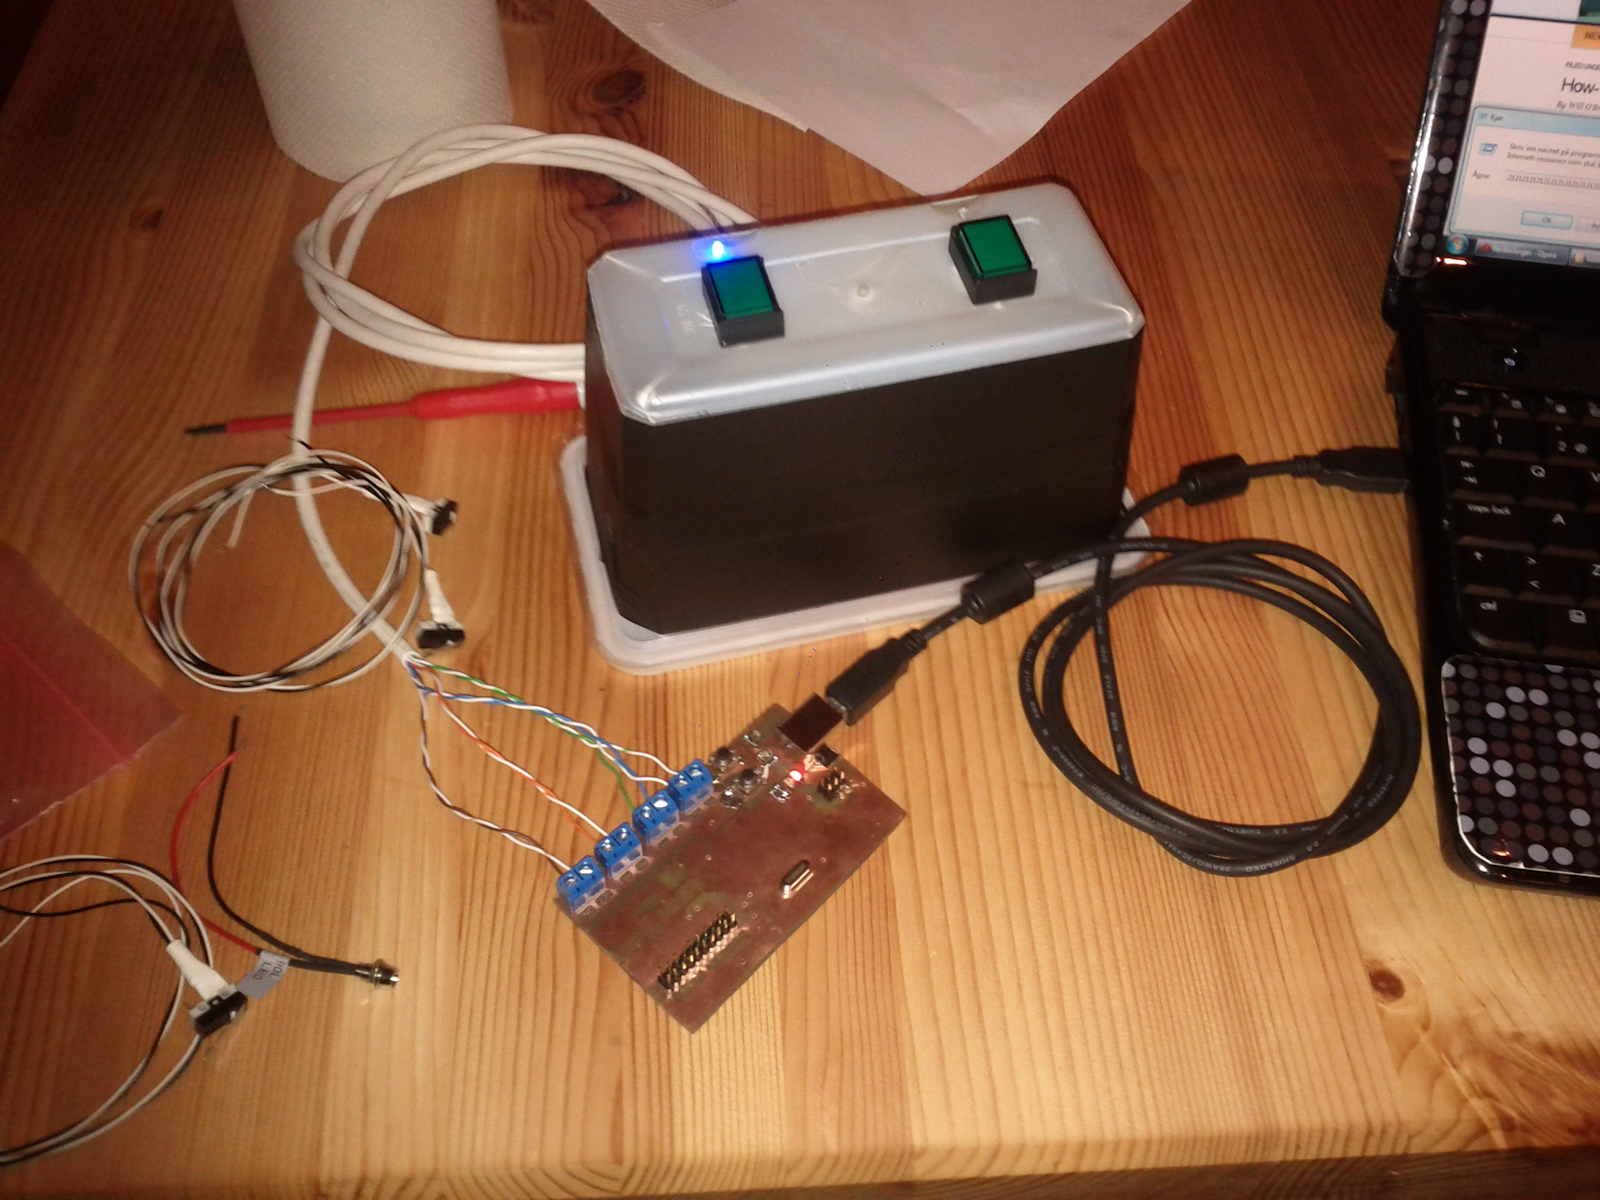
LaserKey is a custom controller designed to control a special laser software on a PC (Powered by Pangolin). Since I have done quite many laser shows now, the need for a custom controller has grown. So I decided to make one myself. The first edition has the finished circuit board, but only a prototype box and buttons at the moment (made right before a show). Later I have a plan to create a professional-looking all-in-one box, and include more features (like faders).
Video of the finished creation
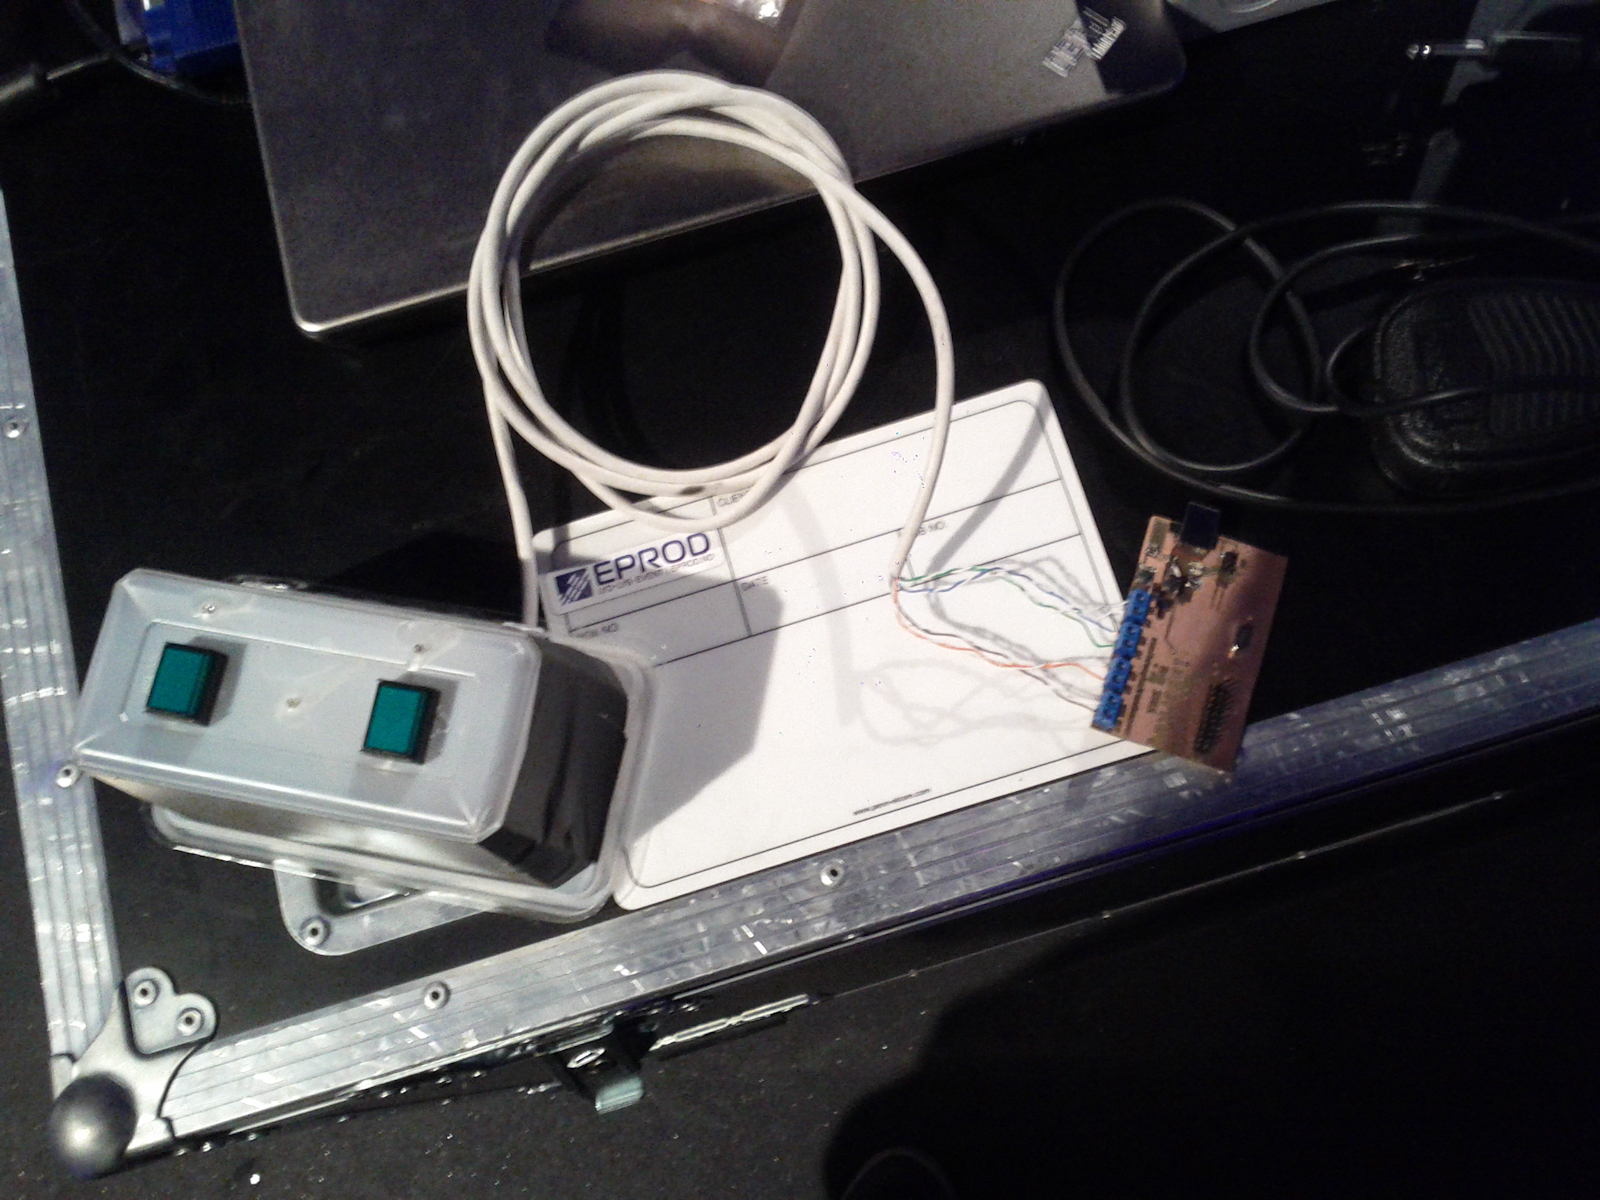
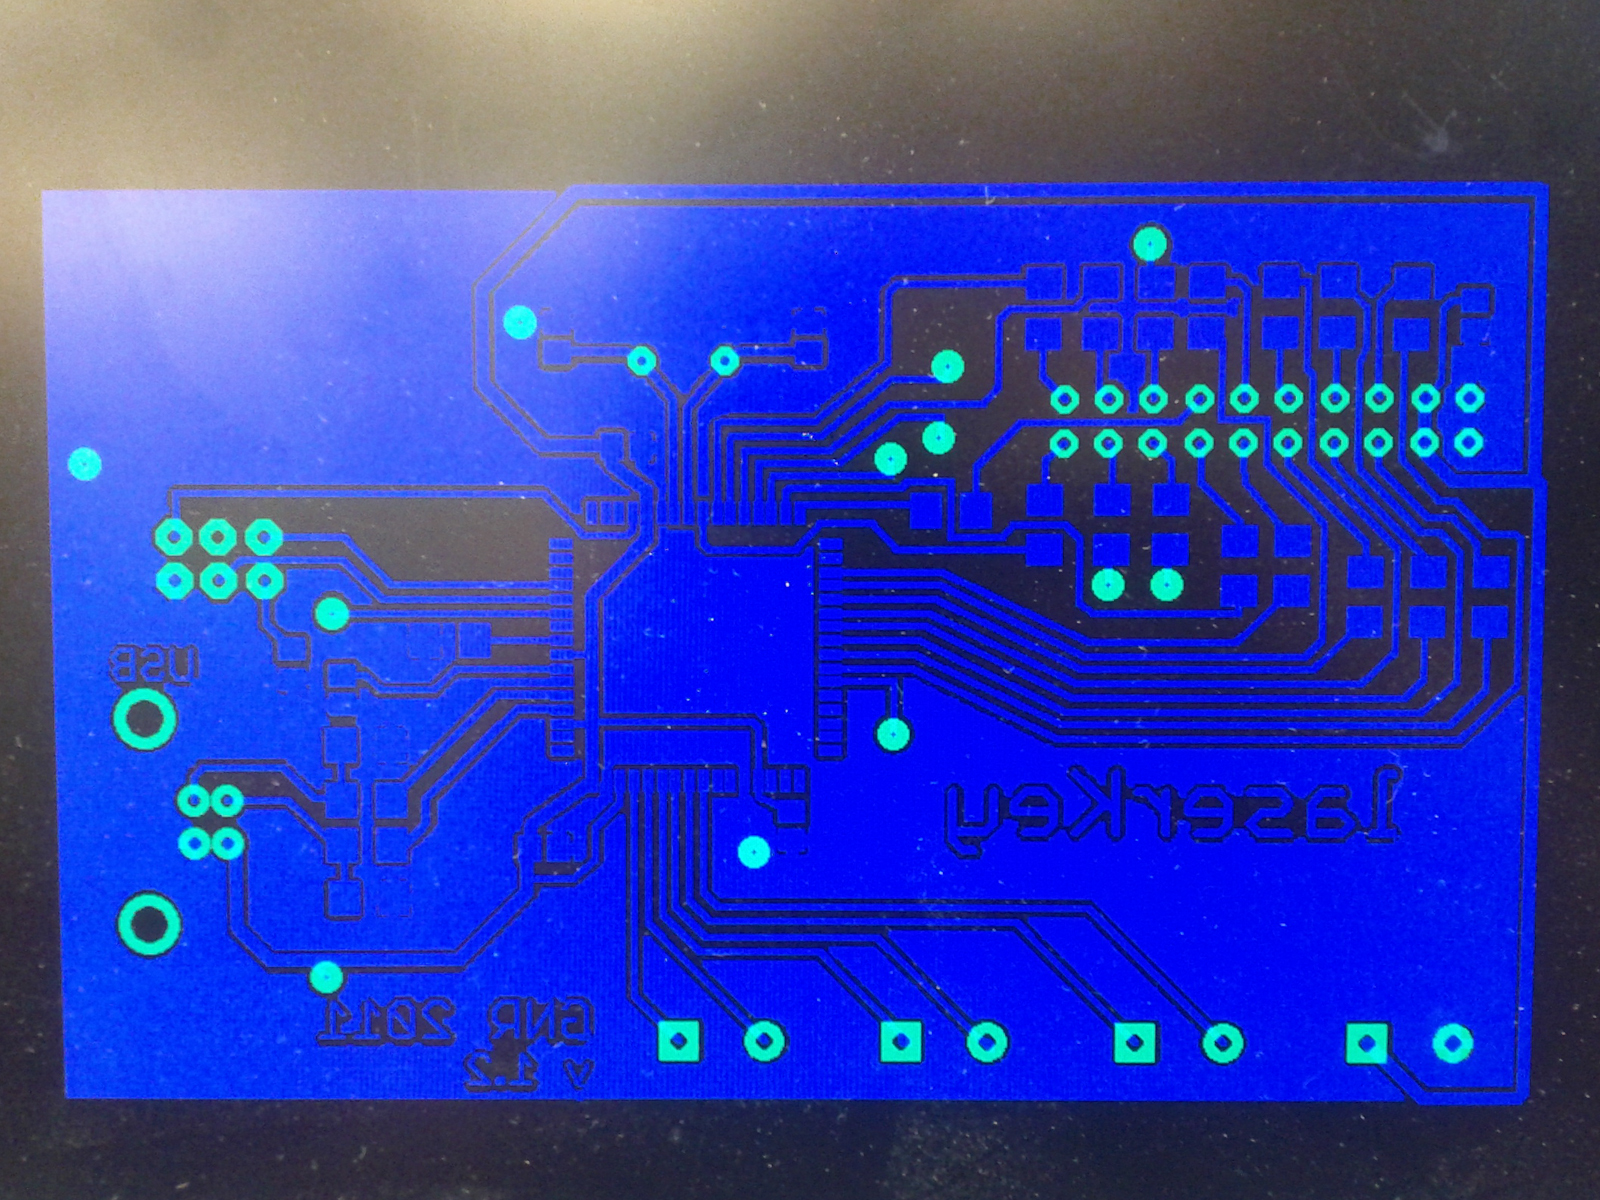
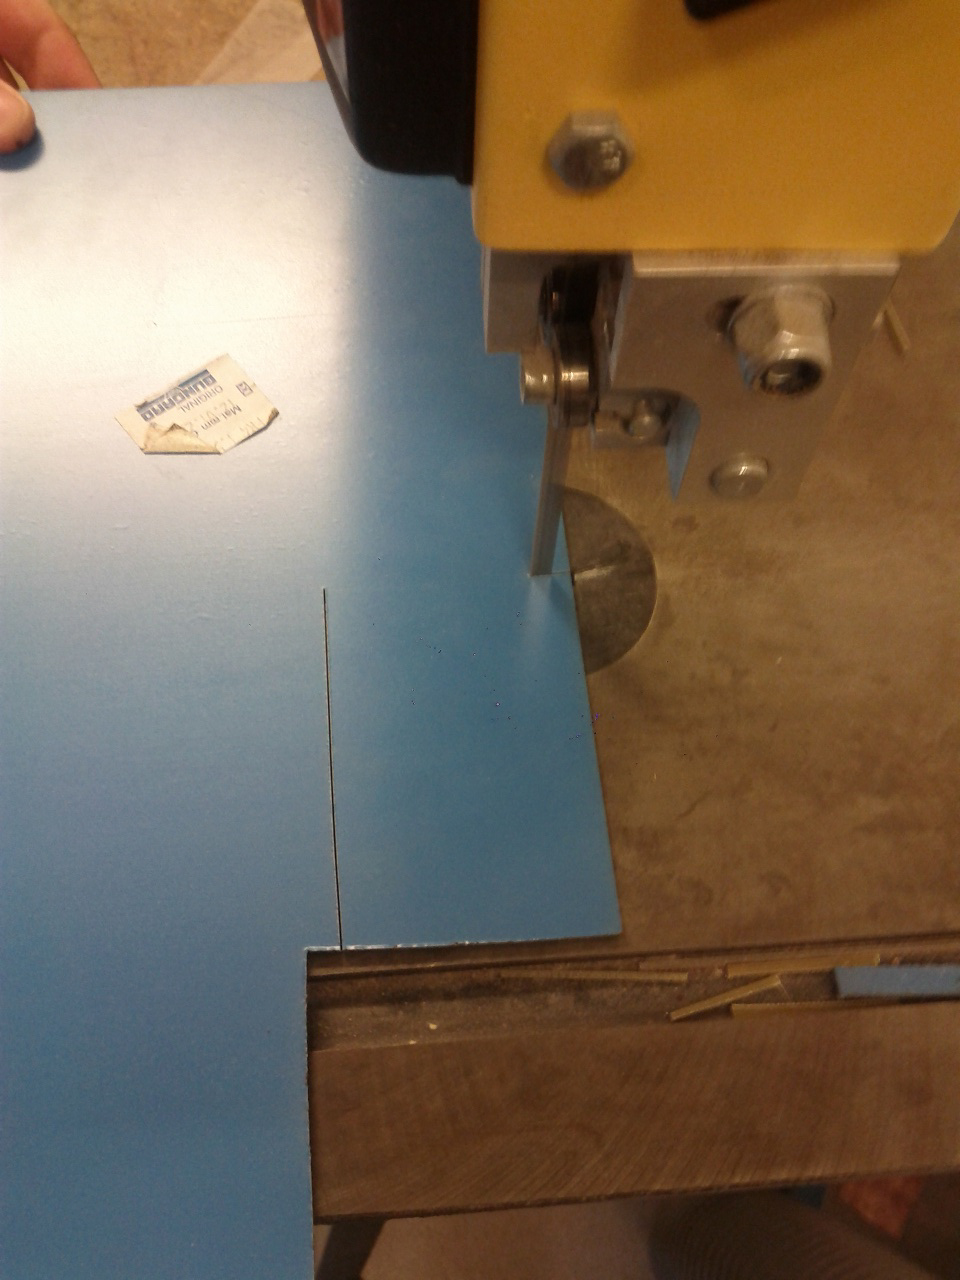
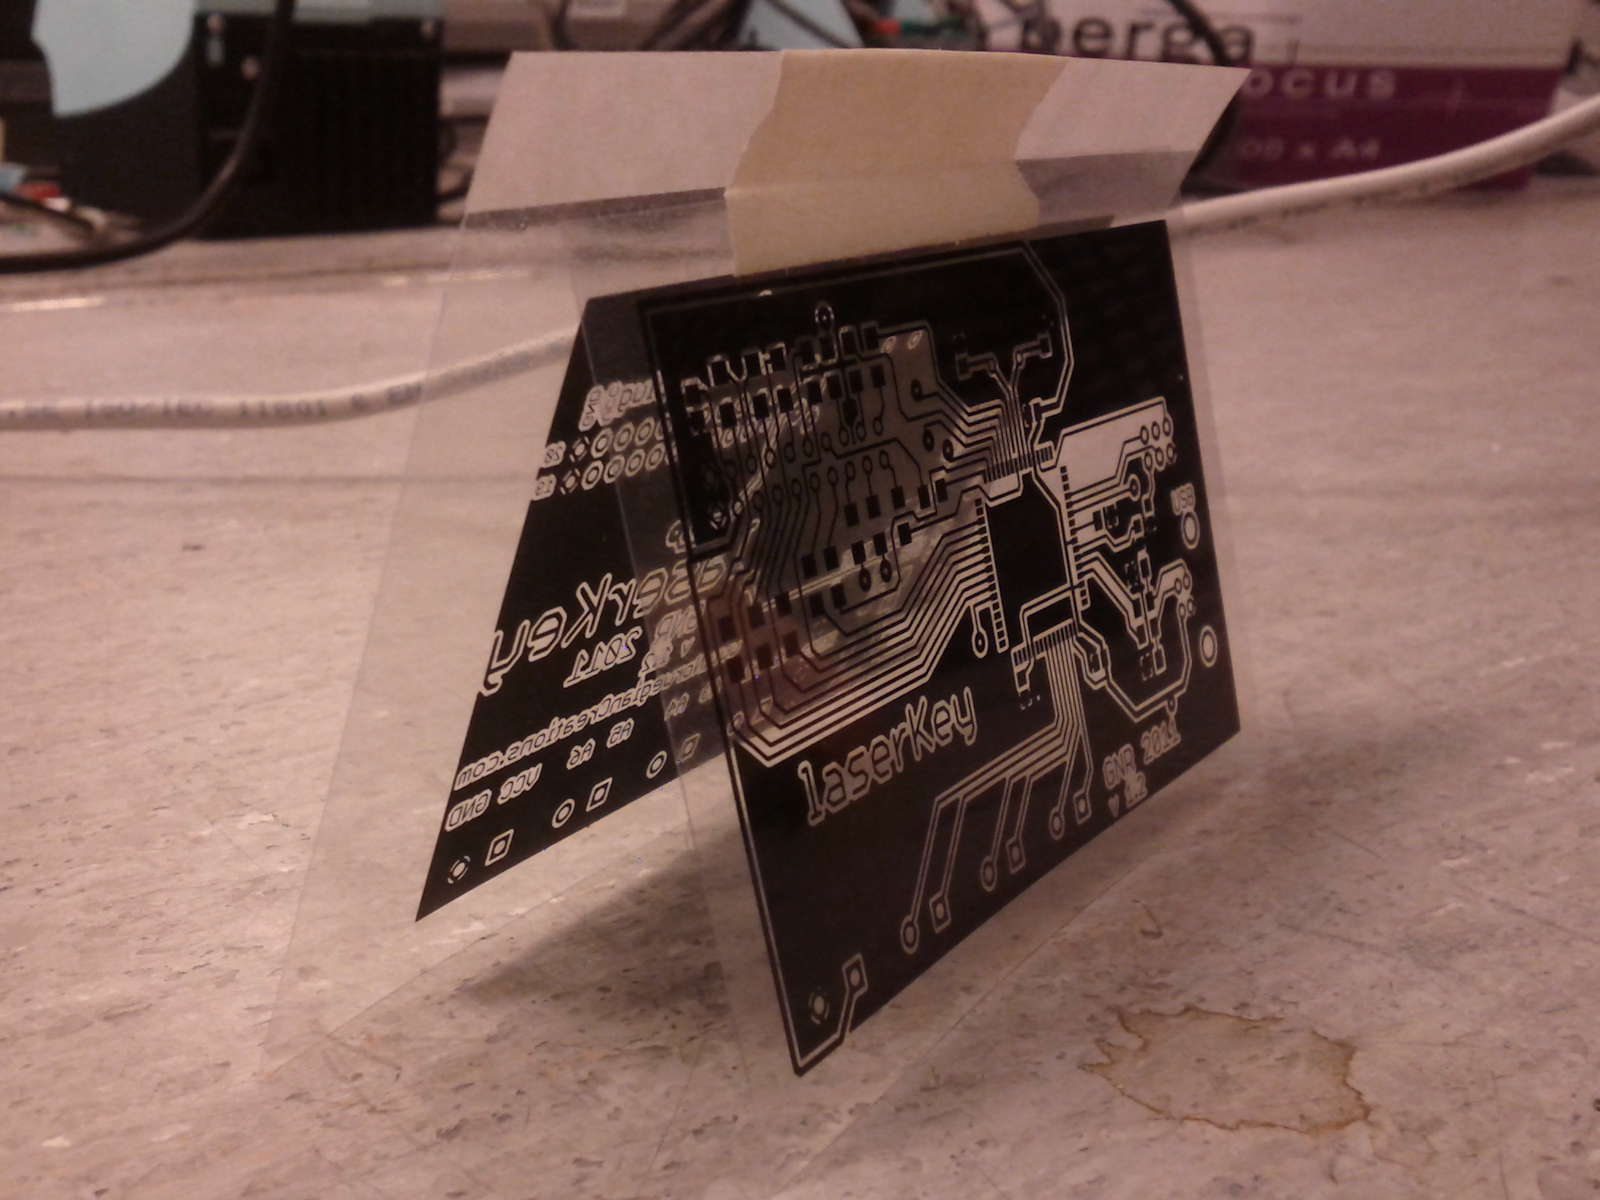
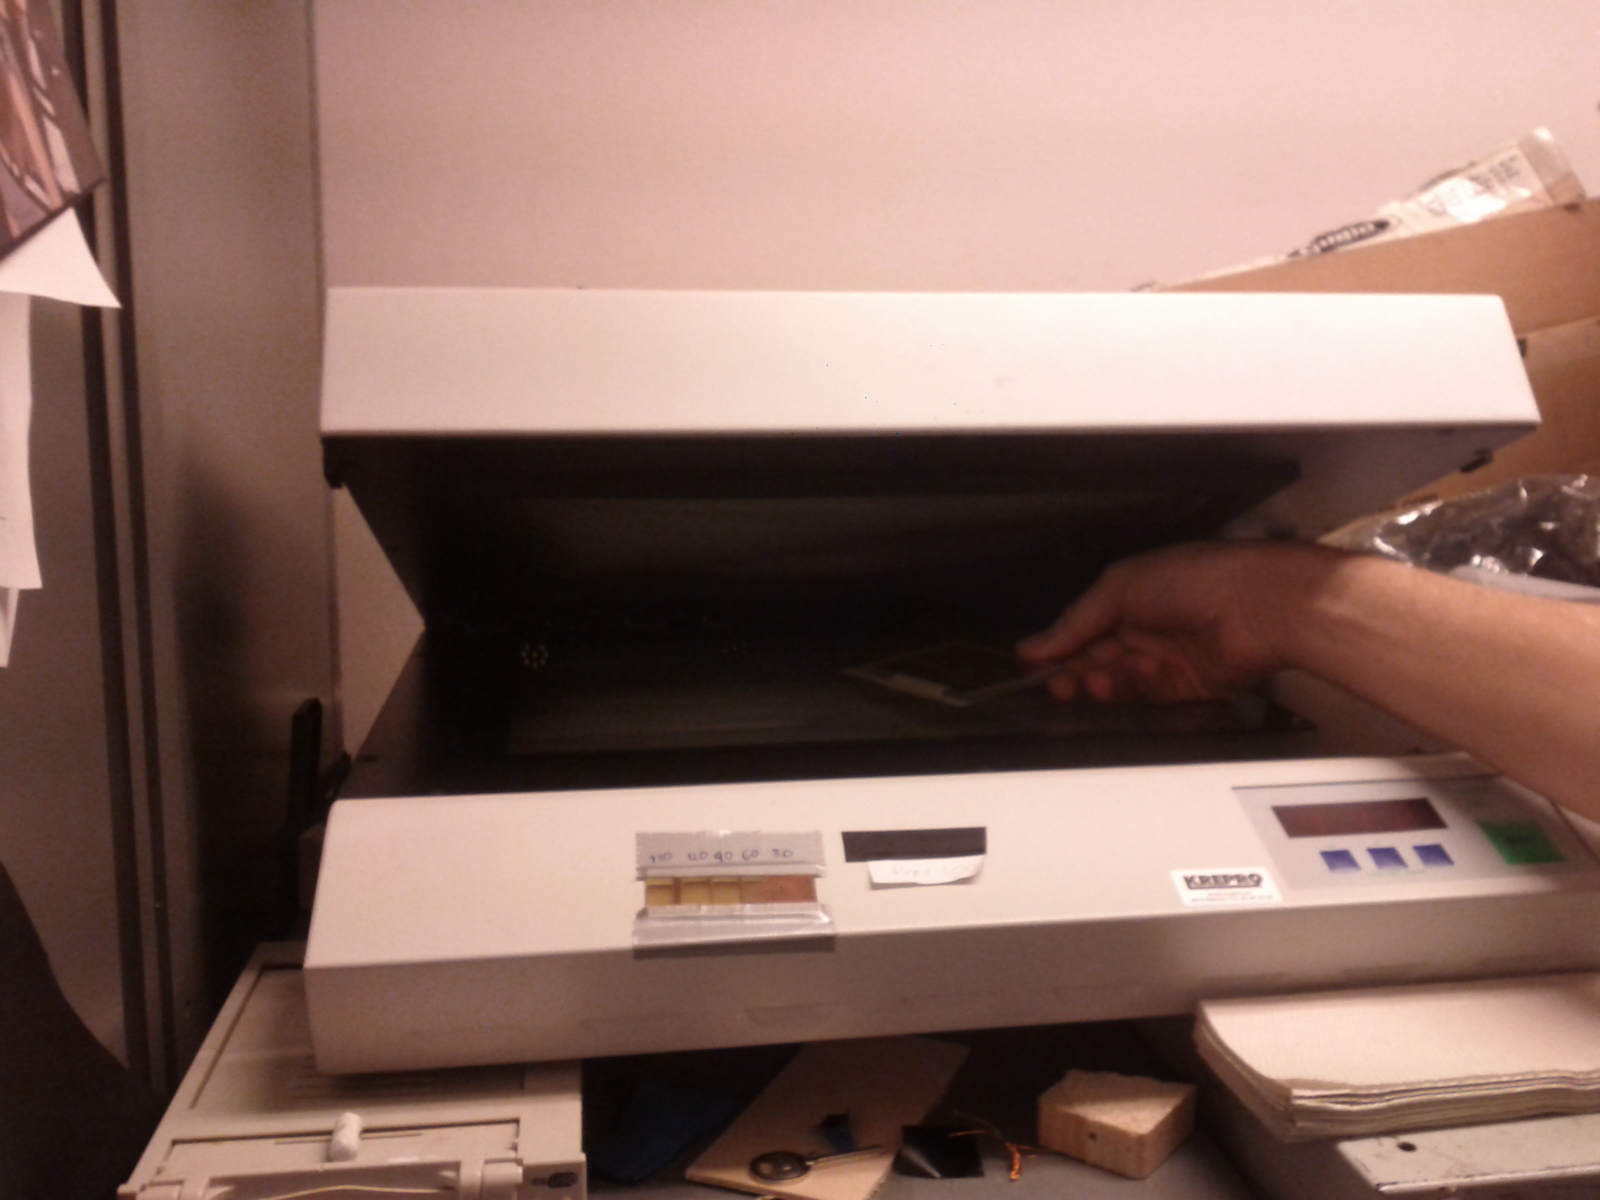
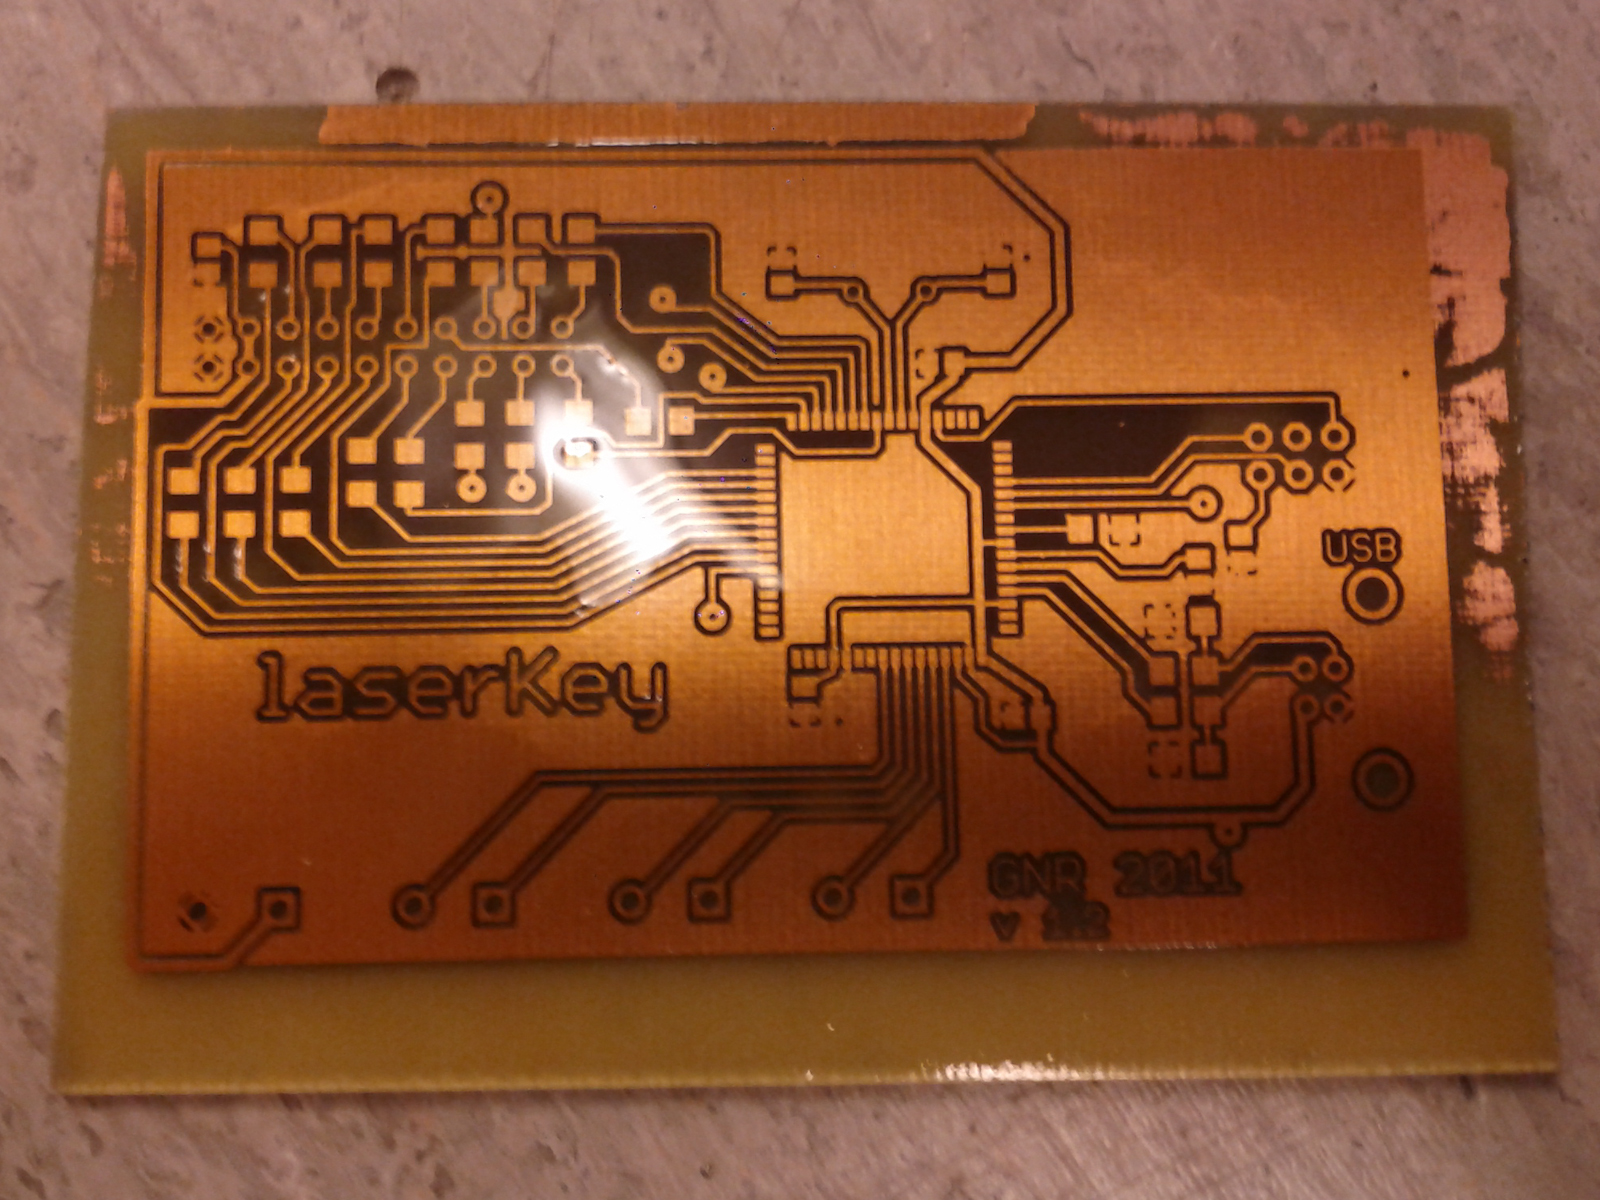
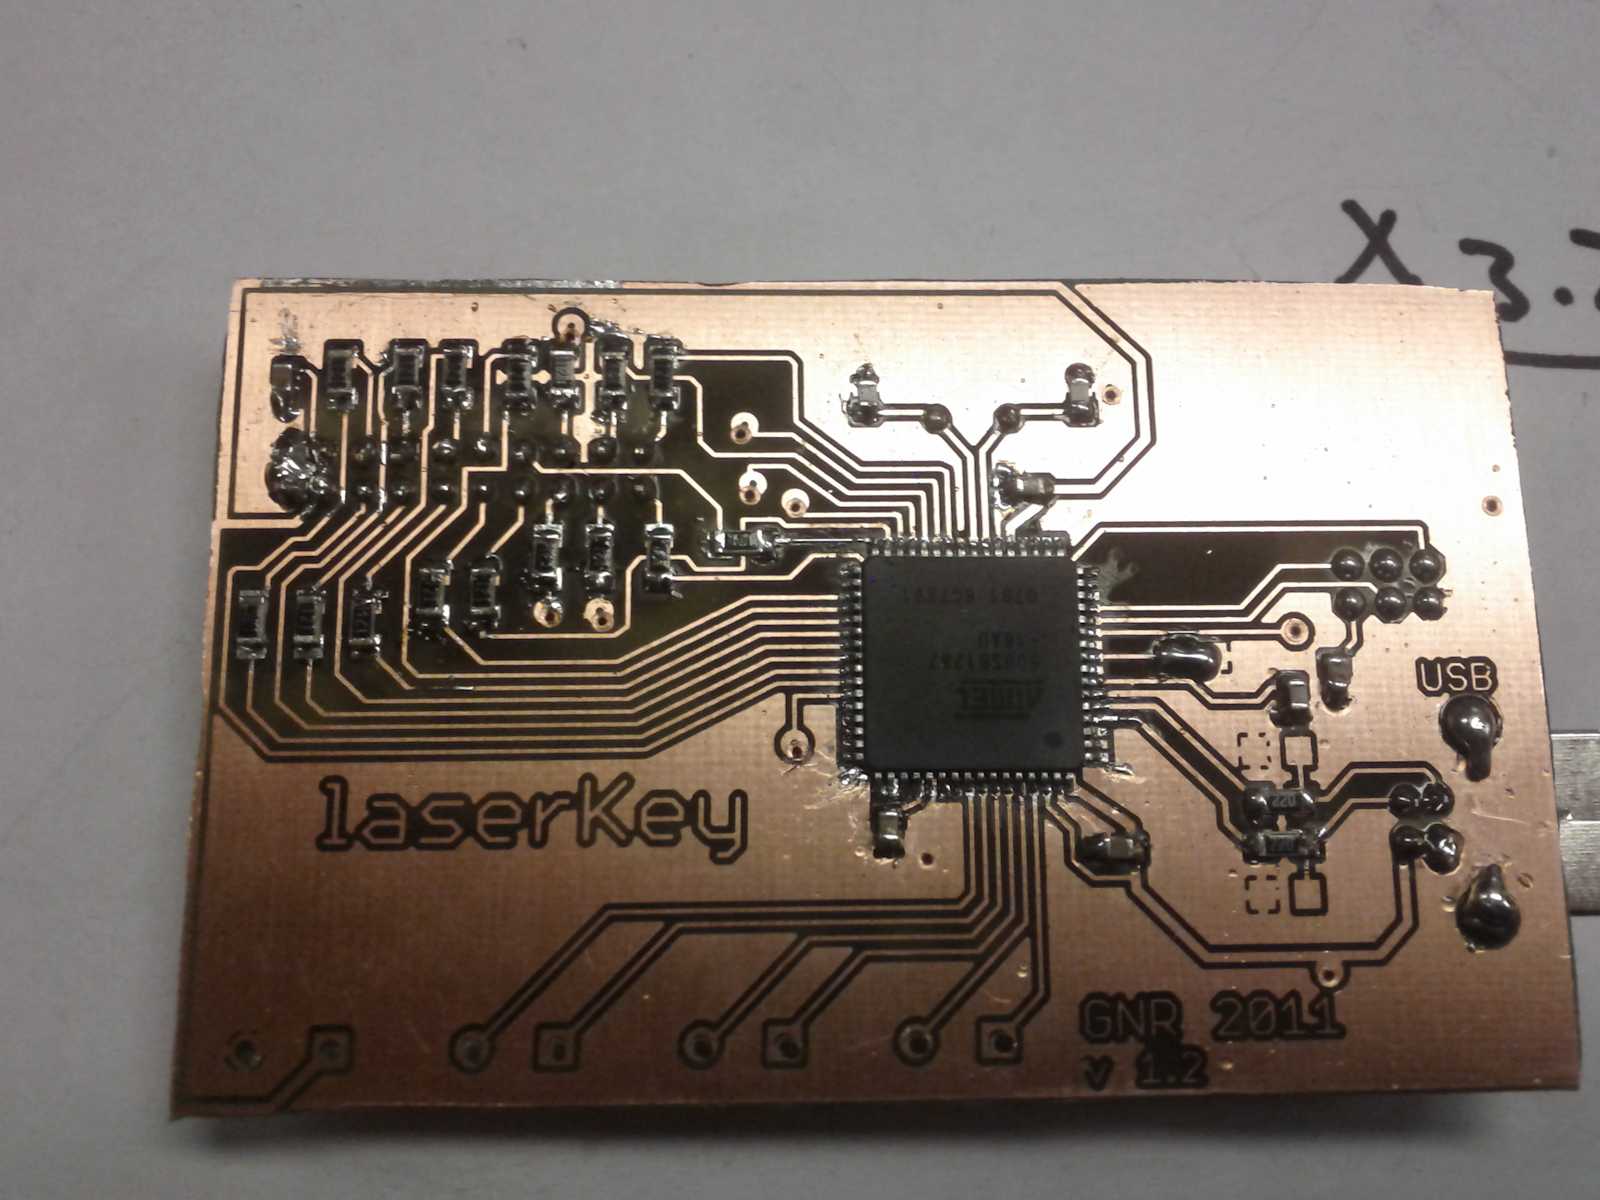
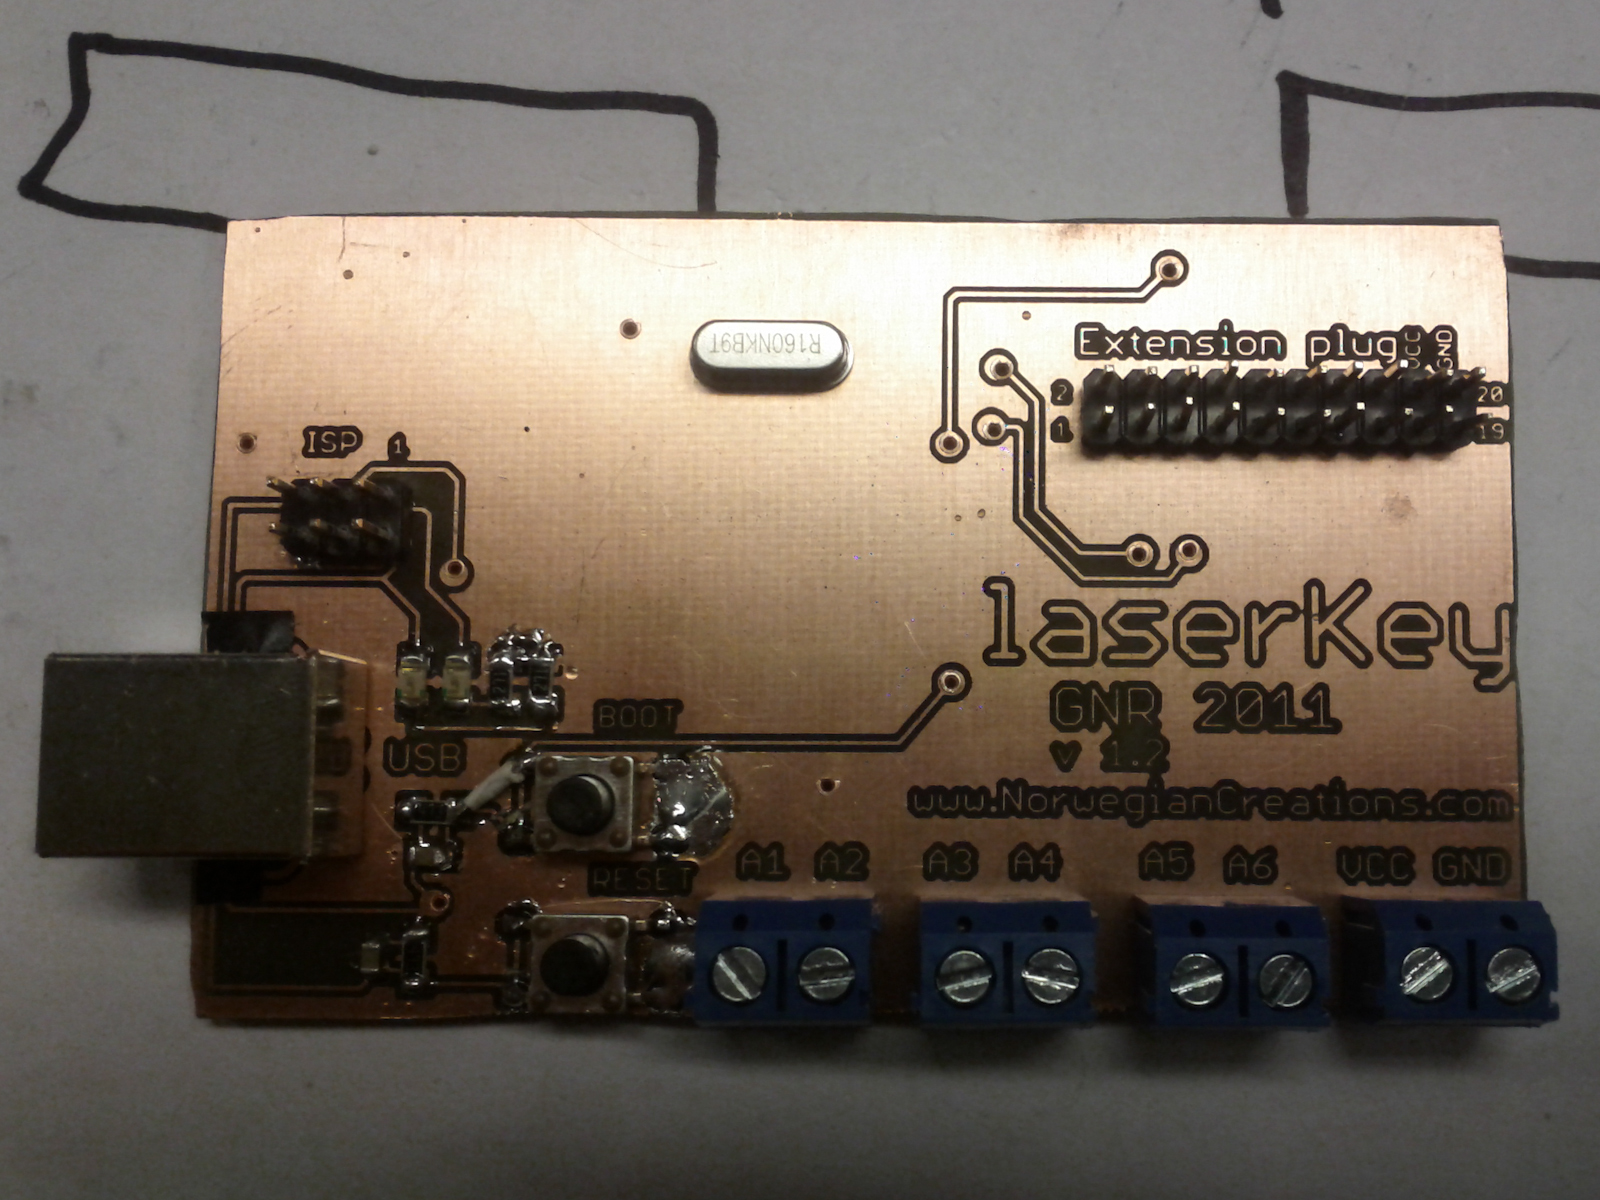
Part 1: Making the ciricut board

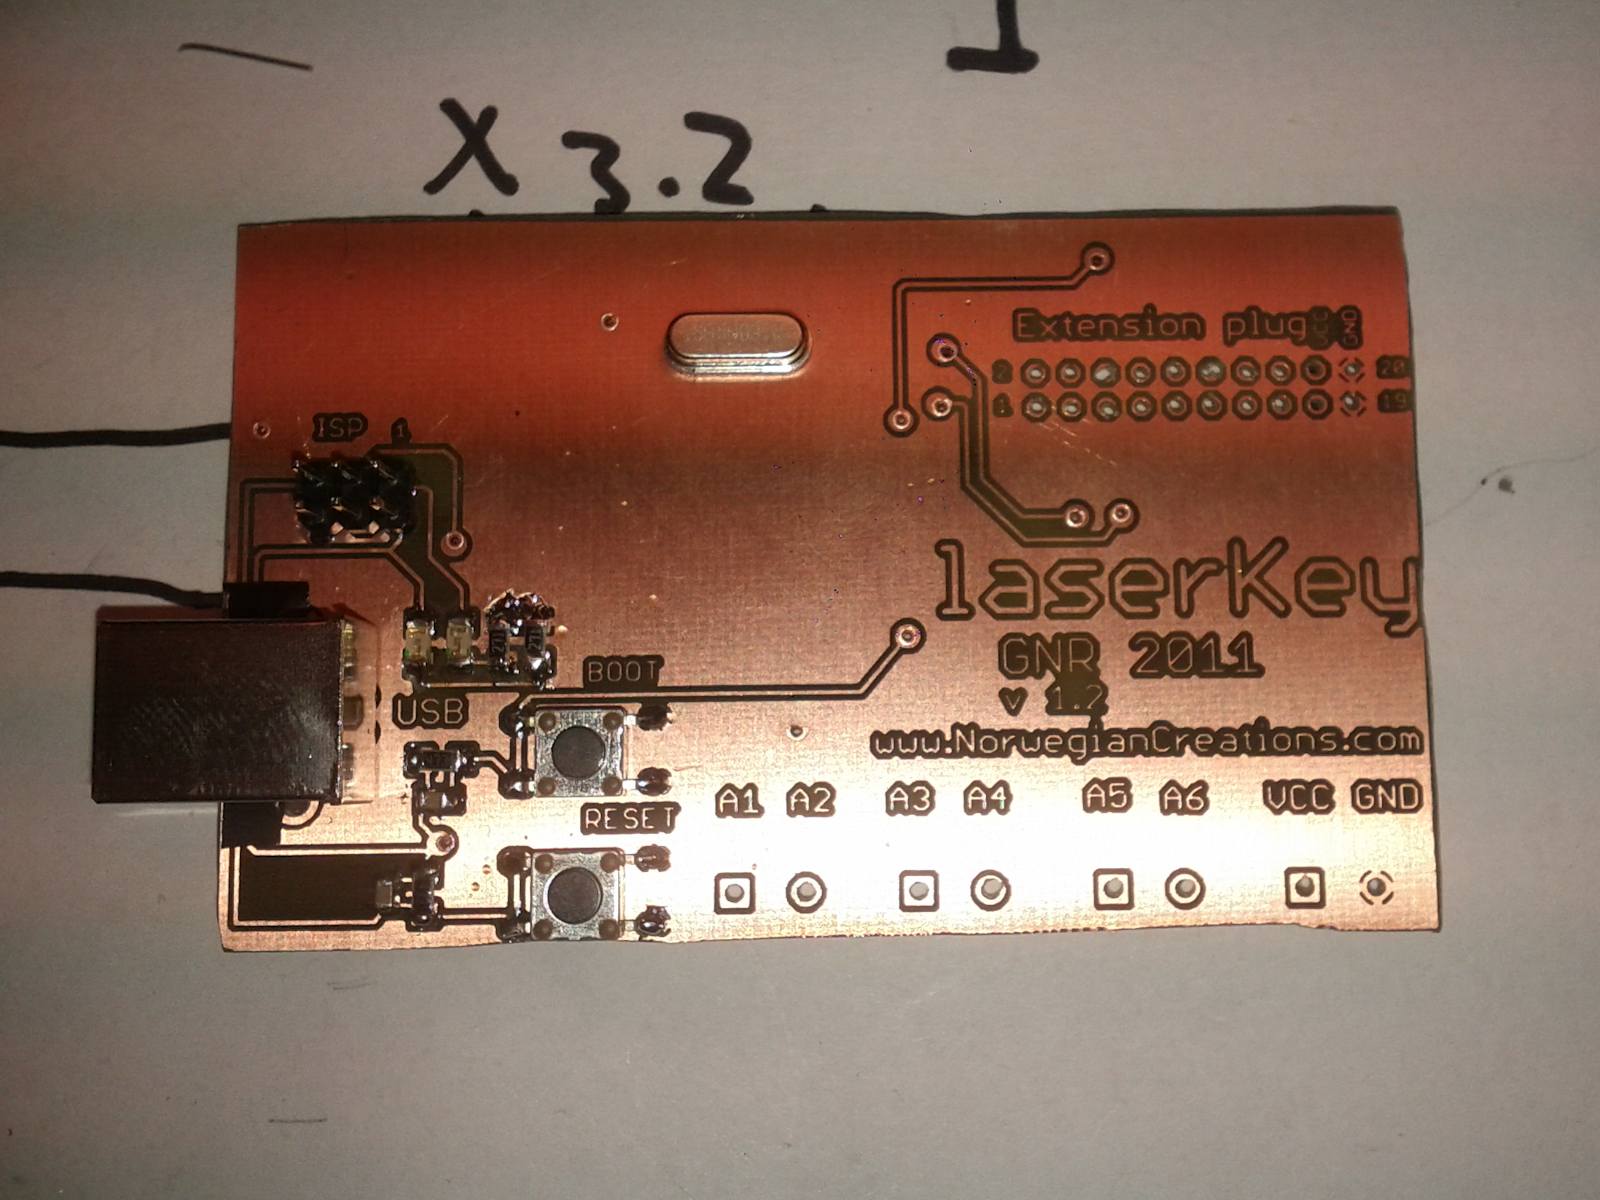
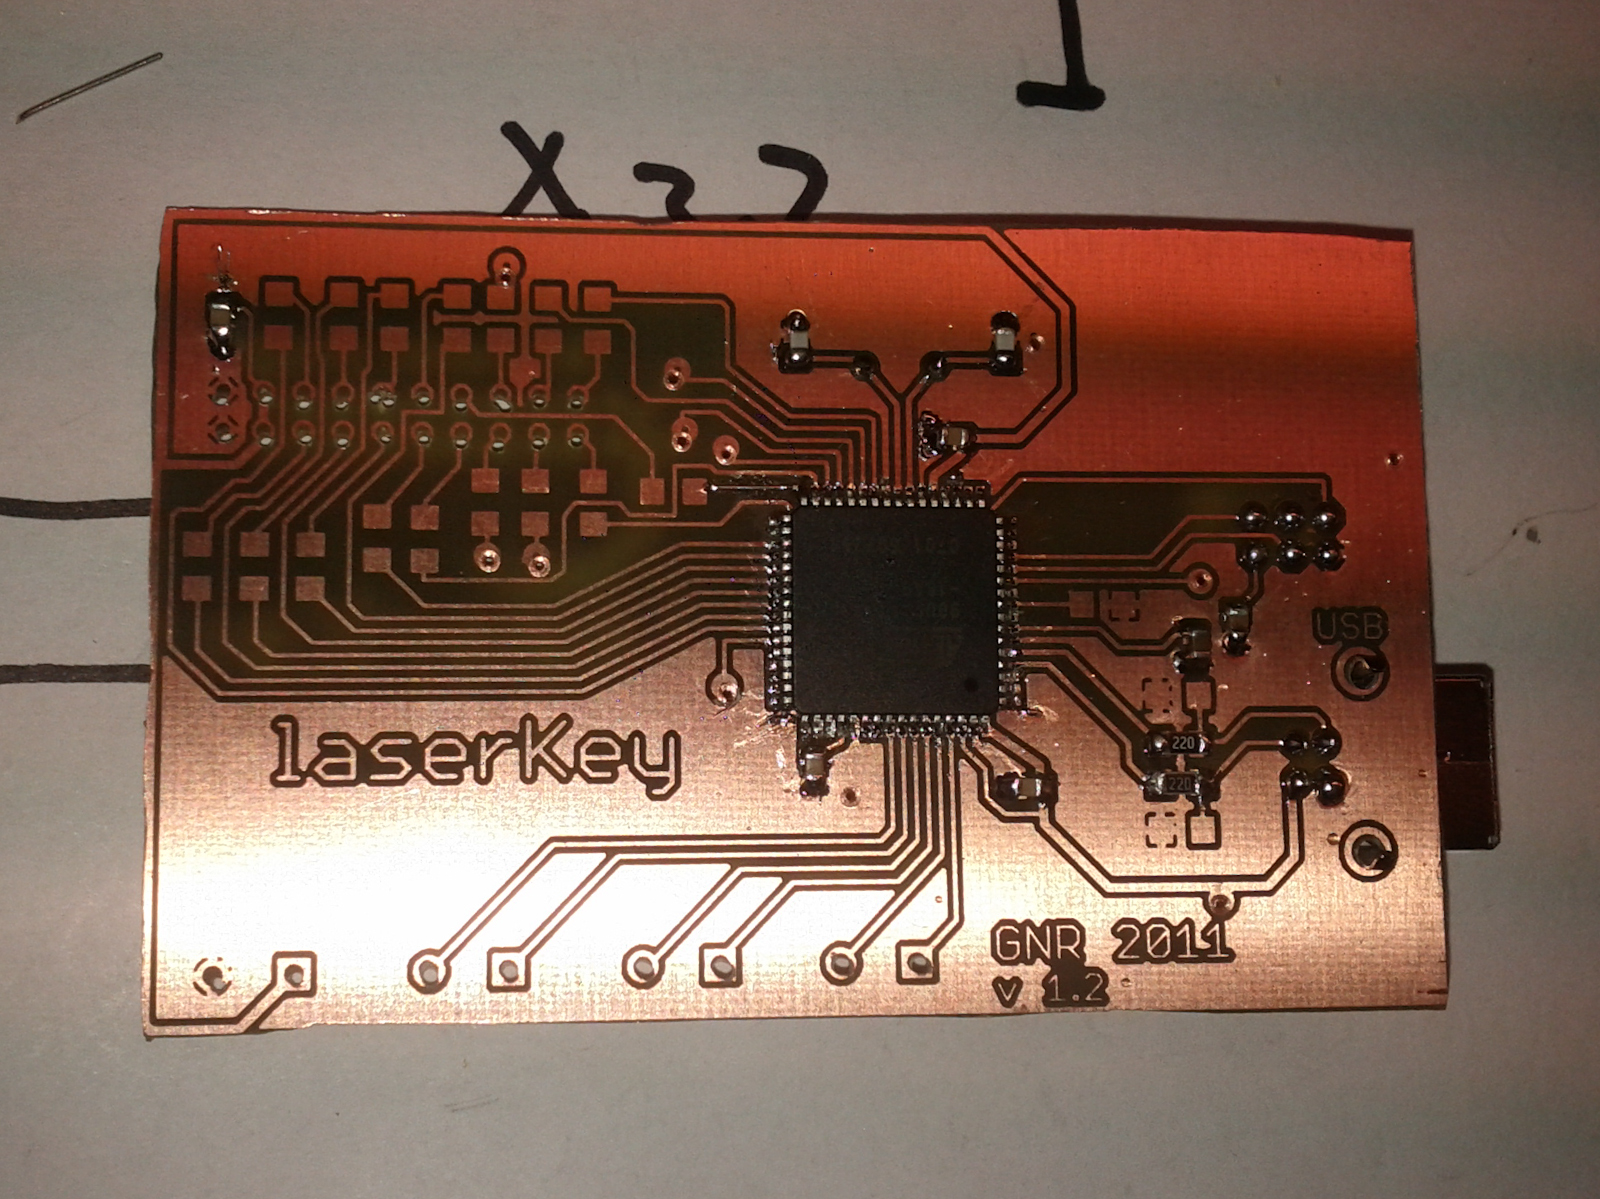
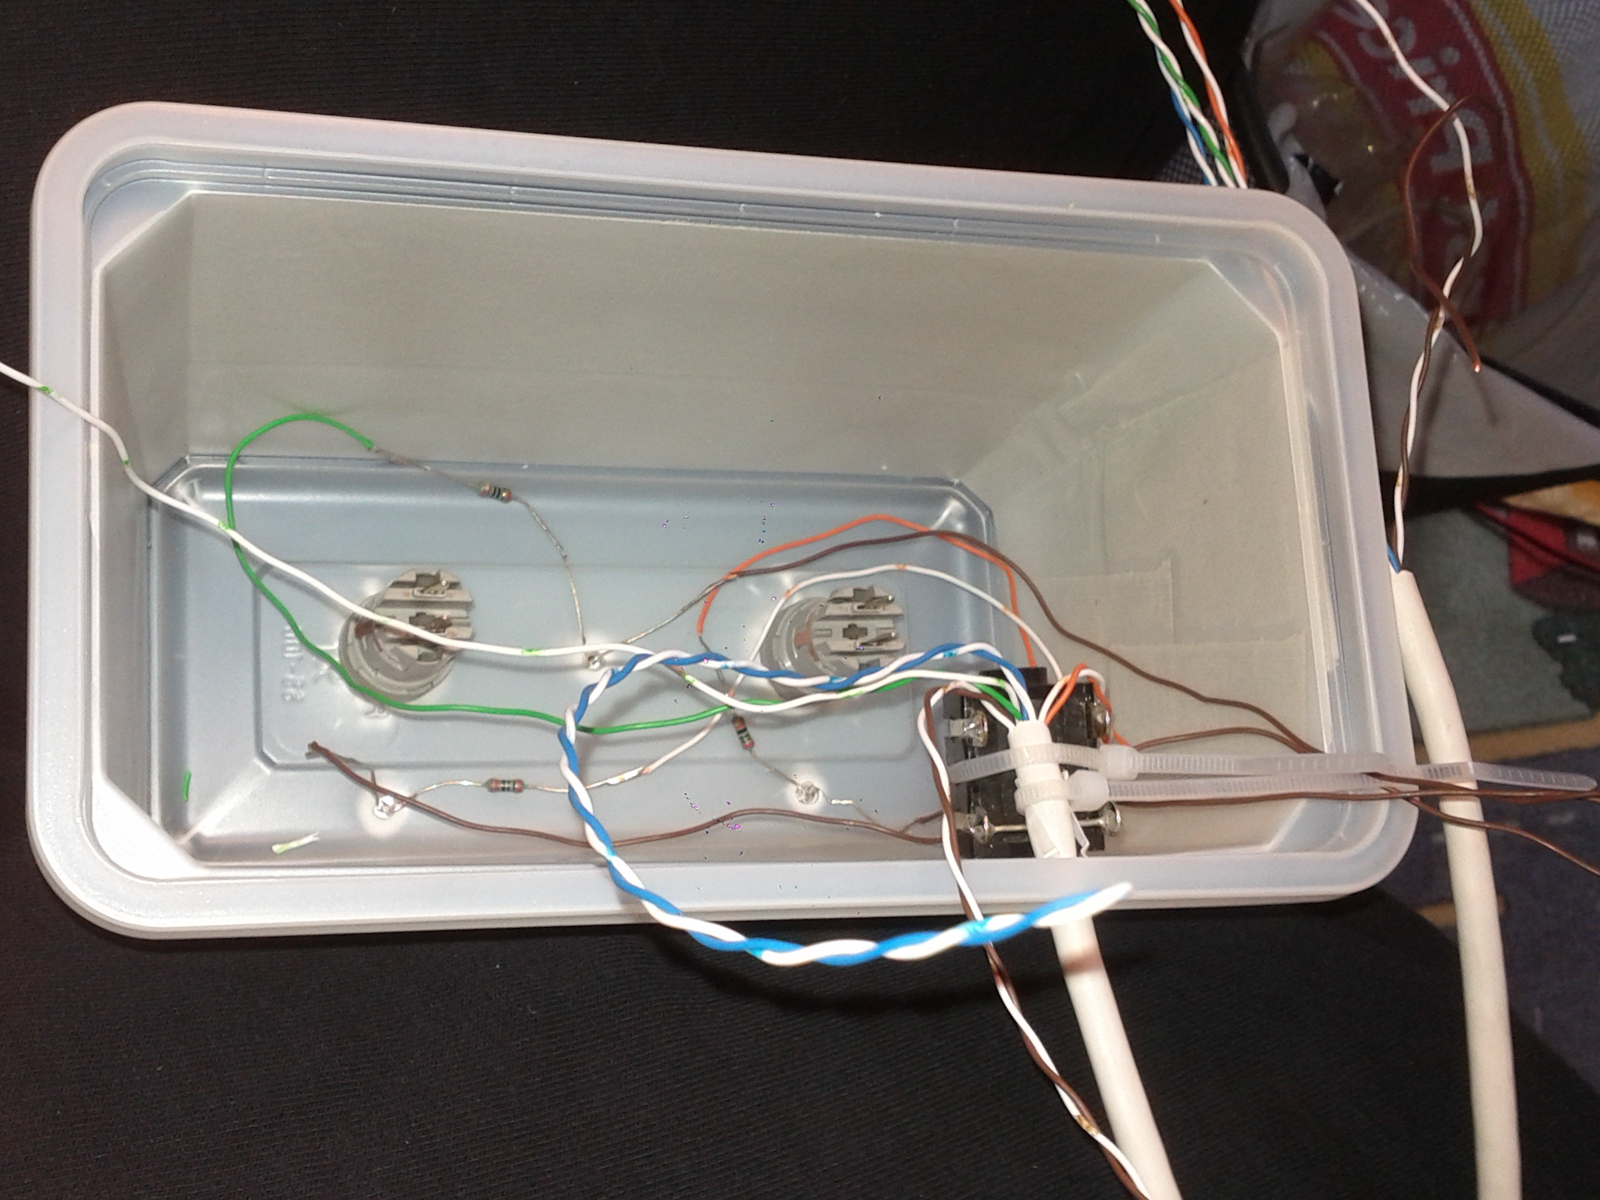
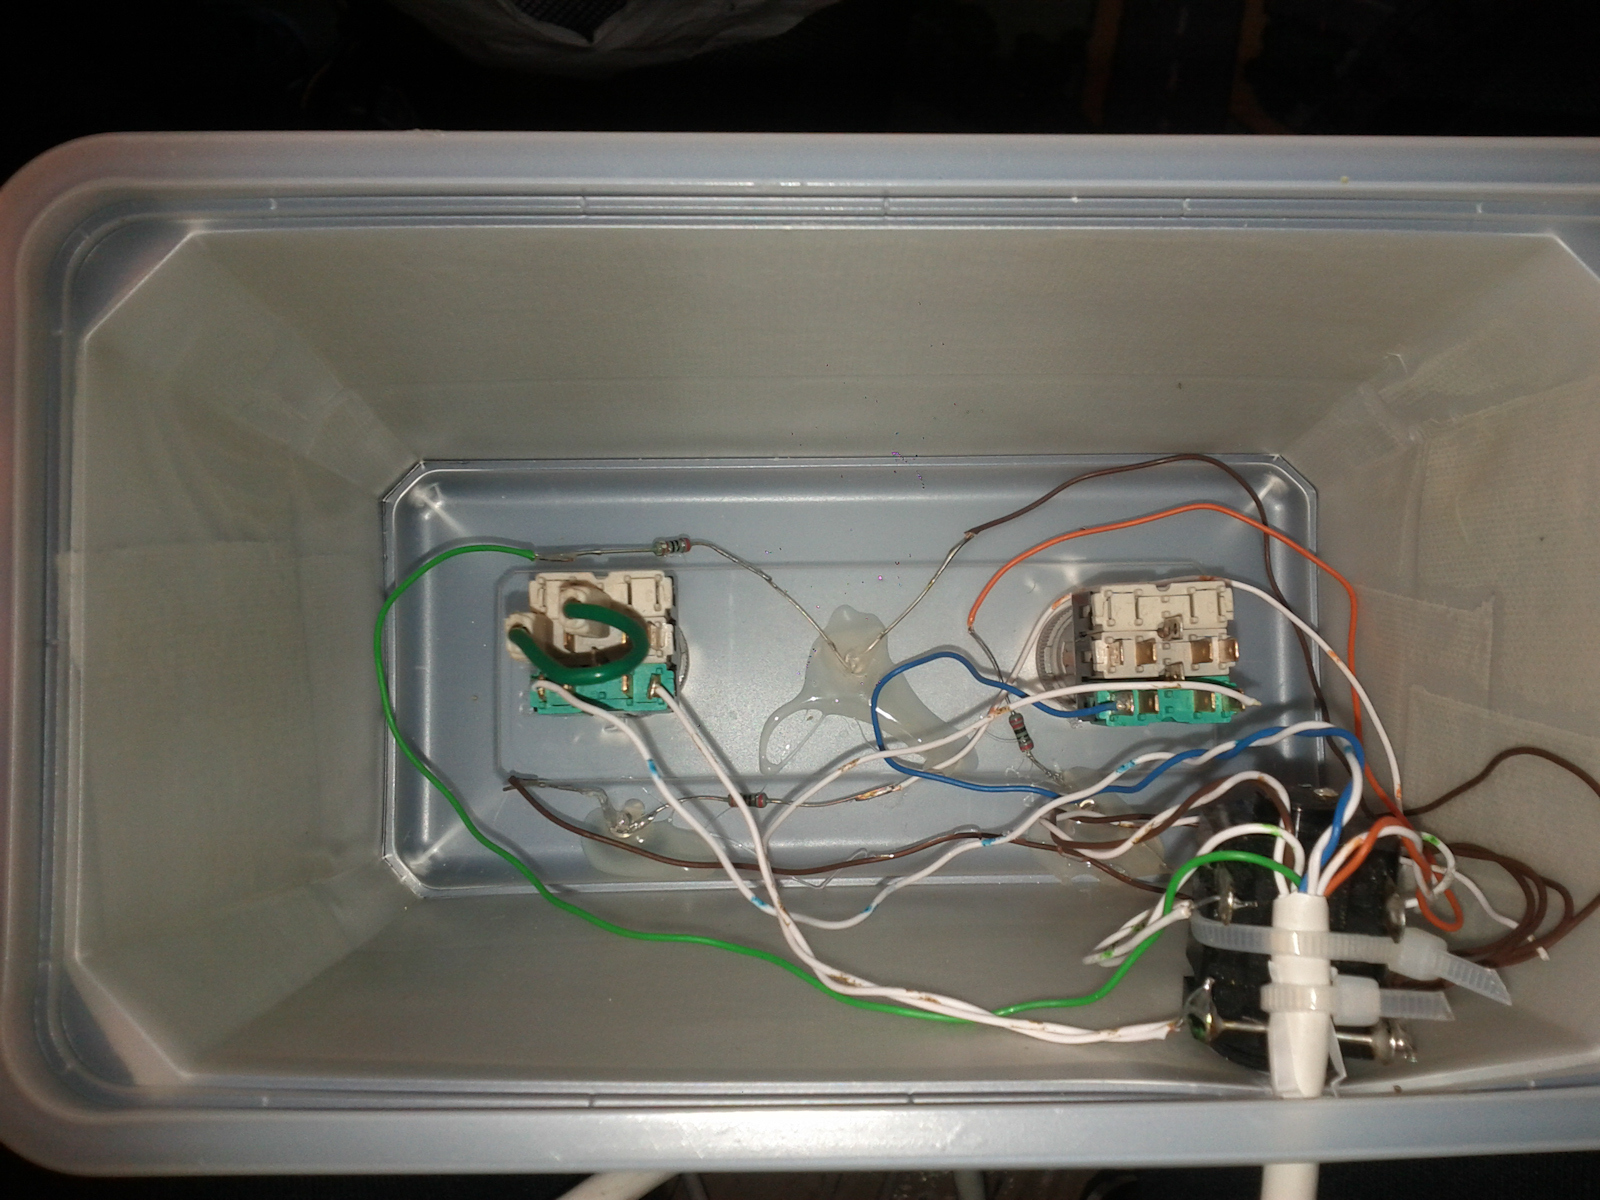
Part 2: Soldering components
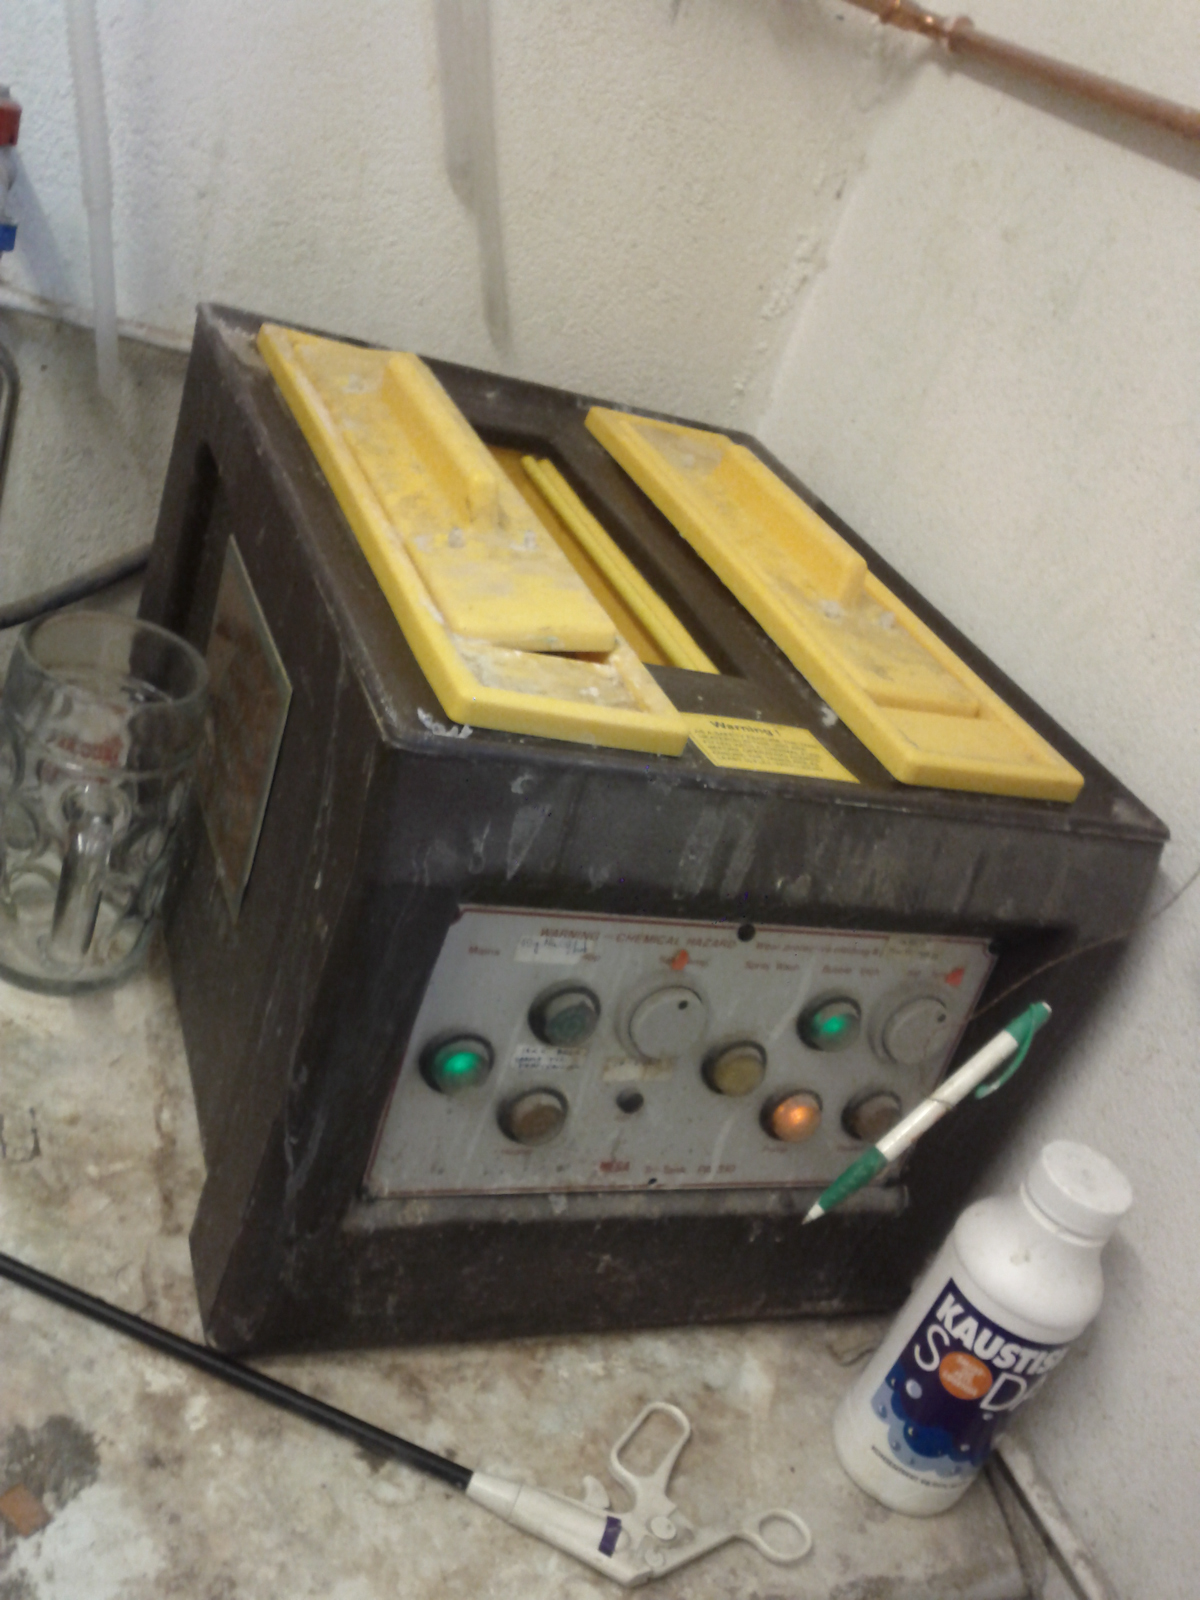
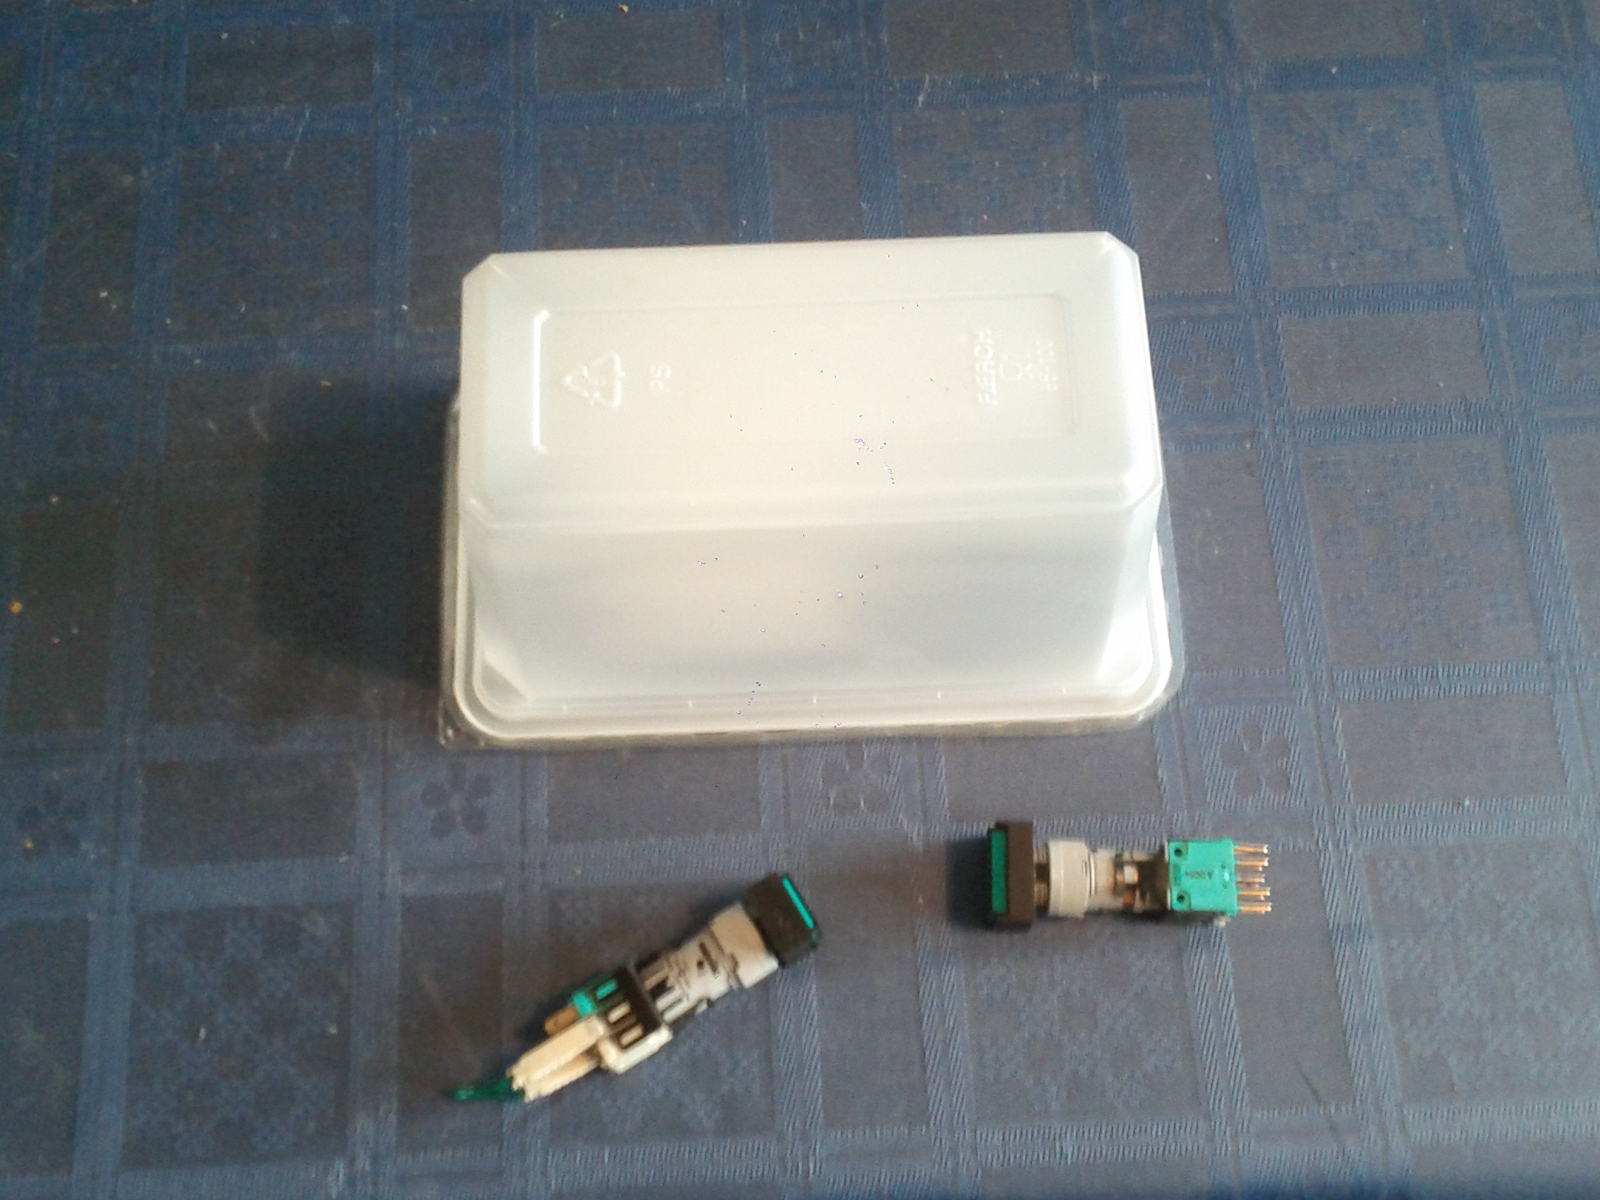
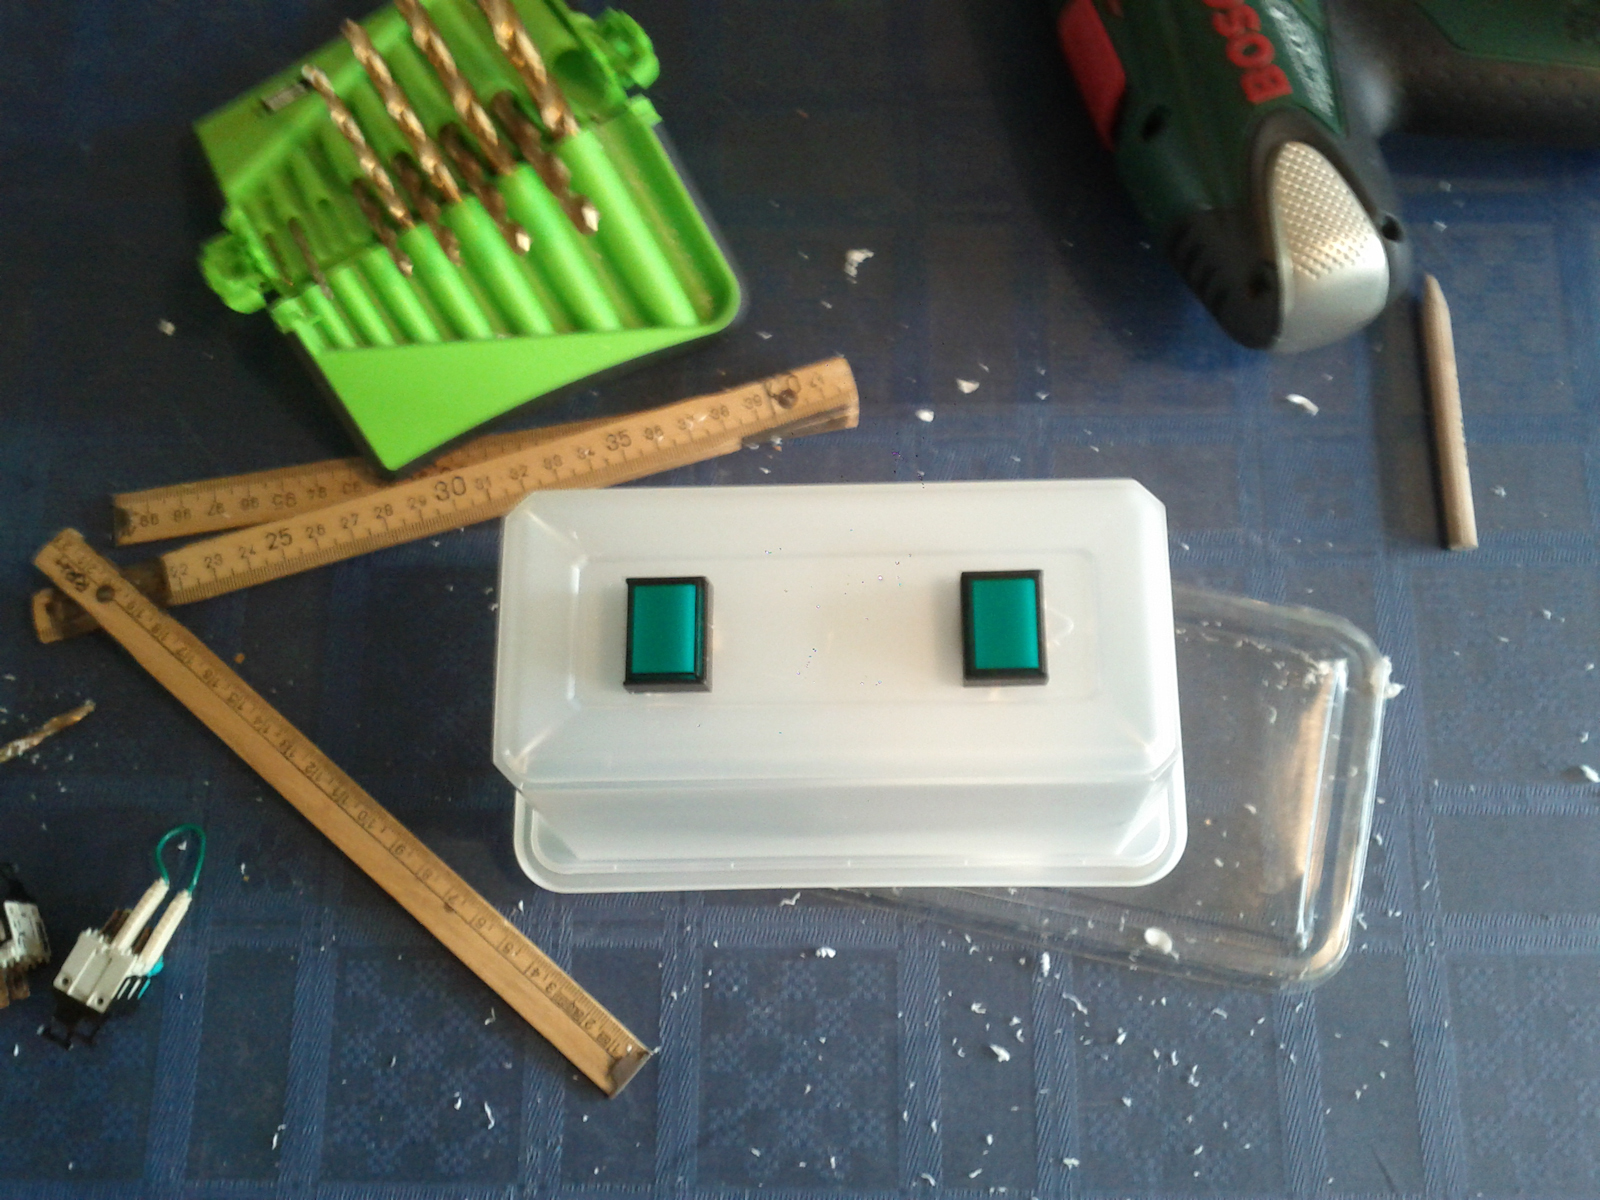
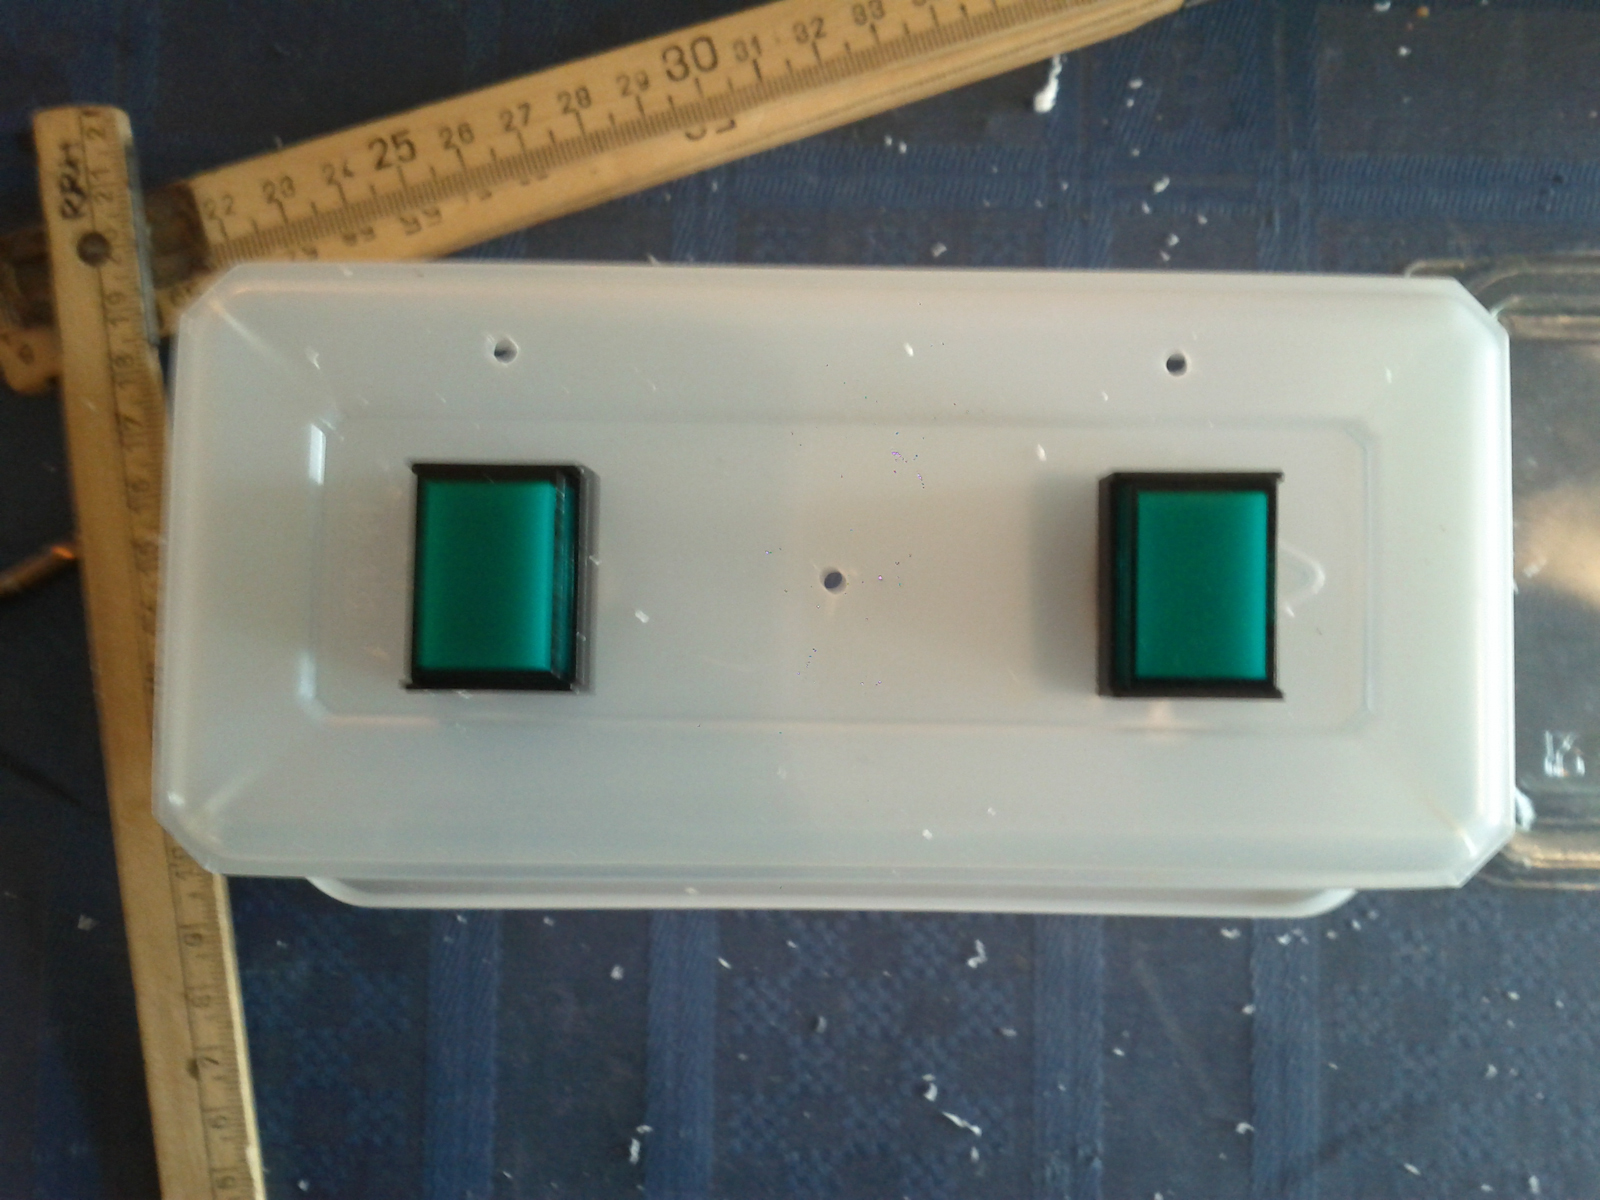
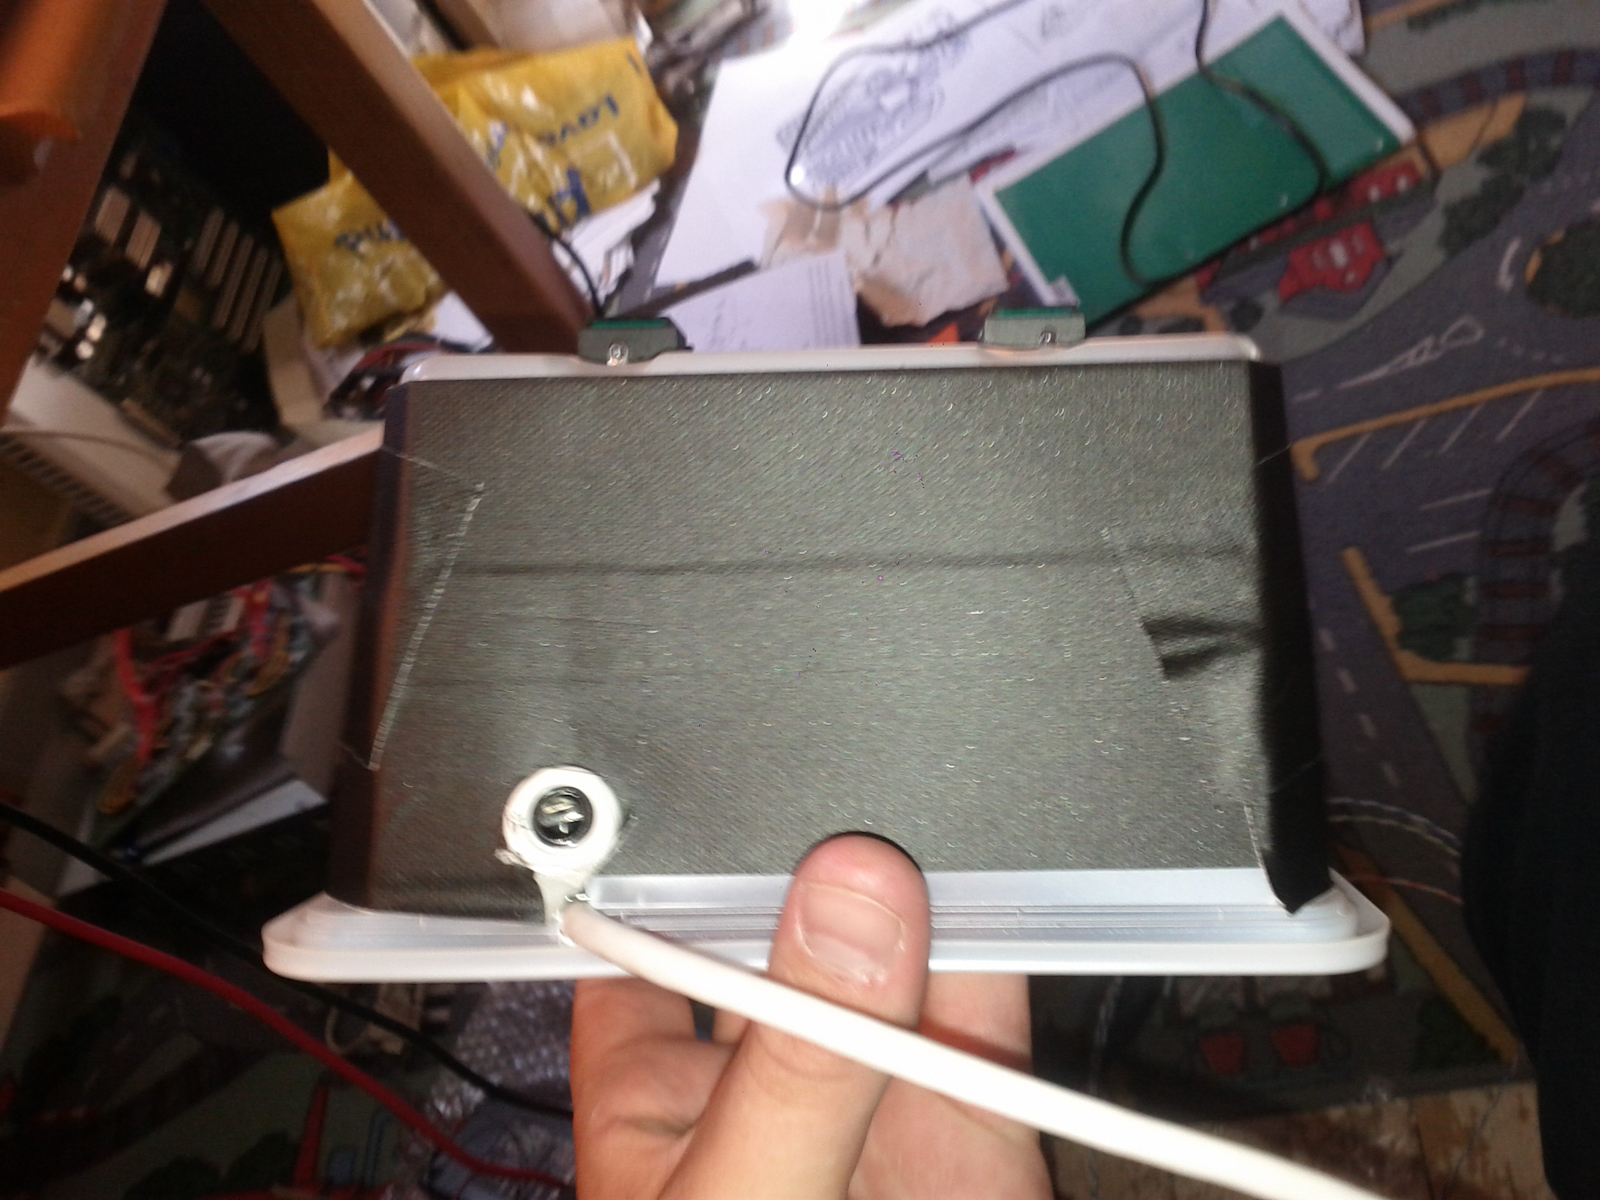
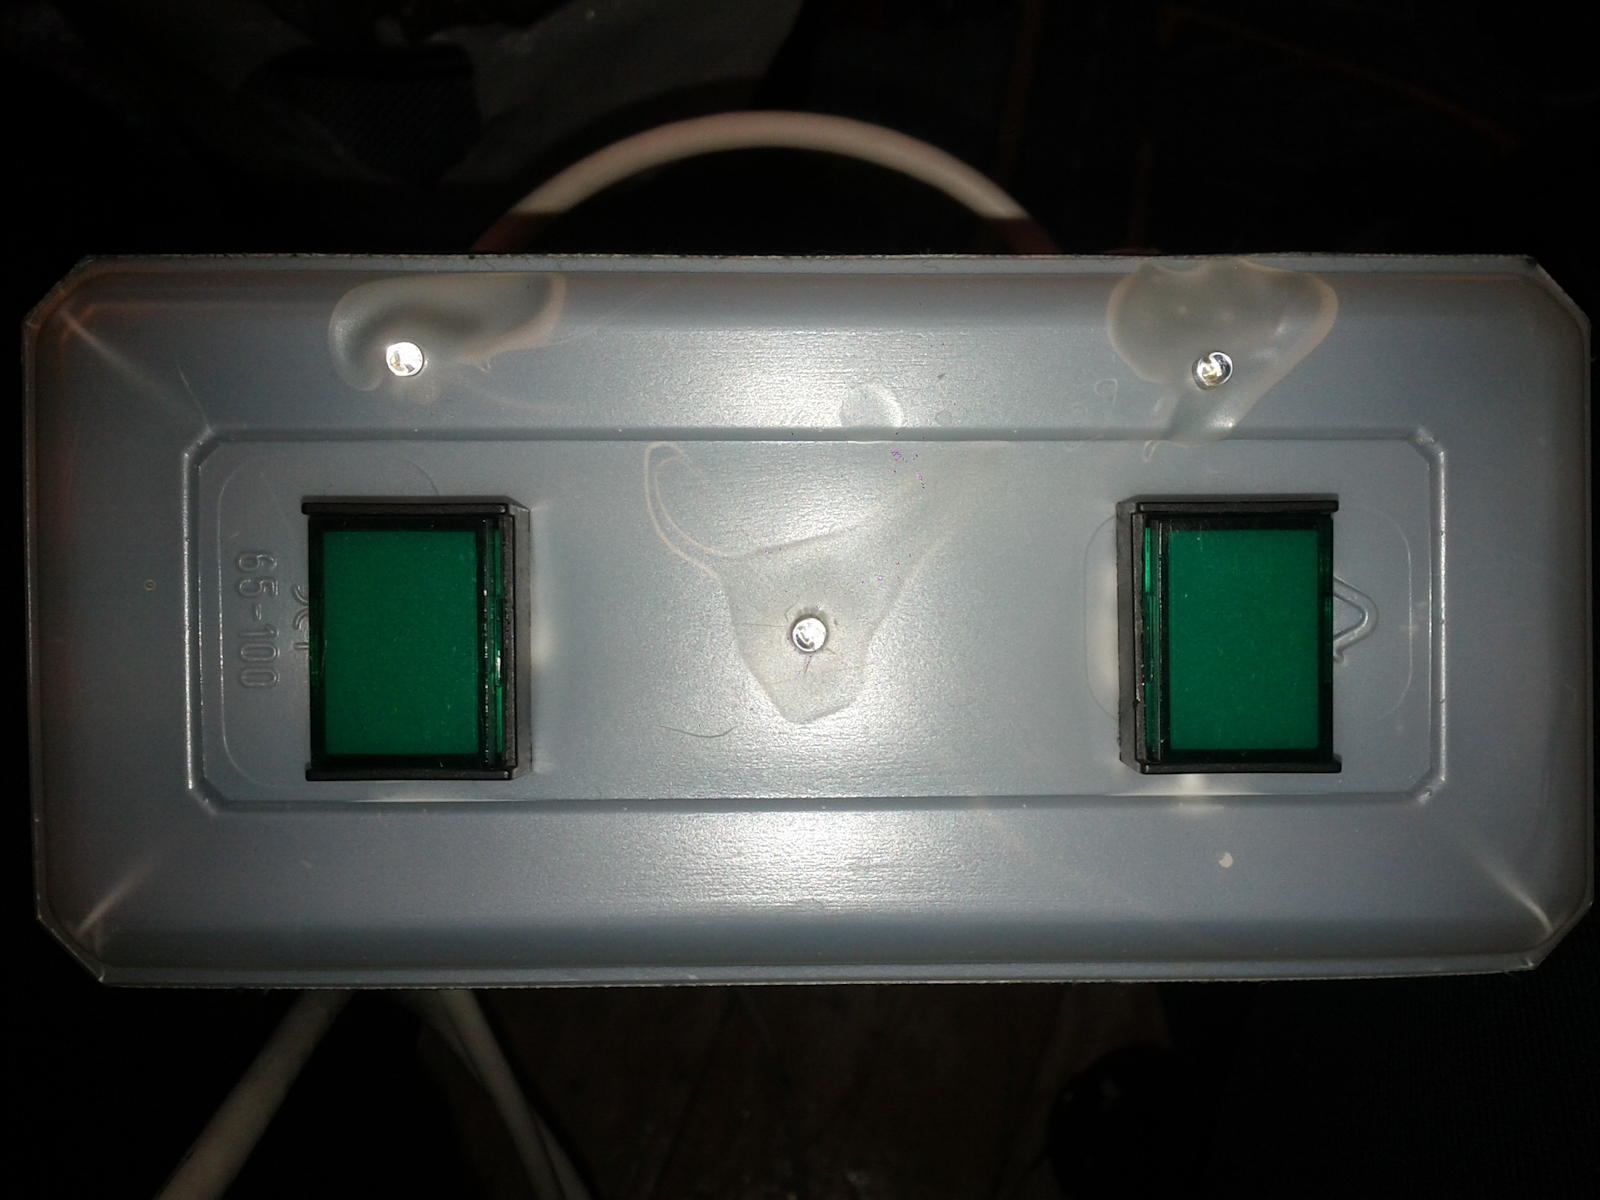
Part 3: Making a temporary control box
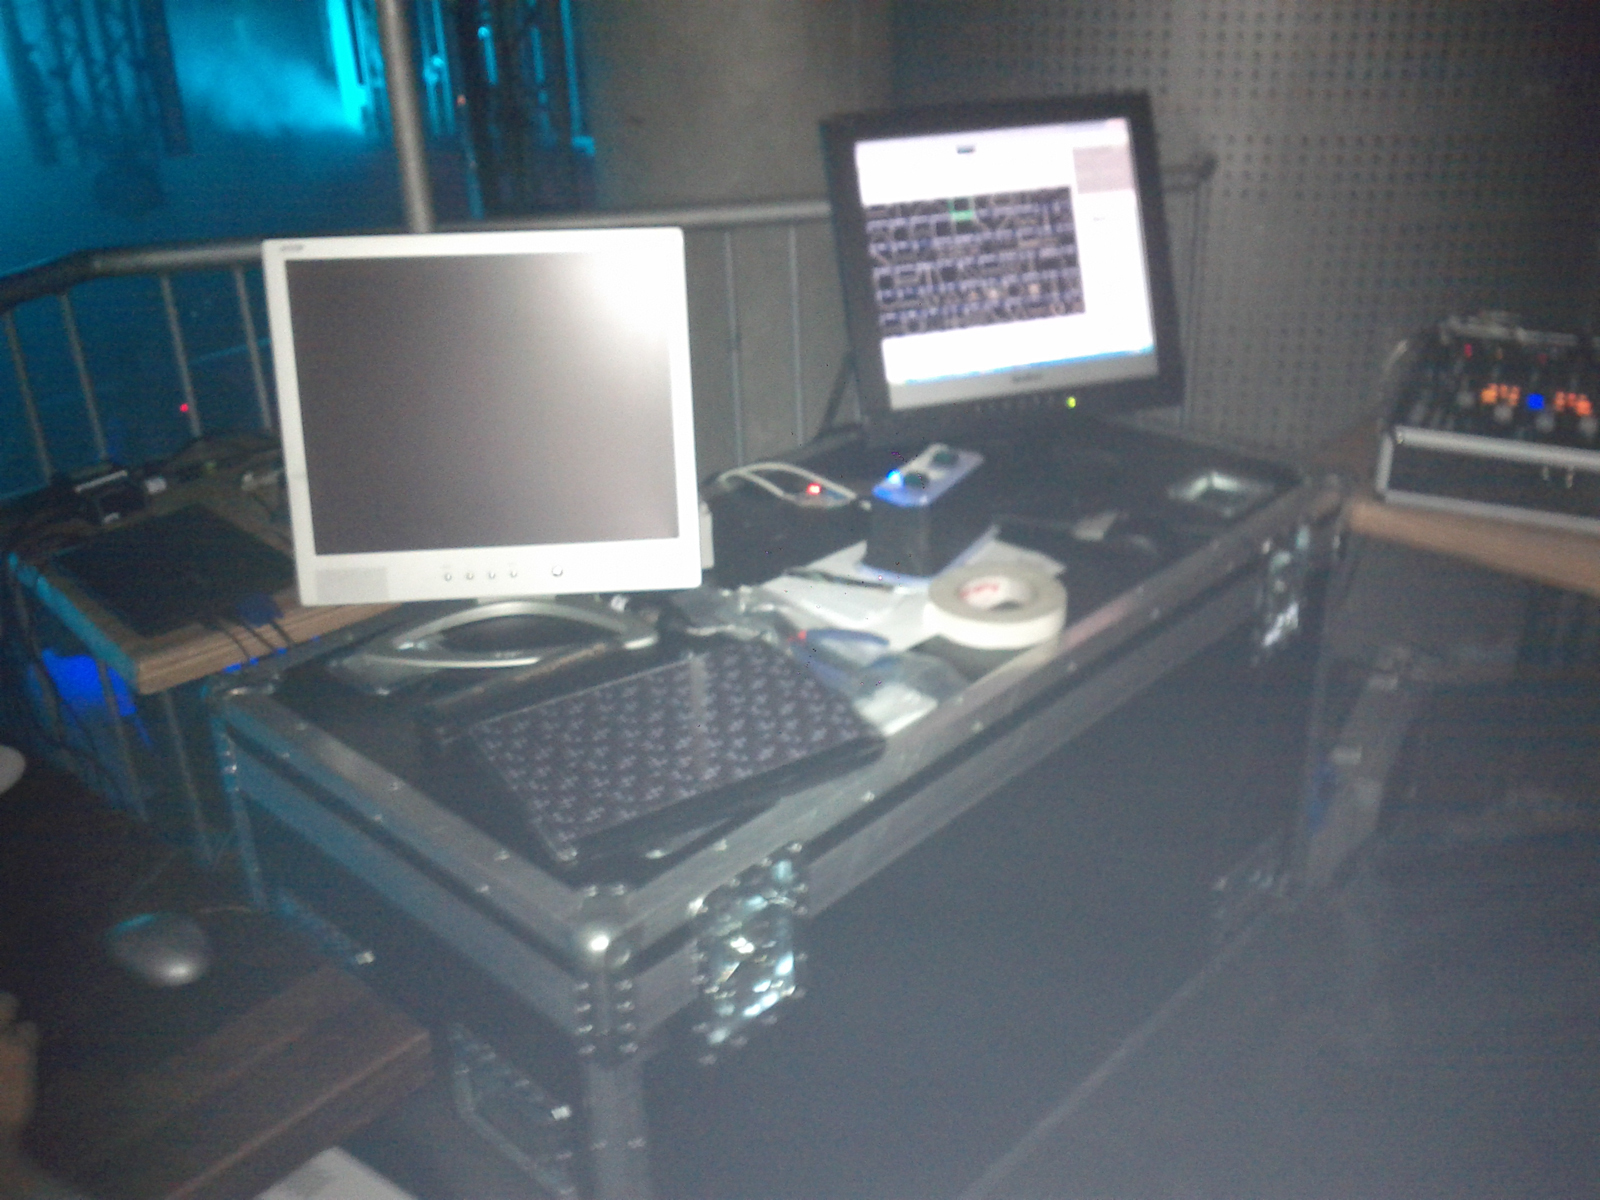
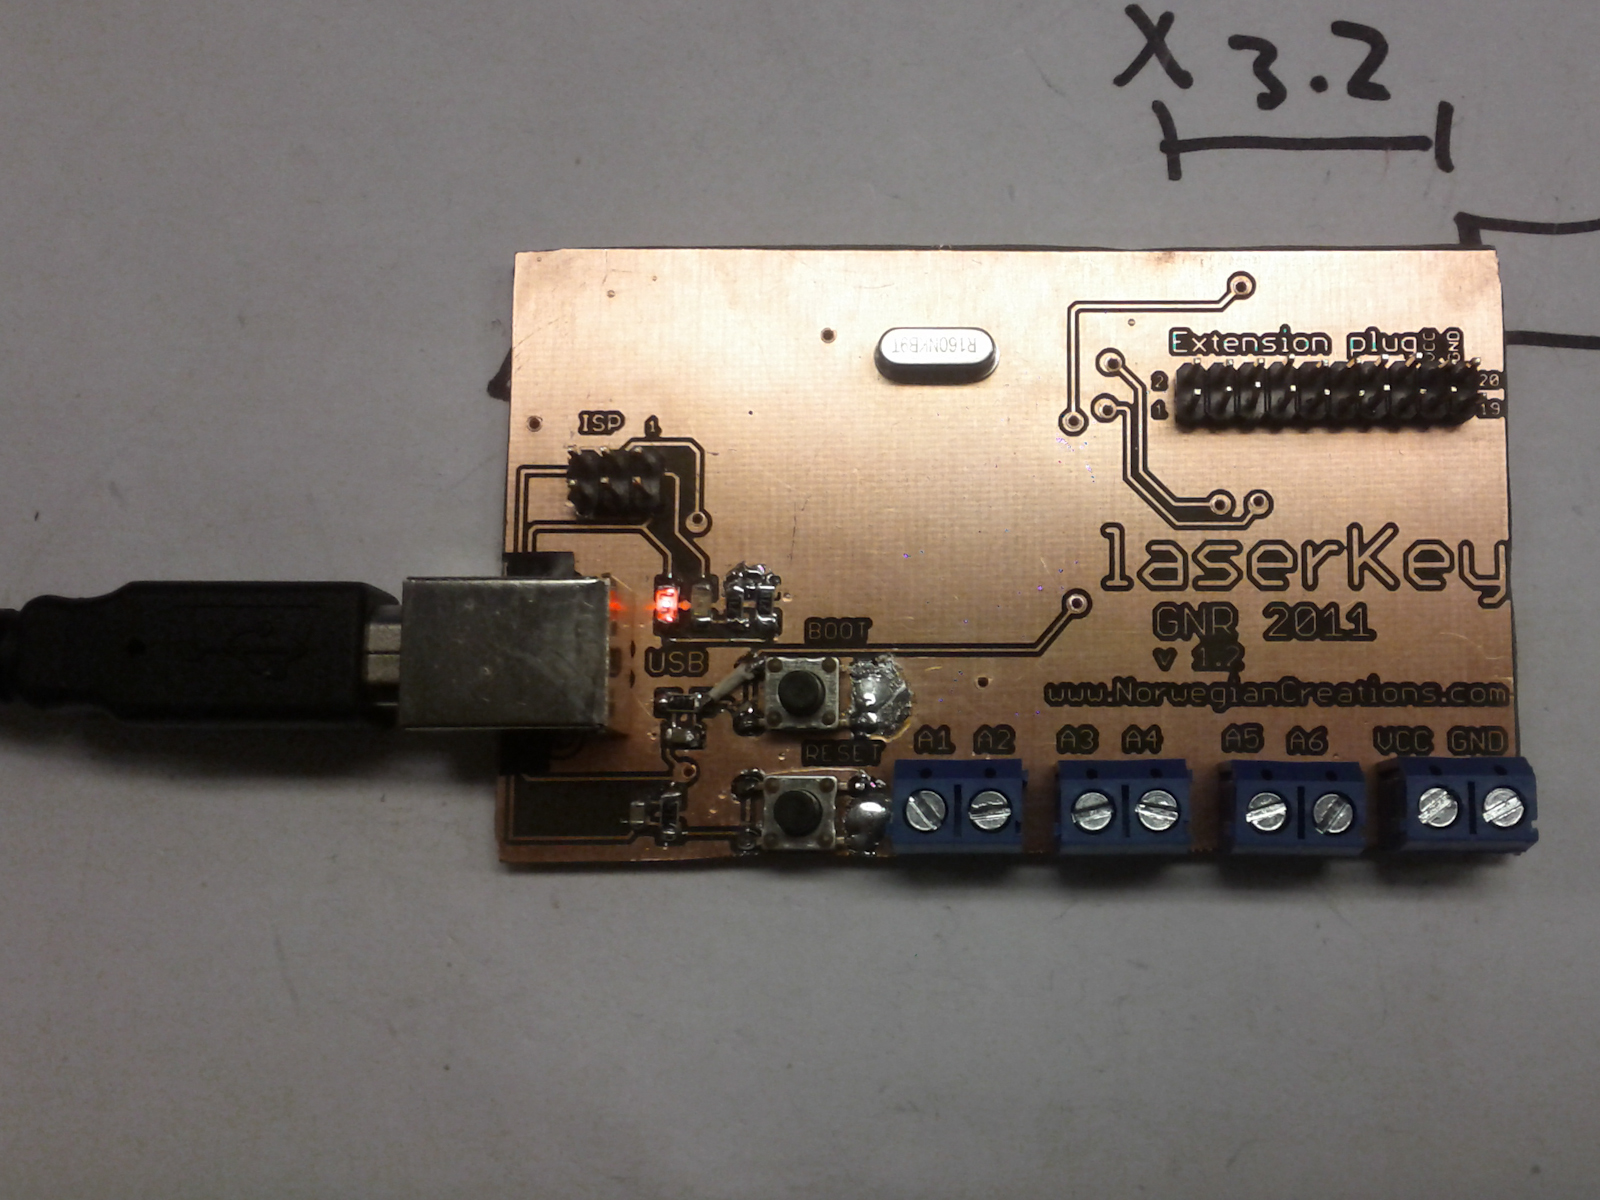
Part 4: Testing
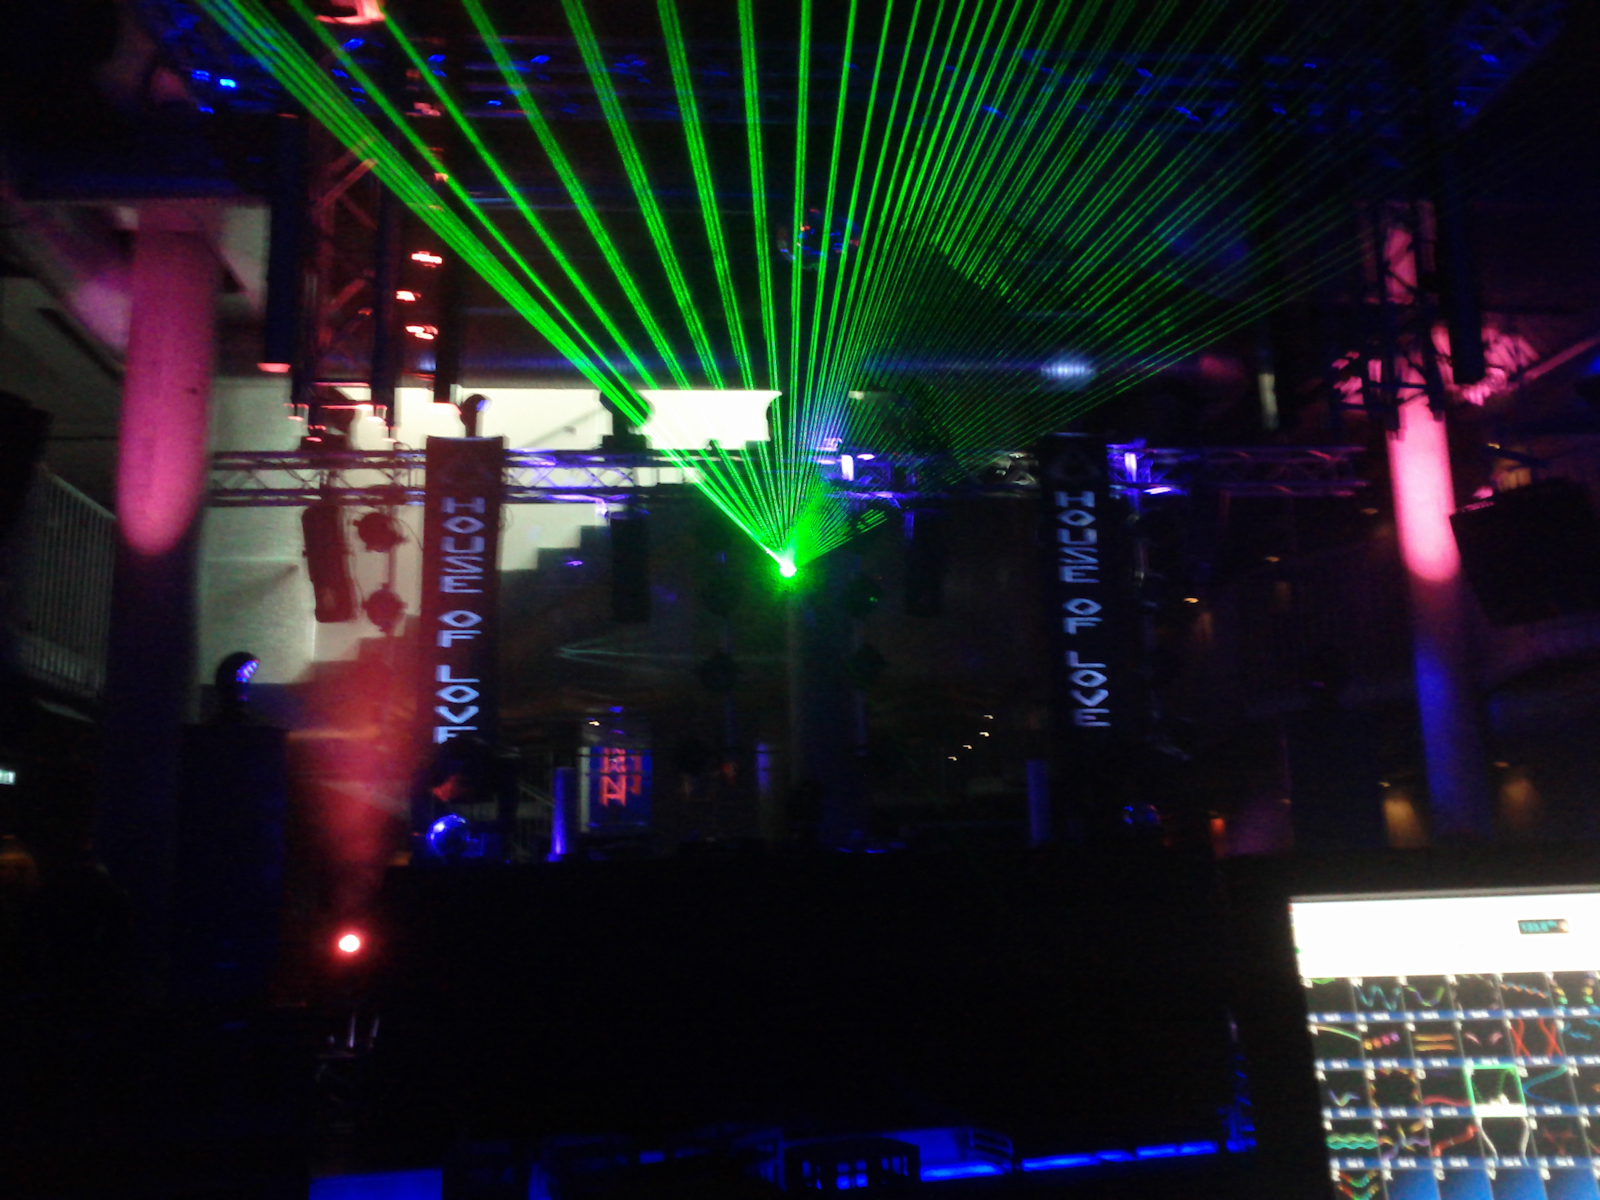
Part 5: Using it